This guide covers how to create a Tugger account and log in for the first time. There are two ways to sign up, depending on how you found Tugger.
Option A: Standard sign up
This is the most common route and works for all users.
- Go to tuggerapp.com/SignUp
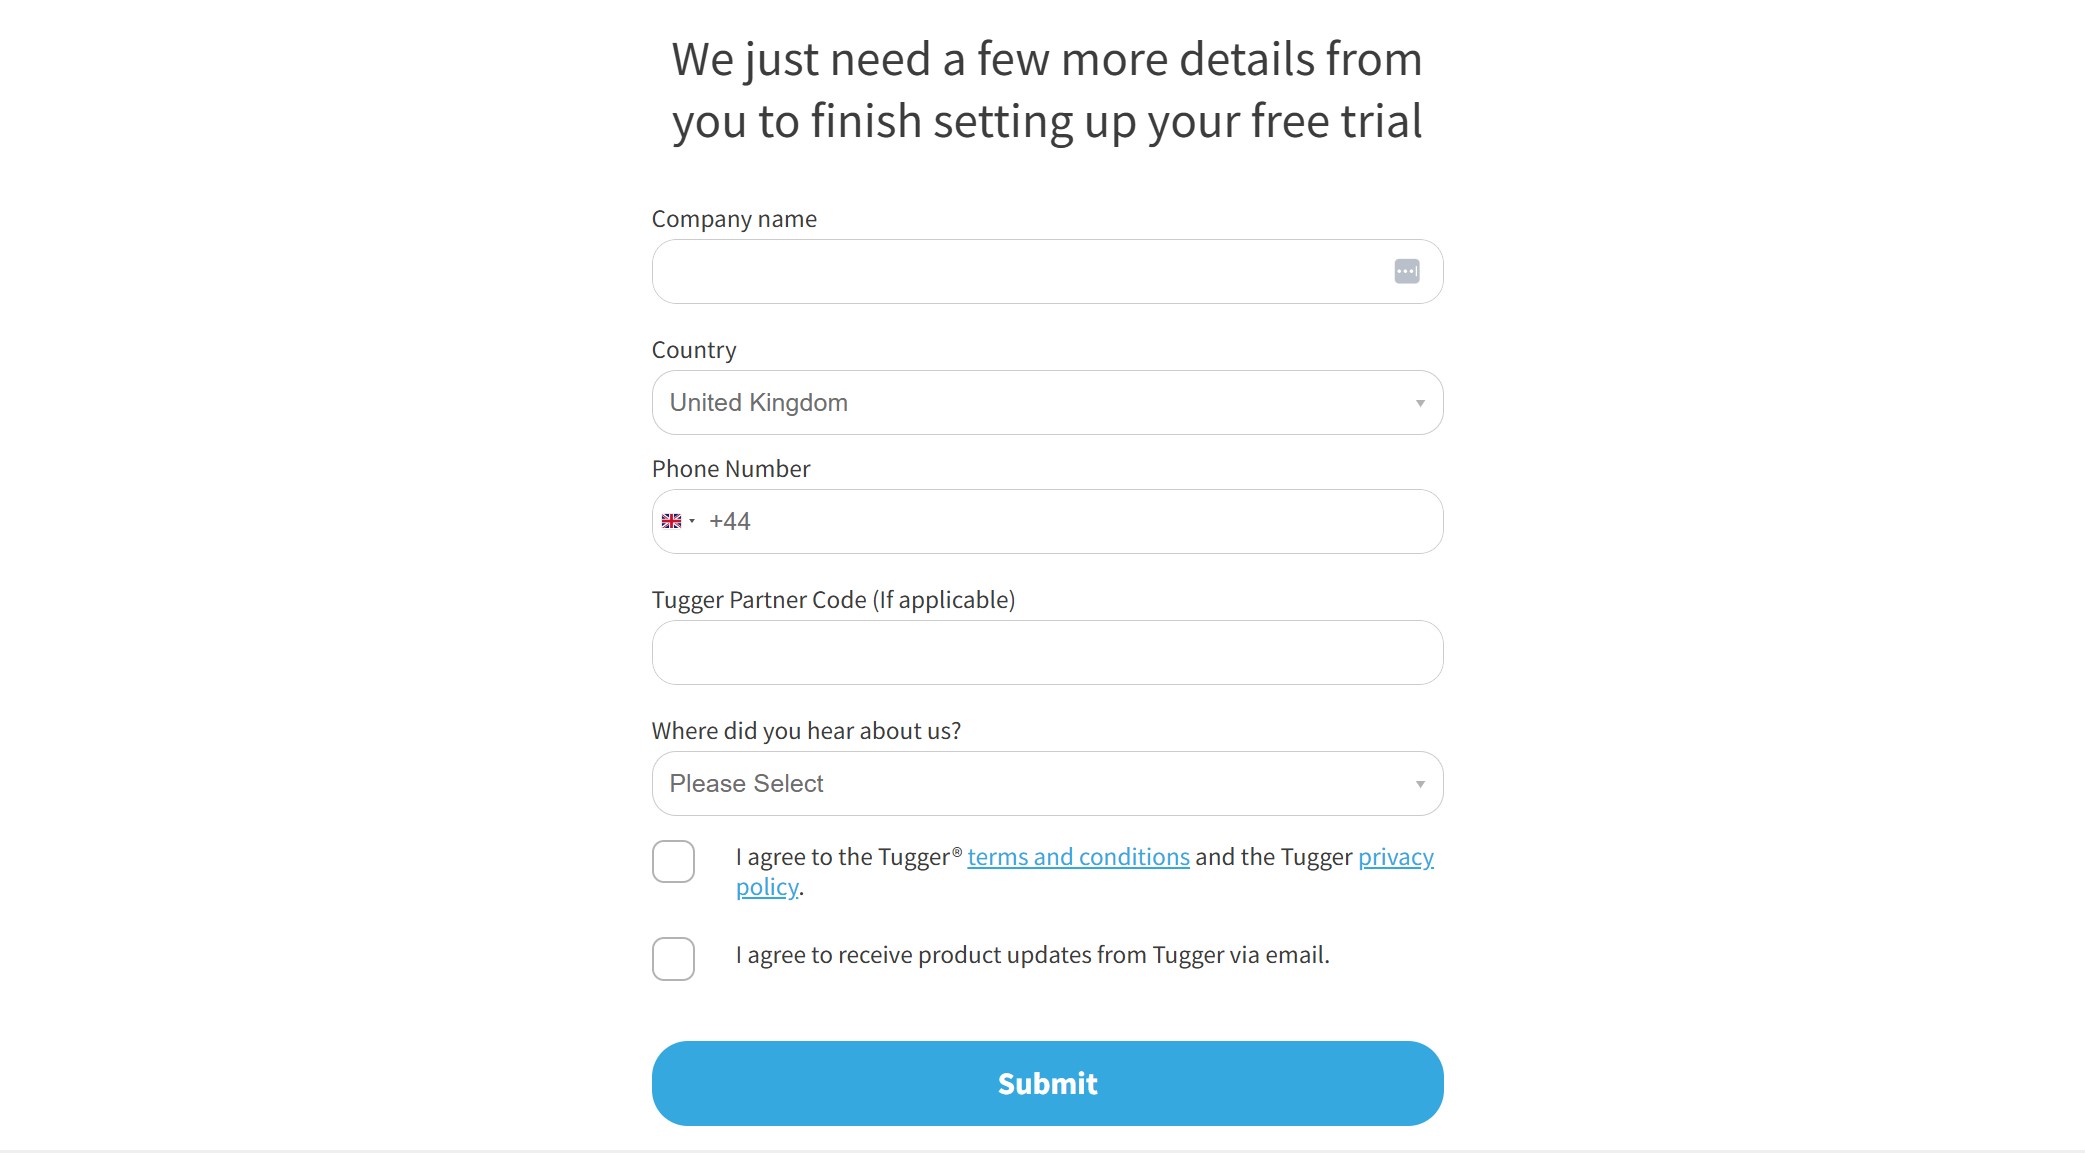
- Fill in your details (name, email, password)
- Agree to the terms and conditions, then click Submit
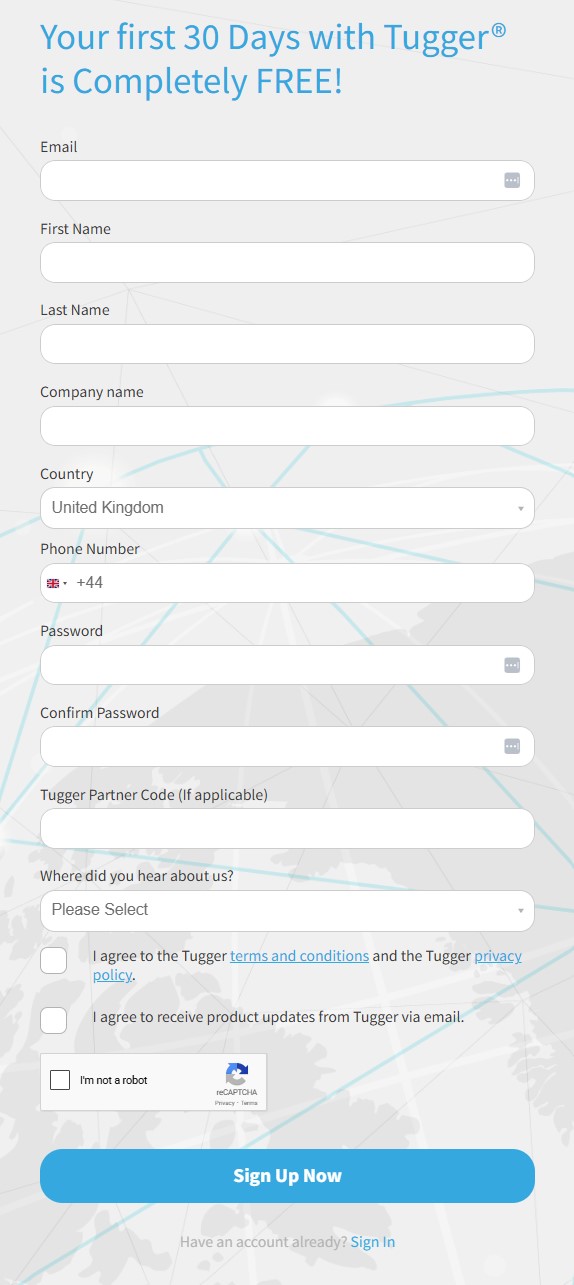
- You'll receive a verification email. Click the link in the email to verify your address.
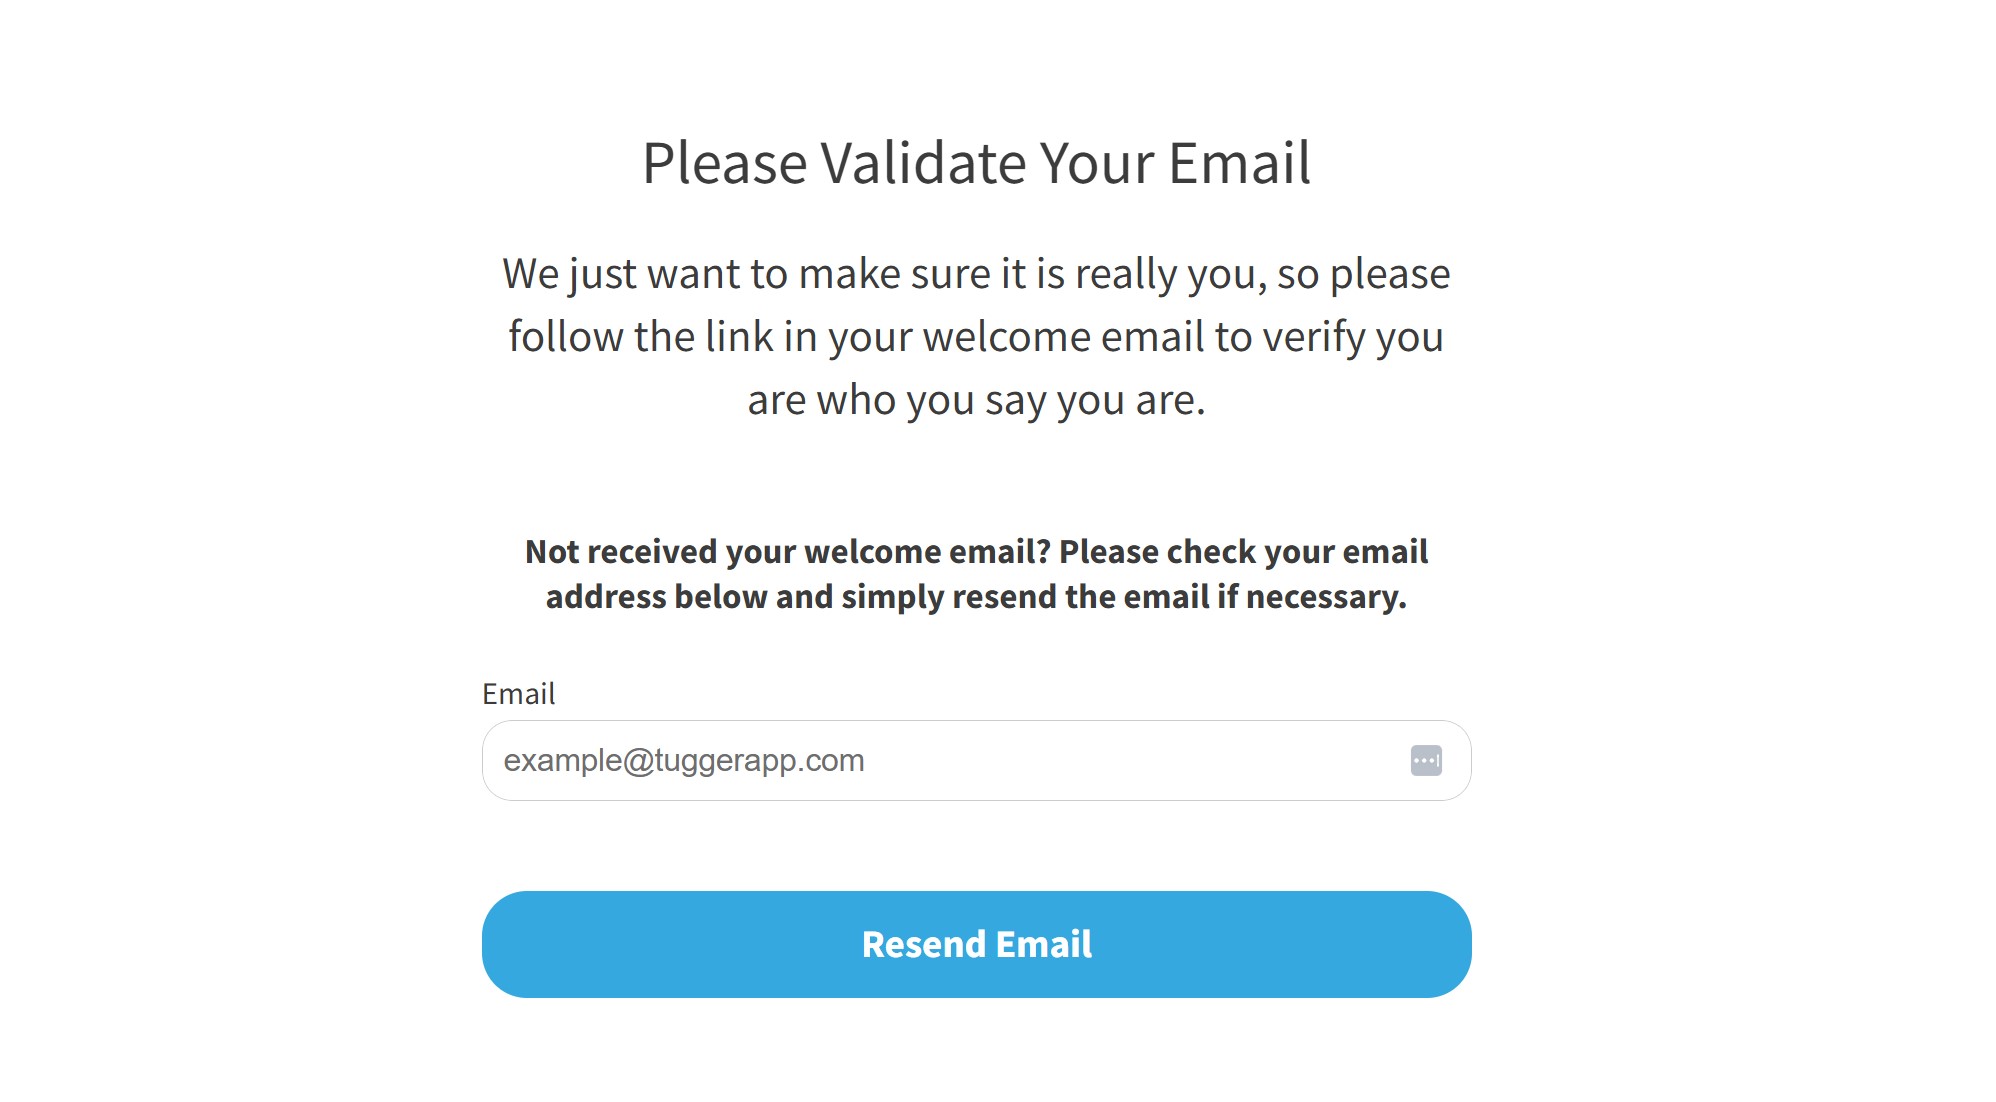
- Once verified, log in at tuggerapp.com with the email and password you just created.
You'll land on the Add Connector screen, ready to connect your first app. See Setting Up Your First Connector or jump straight to the guide for your specific app (e.g. Xero, HubSpot, Simpro).
Option B: Sign up via Xero (SSO)
If you came to Tugger through the Xero App Store, you can sign up using your Xero login instead of creating a separate password.
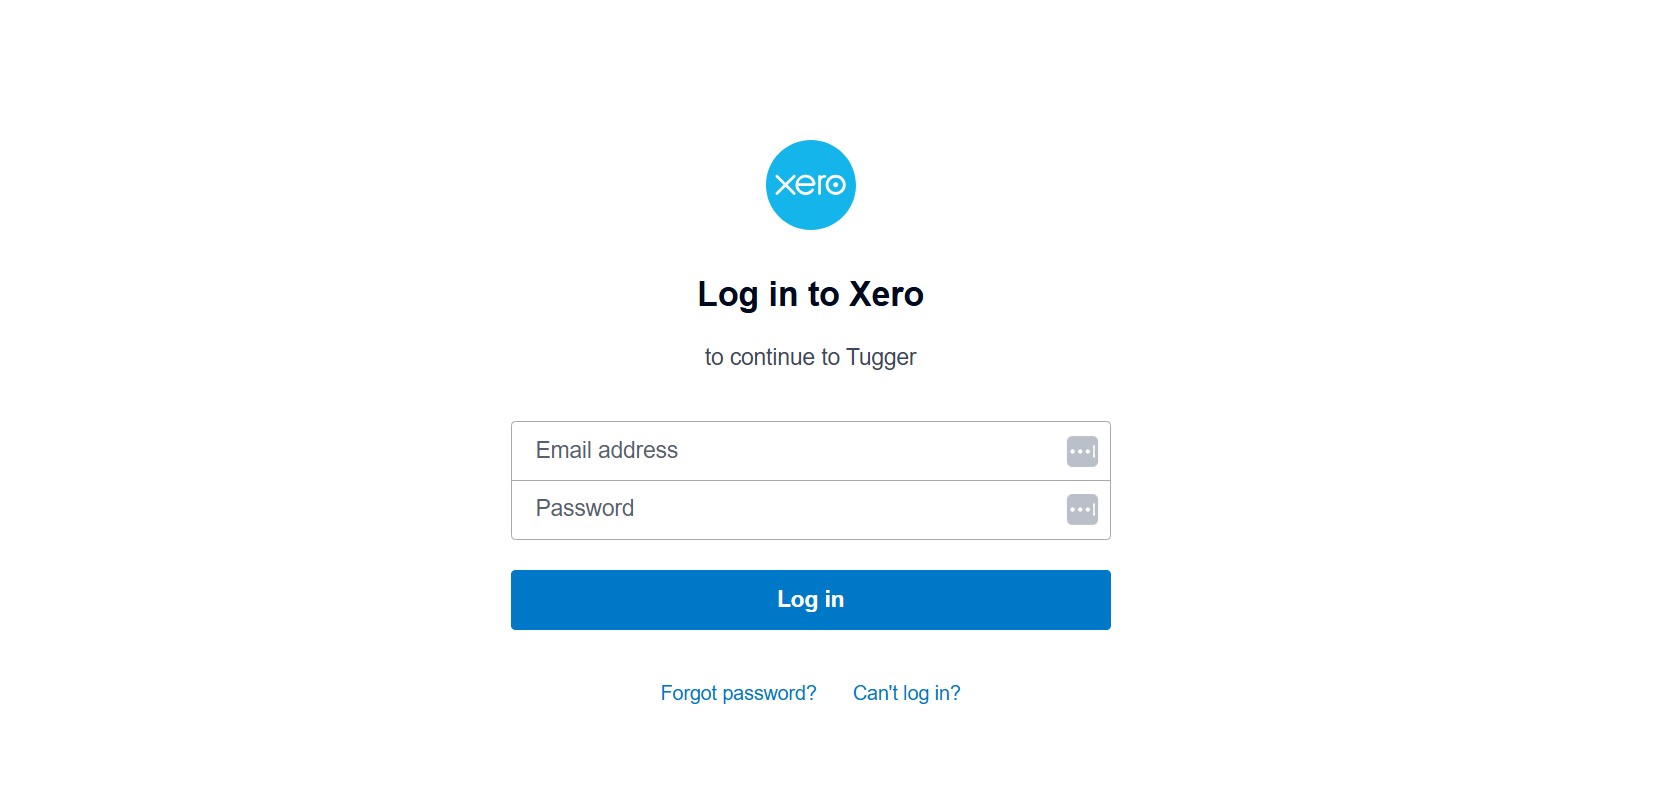
- On the Tugger login page, click Sign In with Xero
.jpg)
- You'll be redirected to Xero's login page. Sign in with your usual Xero email and password.
-
If you have two-factor authentication enabled in Xero, complete that step as normal.
-
Xero will ask you to allow Tugger access. Review the details and click Allow Access.
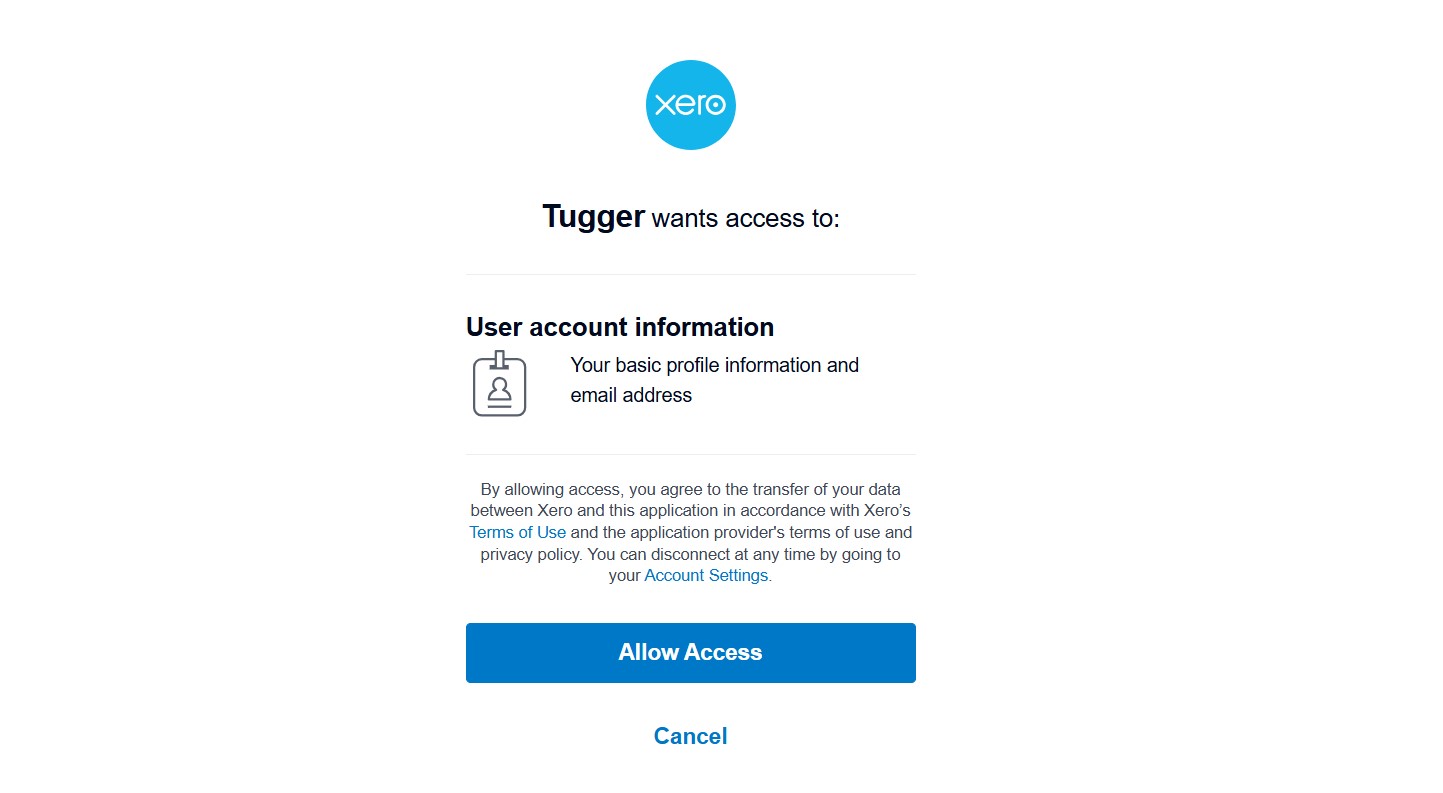
- You'll be redirected back to Tugger to complete your registration. Fill in any remaining details, then click Submit.
You'll land on the Add Connector screen, ready to set up your first connector.
Note: If you don't have an existing Xero account, the Sign In with Xero option won't work. Use the standard sign-up process instead.
Logging in
After your account is created, you can log in at any time:
- Go to tuggerapp.com
- Enter your email and password, or click Sign In with Xero if you signed up using Xero SSO
.jpg)
What's next?
Once you're logged in, your next step is to add a connector and start pulling data:
- Setting Up Your First Connector - a quick-start walkthrough
- Your Tugger Dashboard Explained - get to know the interface
- Browse the full list of Connector Setup Guides
Related articles: