A connector links Tugger to one of your business apps and syncs your data automatically. This guide walks through the general process for adding any connector. The steps are the same regardless of which app you're connecting.
For app-specific instructions (including authentication details), see the individual Connector Setup Guides.
Before you start
- A Tugger account (sign up free)
- An account with the app you want to connect, with permission to authorise third-party access
Step 1: Add a connector
- Log in to Tugger at tuggerapp.com
- Click Add Connector from the menu
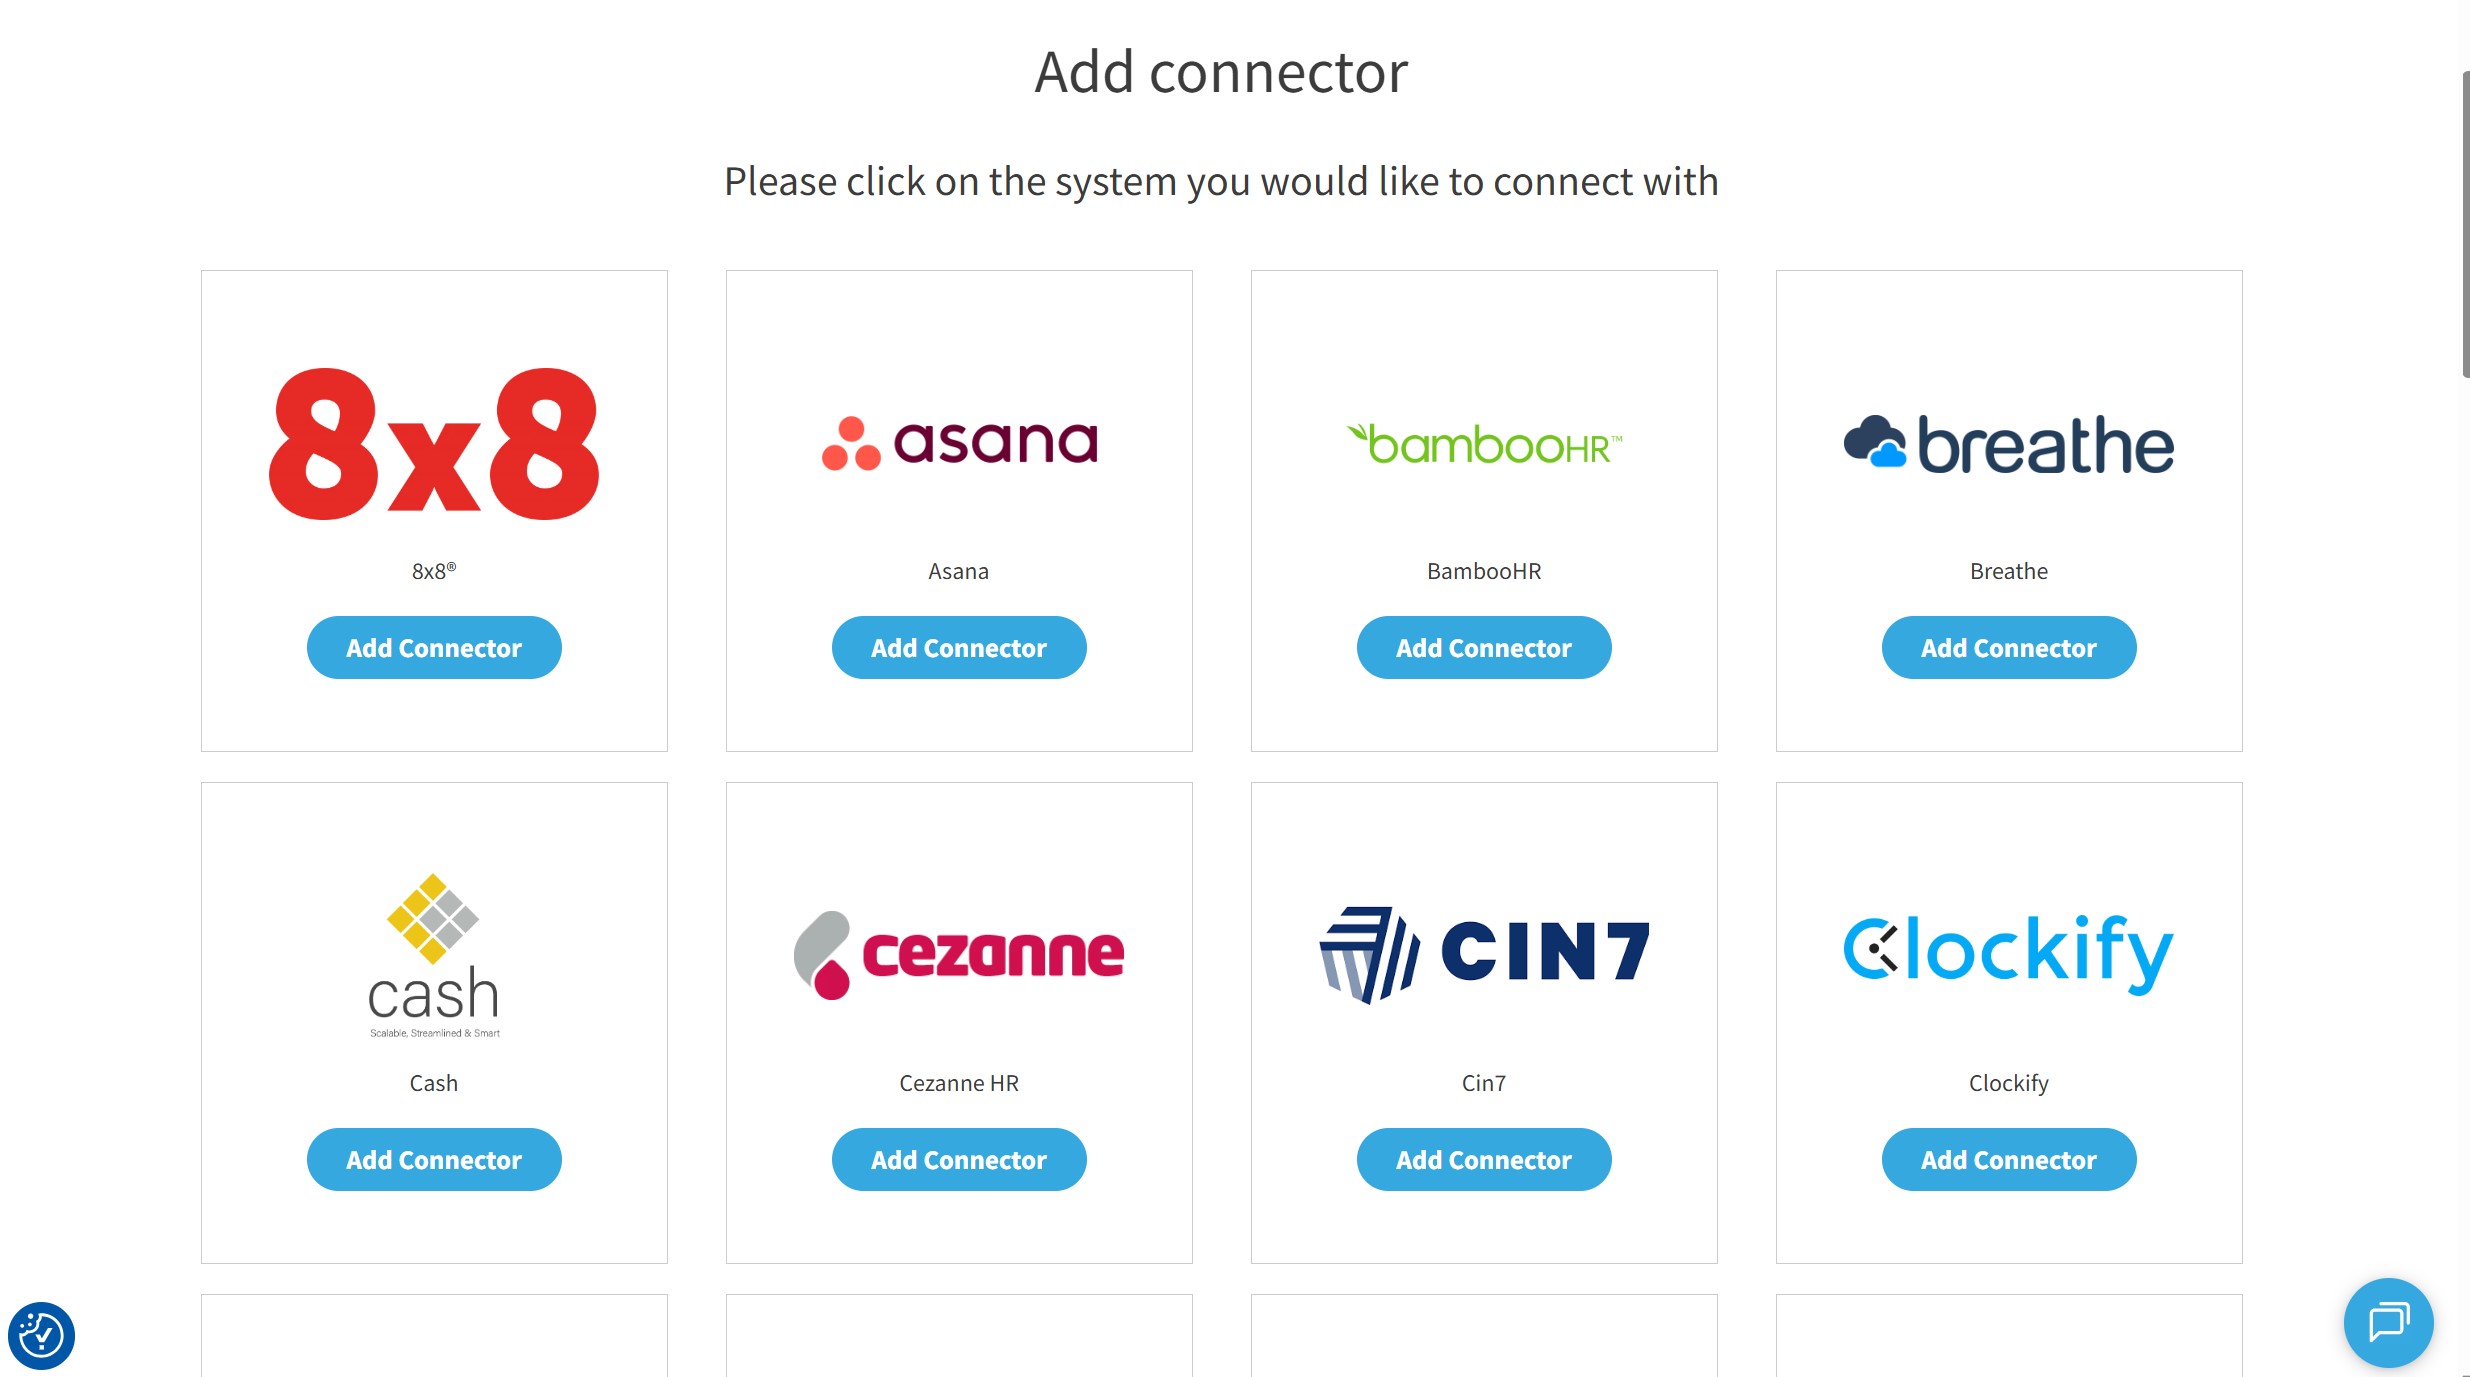
- Browse or search for your app, then click Add Connector
Step 2: Configure your connector
You'll be asked to provide a few details:
- Connector name - give it a name that makes sense to you (e.g. "Acme Ltd Xero" or "HubSpot - Sales"). This is especially useful if you plan to connect multiple accounts or organisations.
- Sync Historical Data From - choose how far back you want Tugger to pull data from. The further back you go, the more data will be stored and the longer your first sync will take.

Click Authorise Access to proceed.
Step 3: Authenticate
Tugger will ask you to connect to your app. How this works depends on the app:
- OAuth login (most common) - you'll be redirected to the app's login page to sign in and approve access. This is the same kind of "Sign in with..." process used by many apps. No API keys needed.
- API key - some apps ask you to paste an API key from your account settings. The connector setup guide for your app will tell you where to find it.
.jpg)
Follow the on-screen prompts to complete authentication. If the app has multiple accounts or organisations (e.g. Xero tenants), you'll be asked to select which one to connect.
Tip: If you need to connect multiple organisations or accounts from the same app, add a separate connector for each one.
Step 4: Wait for your first sync
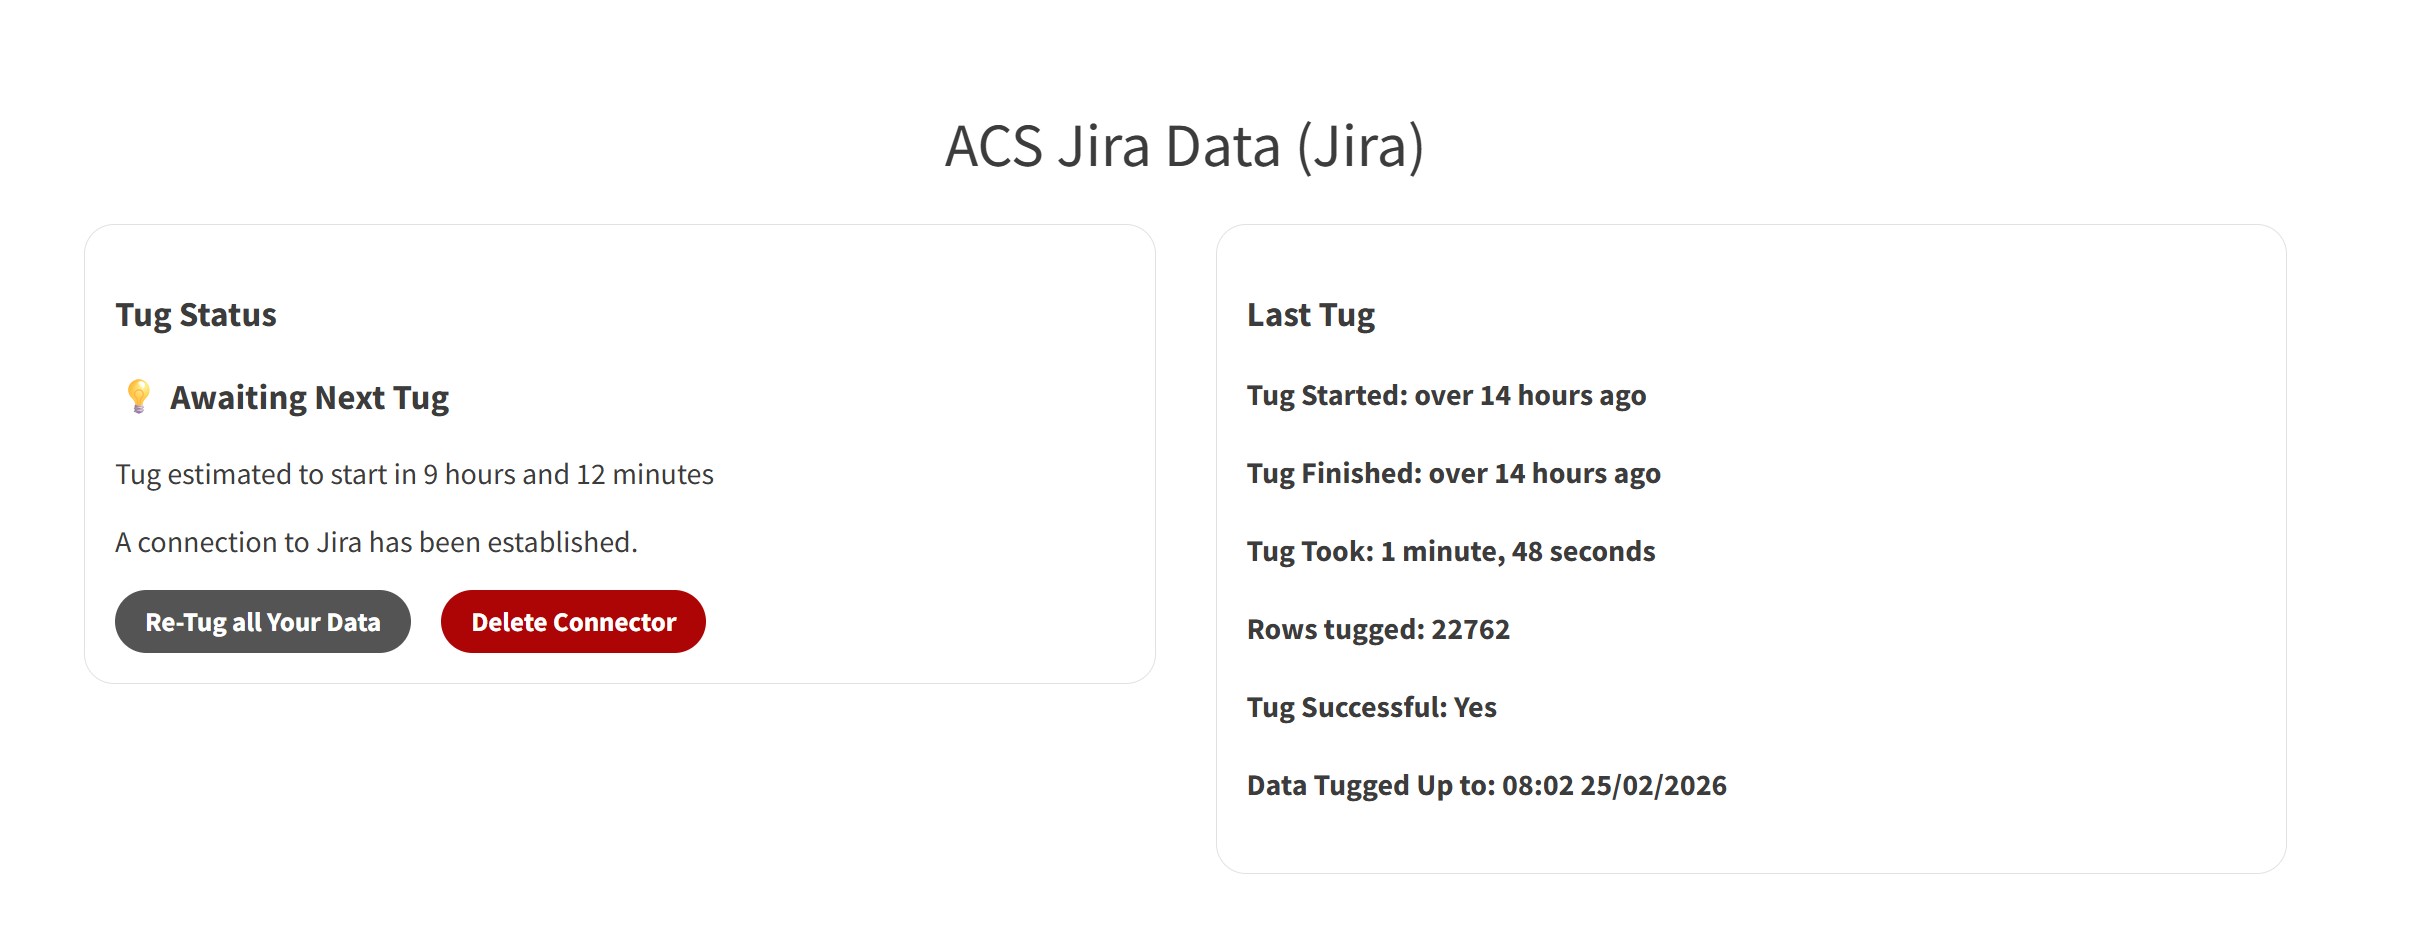
Once setup is complete, Tugger will start pulling your data automatically. You can check progress on the Summary page.
.jpg)
The first sync can take anywhere from a few minutes to longer, depending on how much data you have and how far back your data start date goes.
You'll receive an email when your data is ready. At that point, the reporting options will appear in Tugger and you can start building reports or using AI Insights.
After the first sync, Tugger keeps your data up to date automatically. By default, syncs run daily at 08:00 UK time. You can change this in Managing Your Sync Schedule.
What's next?
Once your data is ready, you have two ways to work with it:
Reporting - connect your Tugger data to Power BI, Tableau, or Excel.
AI Insights - ask questions about your data in plain English using Claude, ChatGPT and more.
Troubleshooting
Can't find your app in the connector list?
- Check the full list of supported connectors. If your app isn't listed, let us know and we'll look into adding it.
Authentication failed?
- Make sure you're using an account with permission to authorise third-party access. Some apps require admin-level access.
- See the connector setup guide for your specific app for detailed authentication steps.
Sync seems stuck?
- Large datasets can take a while on the first sync, especially with an early data start date. Check the Summary page for progress updates.
- If the sync hasn't progressed after a long period, contact the Tugger team.
Related articles: