This guide shows you how to load your Tugger data into Tableau using OData. The process is the same regardless of which connector you're using (Xero, HubSpot, Simpro, etc.).
Before you start
Make sure you have the following:
- Your first sync must be complete - you'll have received an email from Tugger confirming your data is ready. The reporting tab will only appear in Tugger once this is done.
- Tableau Desktop installed - you'll need Tableau Desktop or Tableau Public to connect to OData.
Step 1: Find your connection details in Tugger
You'll need your OData URL, Username, and Password from Tugger.
- Log in to Tugger at tuggerapp.com
- Navigate to your connector
- Click Report Credentials
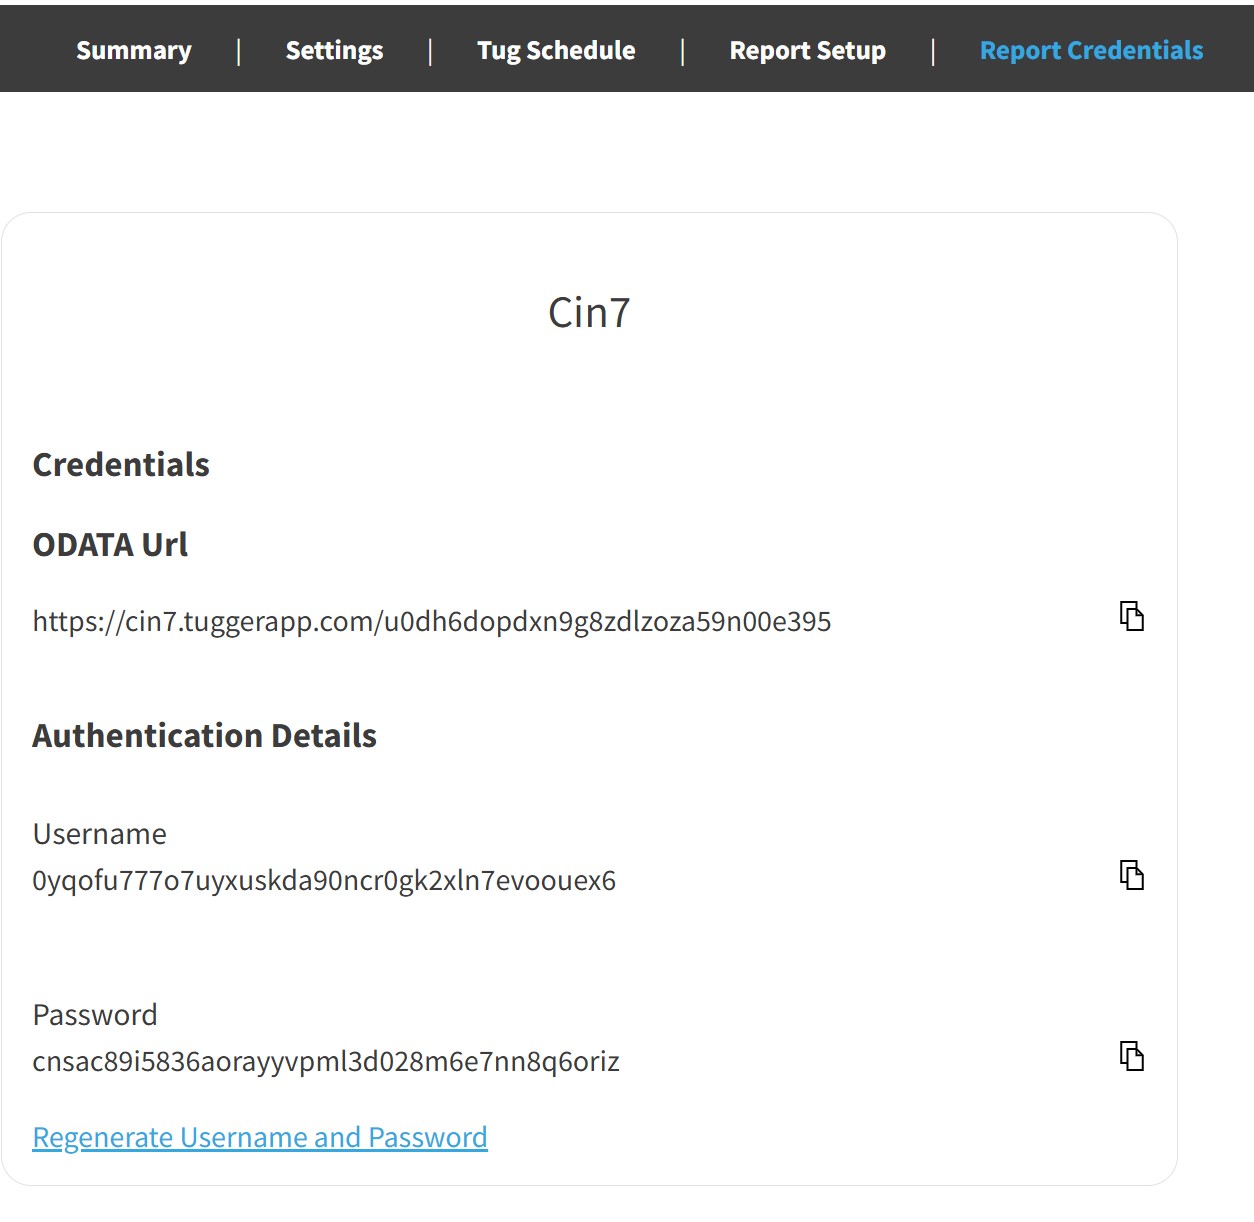
You'll see your OData URL, Username, and Password, each with a copy button. Keep this page open for the next steps.
Tip: You can also find these details by going to Report Setup and selecting Tableau, which will walk you through the process step by step.
Step 2: Connect to OData in Tableau
- Open Tableau Desktop
- On the start screen, under Connect > To a Server, click OData
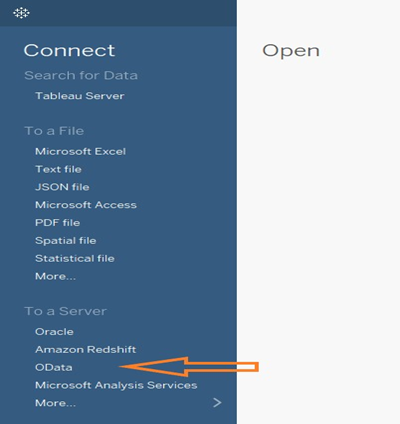
If OData isn't shown in the list, click More... under "To a Server", then select OData from the full list.
- In the OData dialogue, paste your OData URL from Tugger into the Server field
- Under Authentication, select Username and Password
- Enter the Username and Password from Tugger's Report Credentials page (use the copy buttons to make sure they're exact)
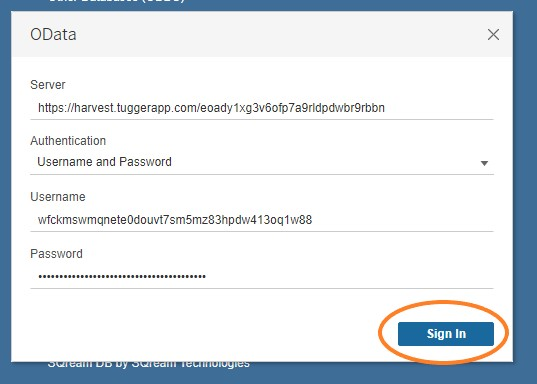
- Click Sign In
Tableau will connect to Tugger. After a few seconds, you'll see all your available data tables listed.
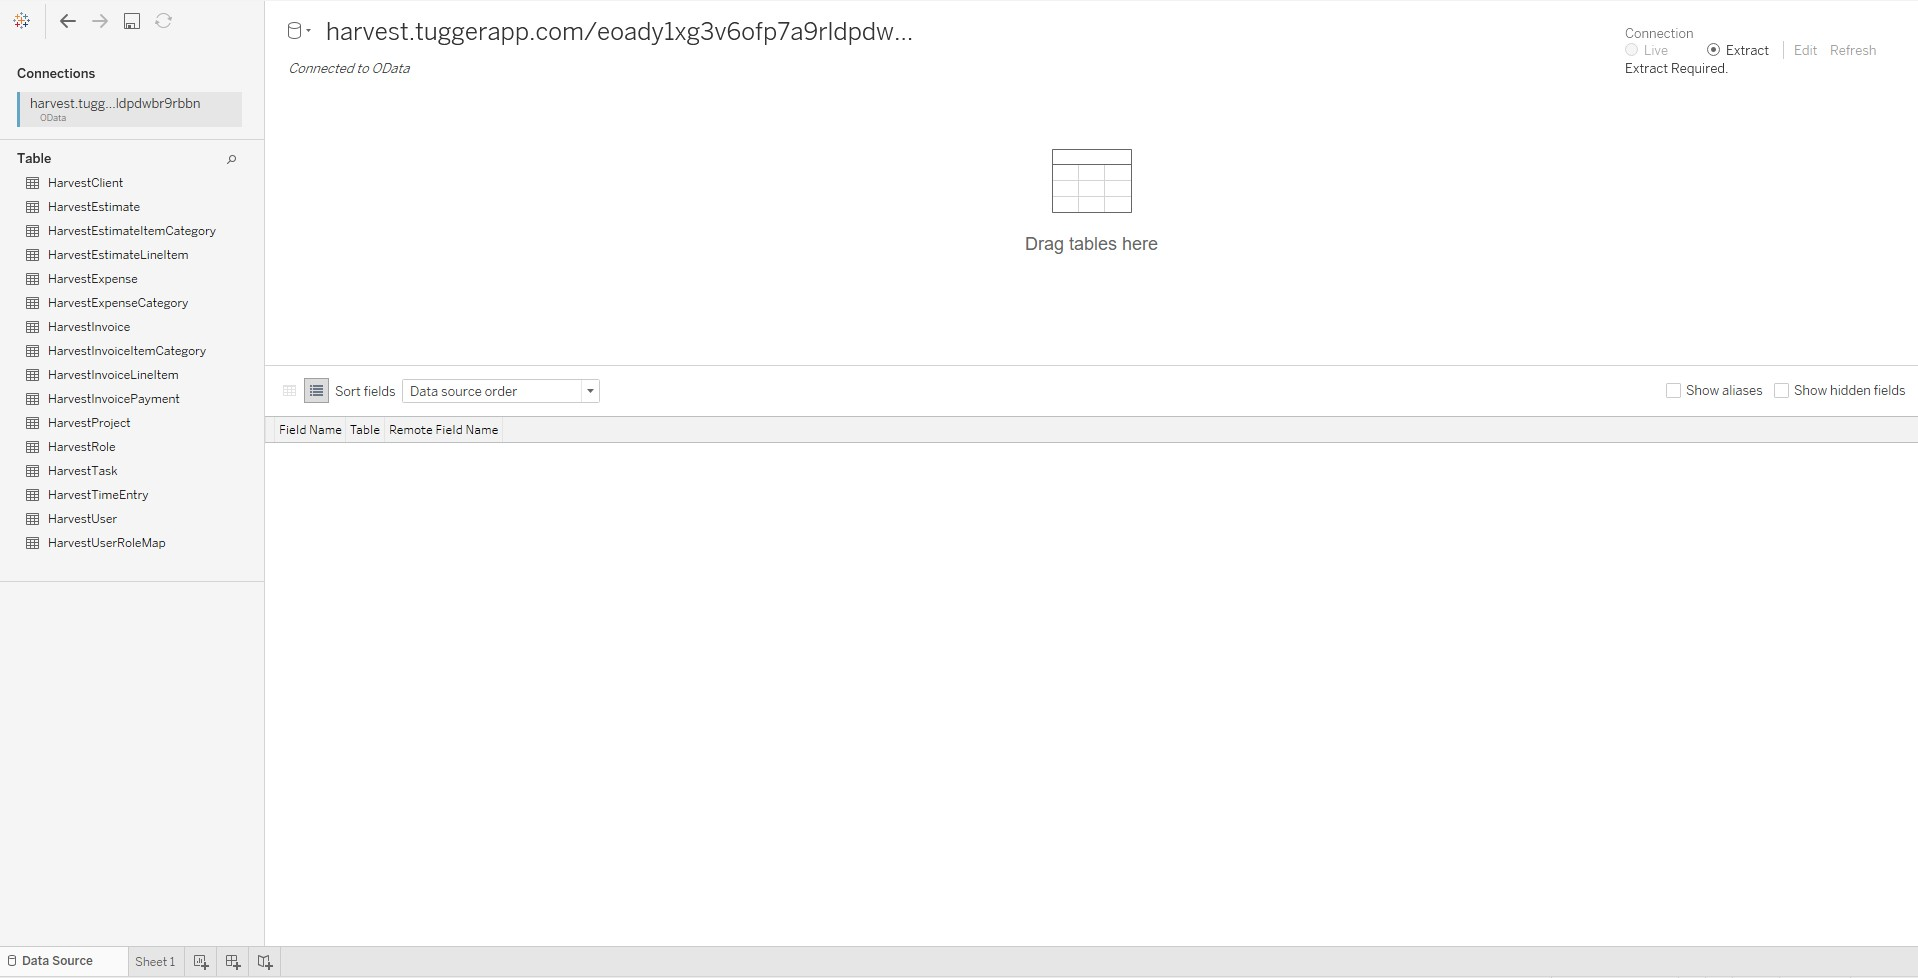
Step 3: Add tables and start building
- Drag the tables you want to use into the Data Source tab
- If you're combining multiple tables, link them using the relationship fields (Tugger tables include key ID fields for this purpose)

- Click on a Sheet tab at the bottom to start building your visualisations

Your Tugger data is now in Tableau and ready to use.
What's next?
- Save your workbook - save as a .twbx file so you can reopen it without re-entering credentials
- Refresh your data - to pull the latest data from Tugger, right-click the data source and select Refresh
- Publish to Tableau Server or Tableau Cloud - share your workbooks with your team
Troubleshooting
OData option not showing in Tableau
- Click More... under "To a Server" on the start screen to see the full list of connectors.
"Sign In failed" or authentication error
- Make sure you selected Username and Password as the authentication type (not OAuth or other options).
- Check that the Username and Password match exactly what's shown in Tugger's Report Credentials page. Use the copy buttons to avoid errors.
No tables showing after connecting
- Check that your first sync has completed in Tugger (Summary page).
- Make sure the OData URL is correct and complete.
Data seems incomplete or missing
- Check your data start date in Tugger - data before this date won't be included.
Related articles: