Connect your Freshsales account to Tugger and start asking questions of your data in plain English with AI Insights - or pull it into Power BI, Tableau, or Excel. Setup takes around 10 minutes.
What you'll need
- A Tugger account (sign up free)
- A Freshsales Suite account - see the note below if you're not sure which one you have
- Your Freshsales API key and domain - both sit on the same screen in Freshsales, and Step 3 shows you exactly where to find them
Connecting more than one Freshsales account? Each Freshsales account counts as one connector on your Tugger plan. You can connect as many as your plan allows.
Freshsales Suite vs. Freshsales Classic: Tugger connects to Freshsales Suite (the current Freshworks CRM, at a *.myfreshworks.com address). If you haven't yet migrated from the older, standalone Freshsales Classic (a *.freshsales.io address), the connector won't work with your account - your API key and domain won't be recognised. Freshworks migrates Classic accounts to Suite on request; contact Freshworks support to move over, then come back and connect Tugger.
Step 1: Add the Freshsales connector in Tugger
- Log in to Tugger at tuggerapp.com
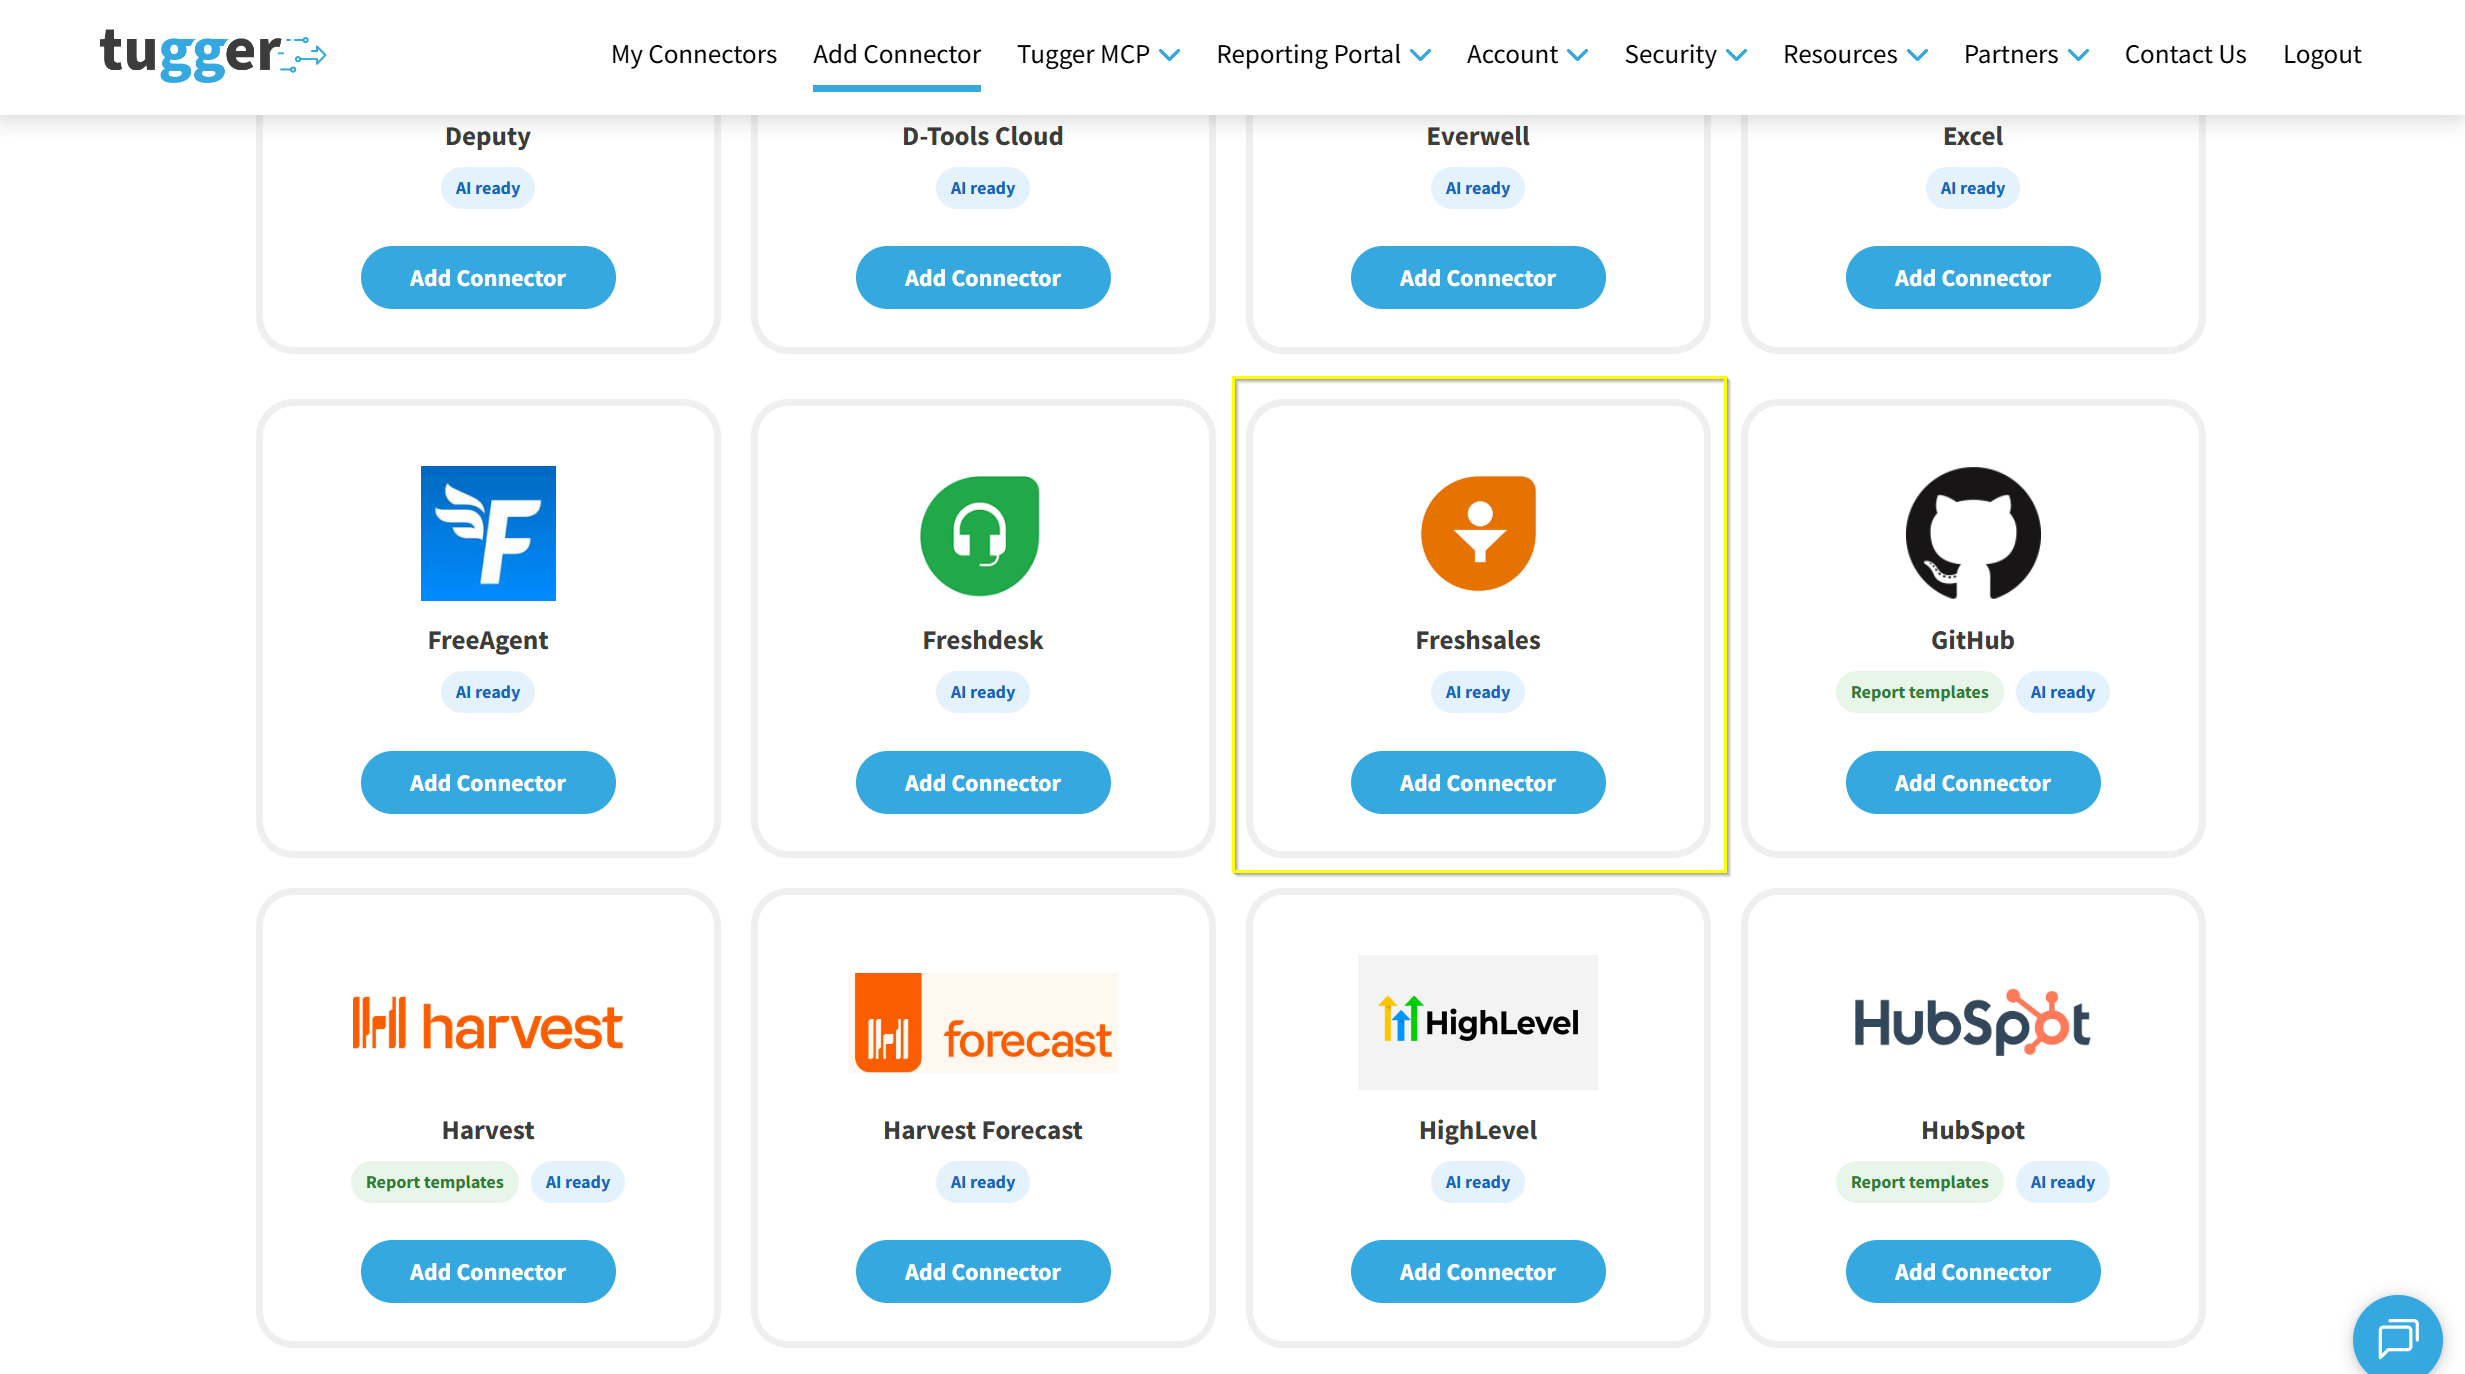
- Click Add Connector from the menu
- Find Freshsales, then click Add Connector on its card
Step 2: Configure your connector
There are two things to set here:
- Connector Name - give it a name that makes sense to you (e.g. "Acme Freshsales"). This is especially helpful if you're connecting more than one Freshsales account.
- Sync Historical Data From - under Historic Data, choose how far back you want Tugger to pull data from. It defaults to one year ago. The further back you go, the more data will be stored and the longer your first sync will take.
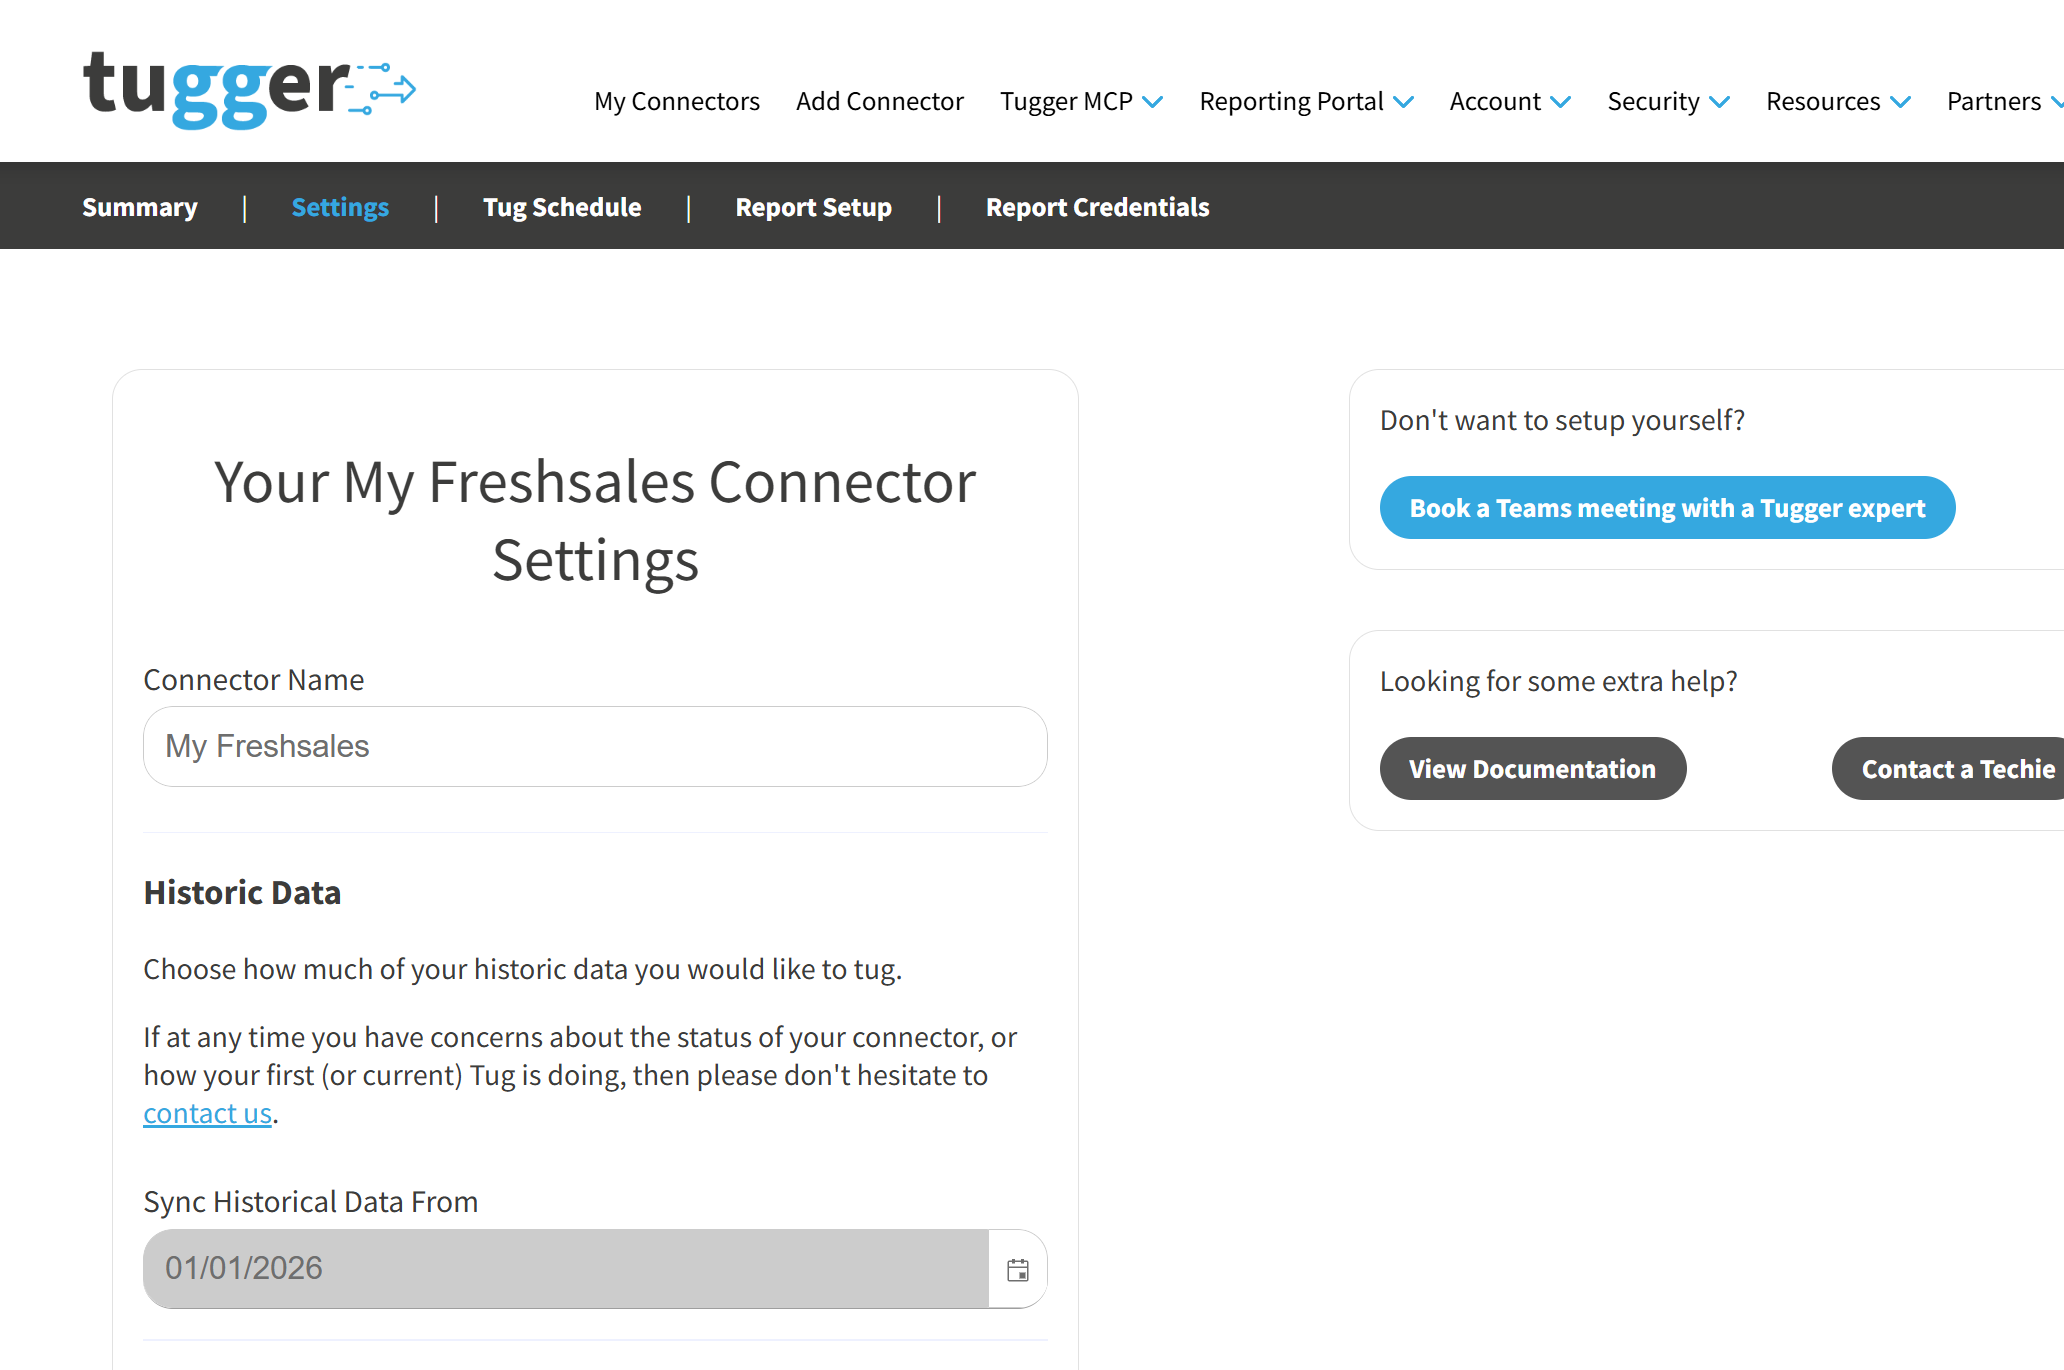
Leave this page open - you'll come back to it in Step 4 to add your credentials.
Step 3: Find your API key and domain in Freshsales
In a new browser tab, log in to Freshsales, then:
- Click the settings (gear) icon at the bottom of the left-hand menu to open Admin Settings
- Go to Apps & Integrations, then click API Settings
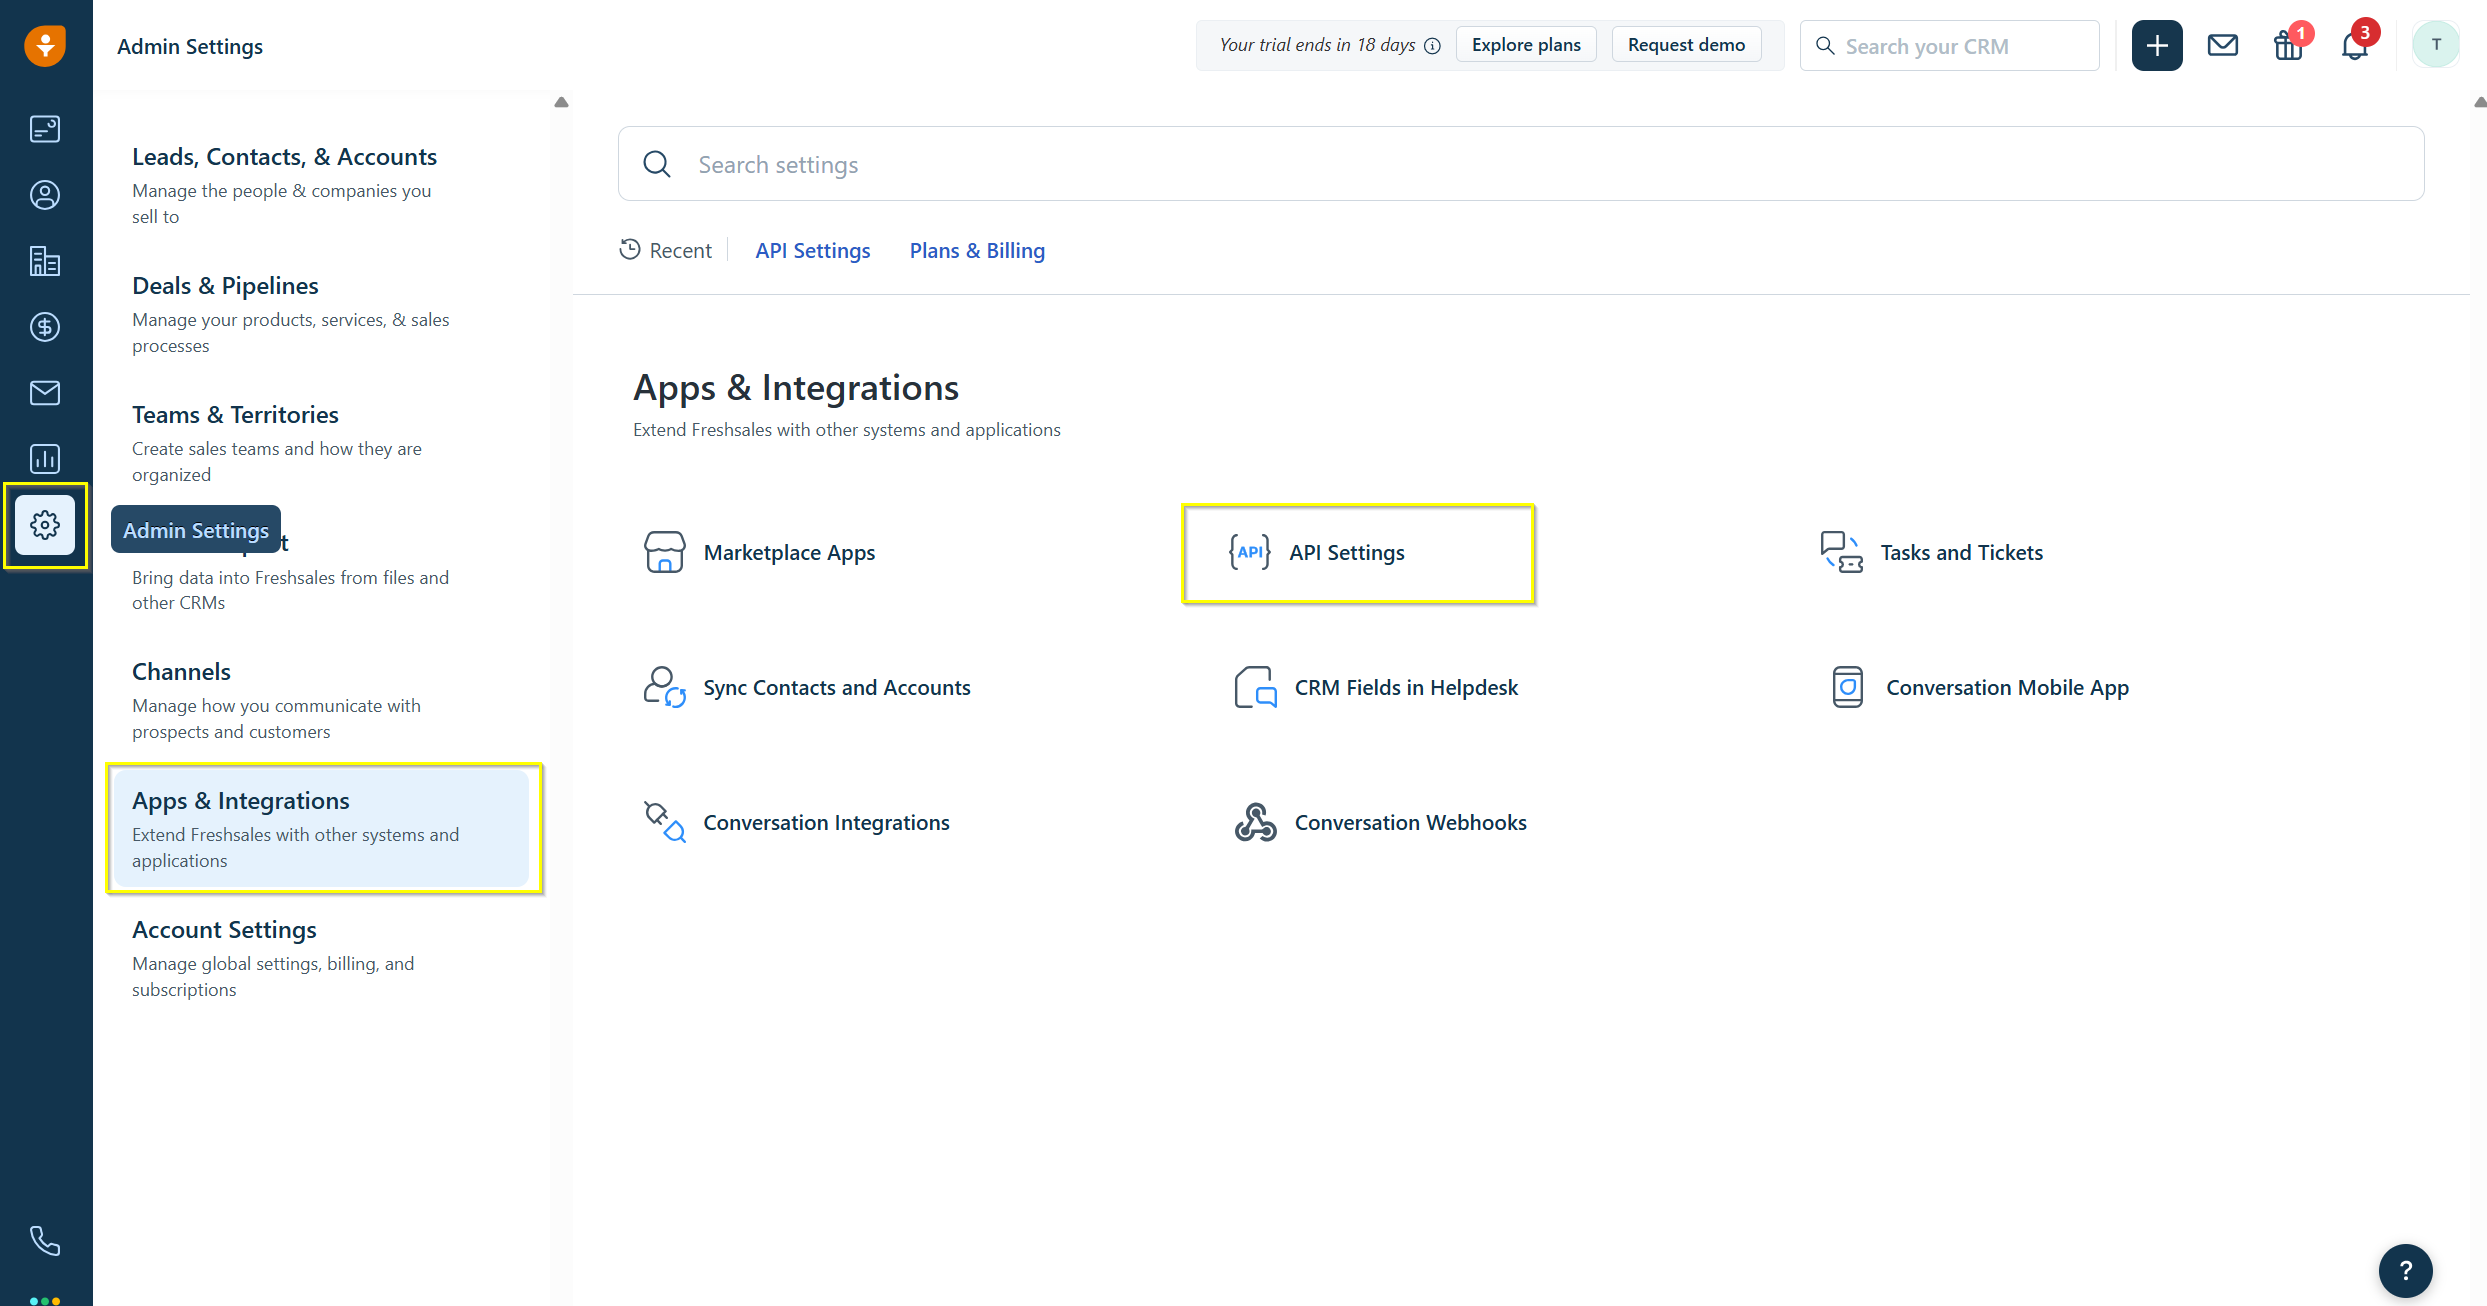
The page opens on the API tab under Personal Settings. That's the right place - your API key belongs to you personally rather than to the whole account.
On that page, under CRM API details:
- Find Your API Key and click Copy
- Just below it, make a note of Your bundle alias - this is your Freshsales domain
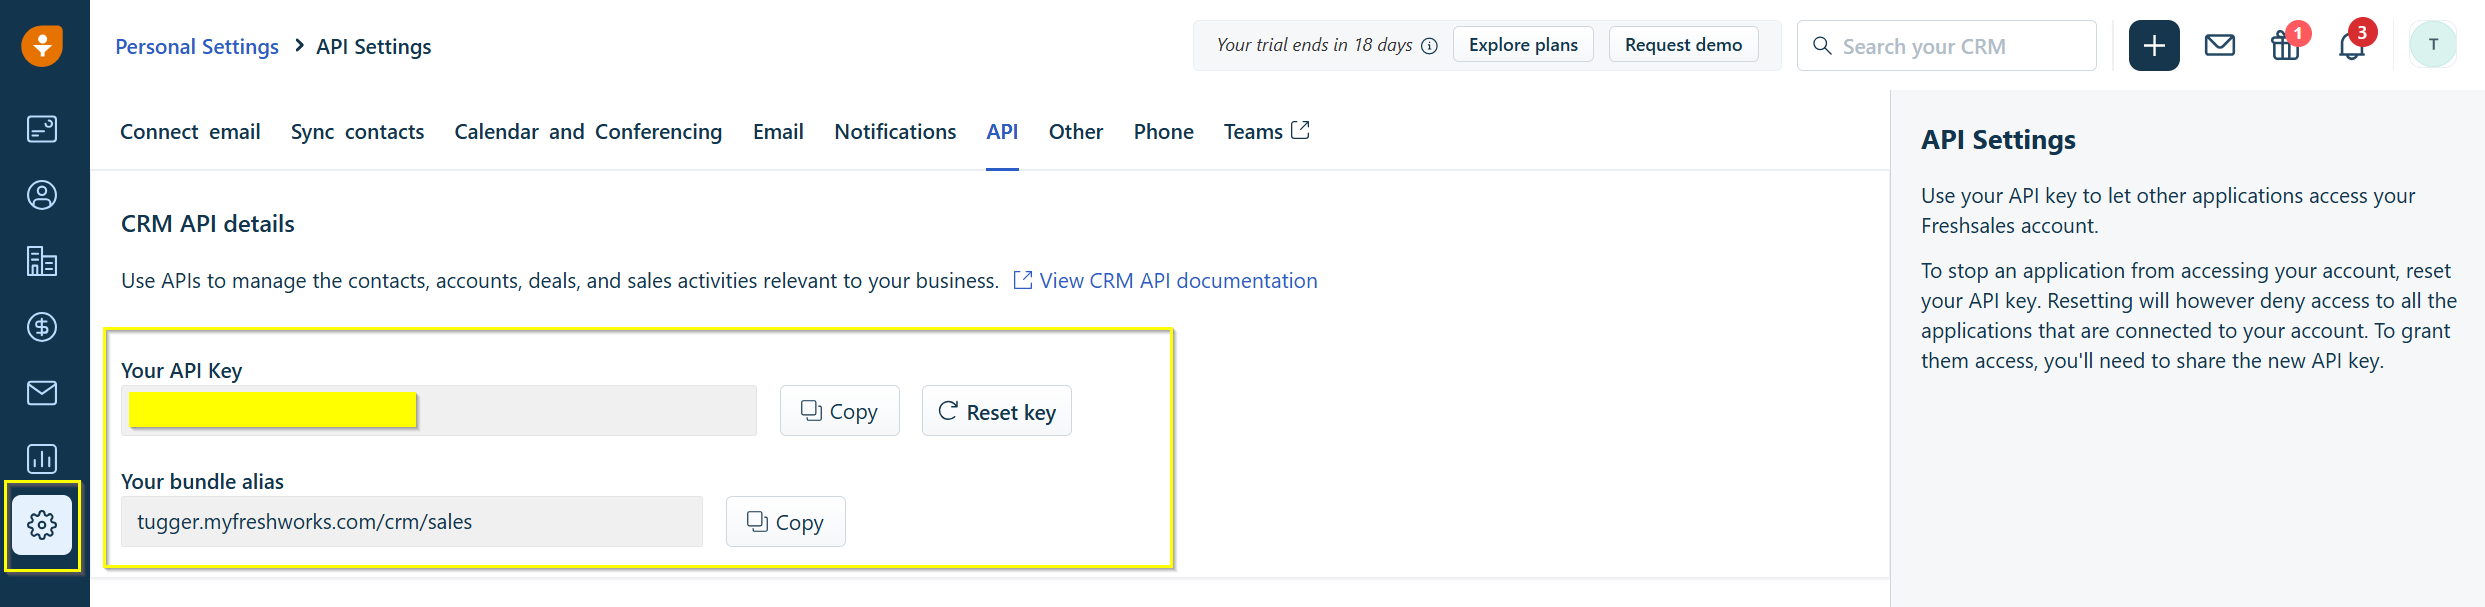
Your bundle alias looks like yourcompany.myfreshworks.com/crm/sales. Tugger only needs the first part, so in that example you'd use yourcompany.
Treat your API key like a password and don't share it. Also, please don't click Reset key on this screen - that creates a brand new key and stops any other apps you've already connected to Freshsales from working.
Whose API key should you use? A Freshsales API key belongs to the person who generated it, and it can only see the records that person can see. Use the key of someone with full visibility of your CRM - usually an administrator - so nothing is missing from your reports.
Step 4: Add your credentials to Tugger
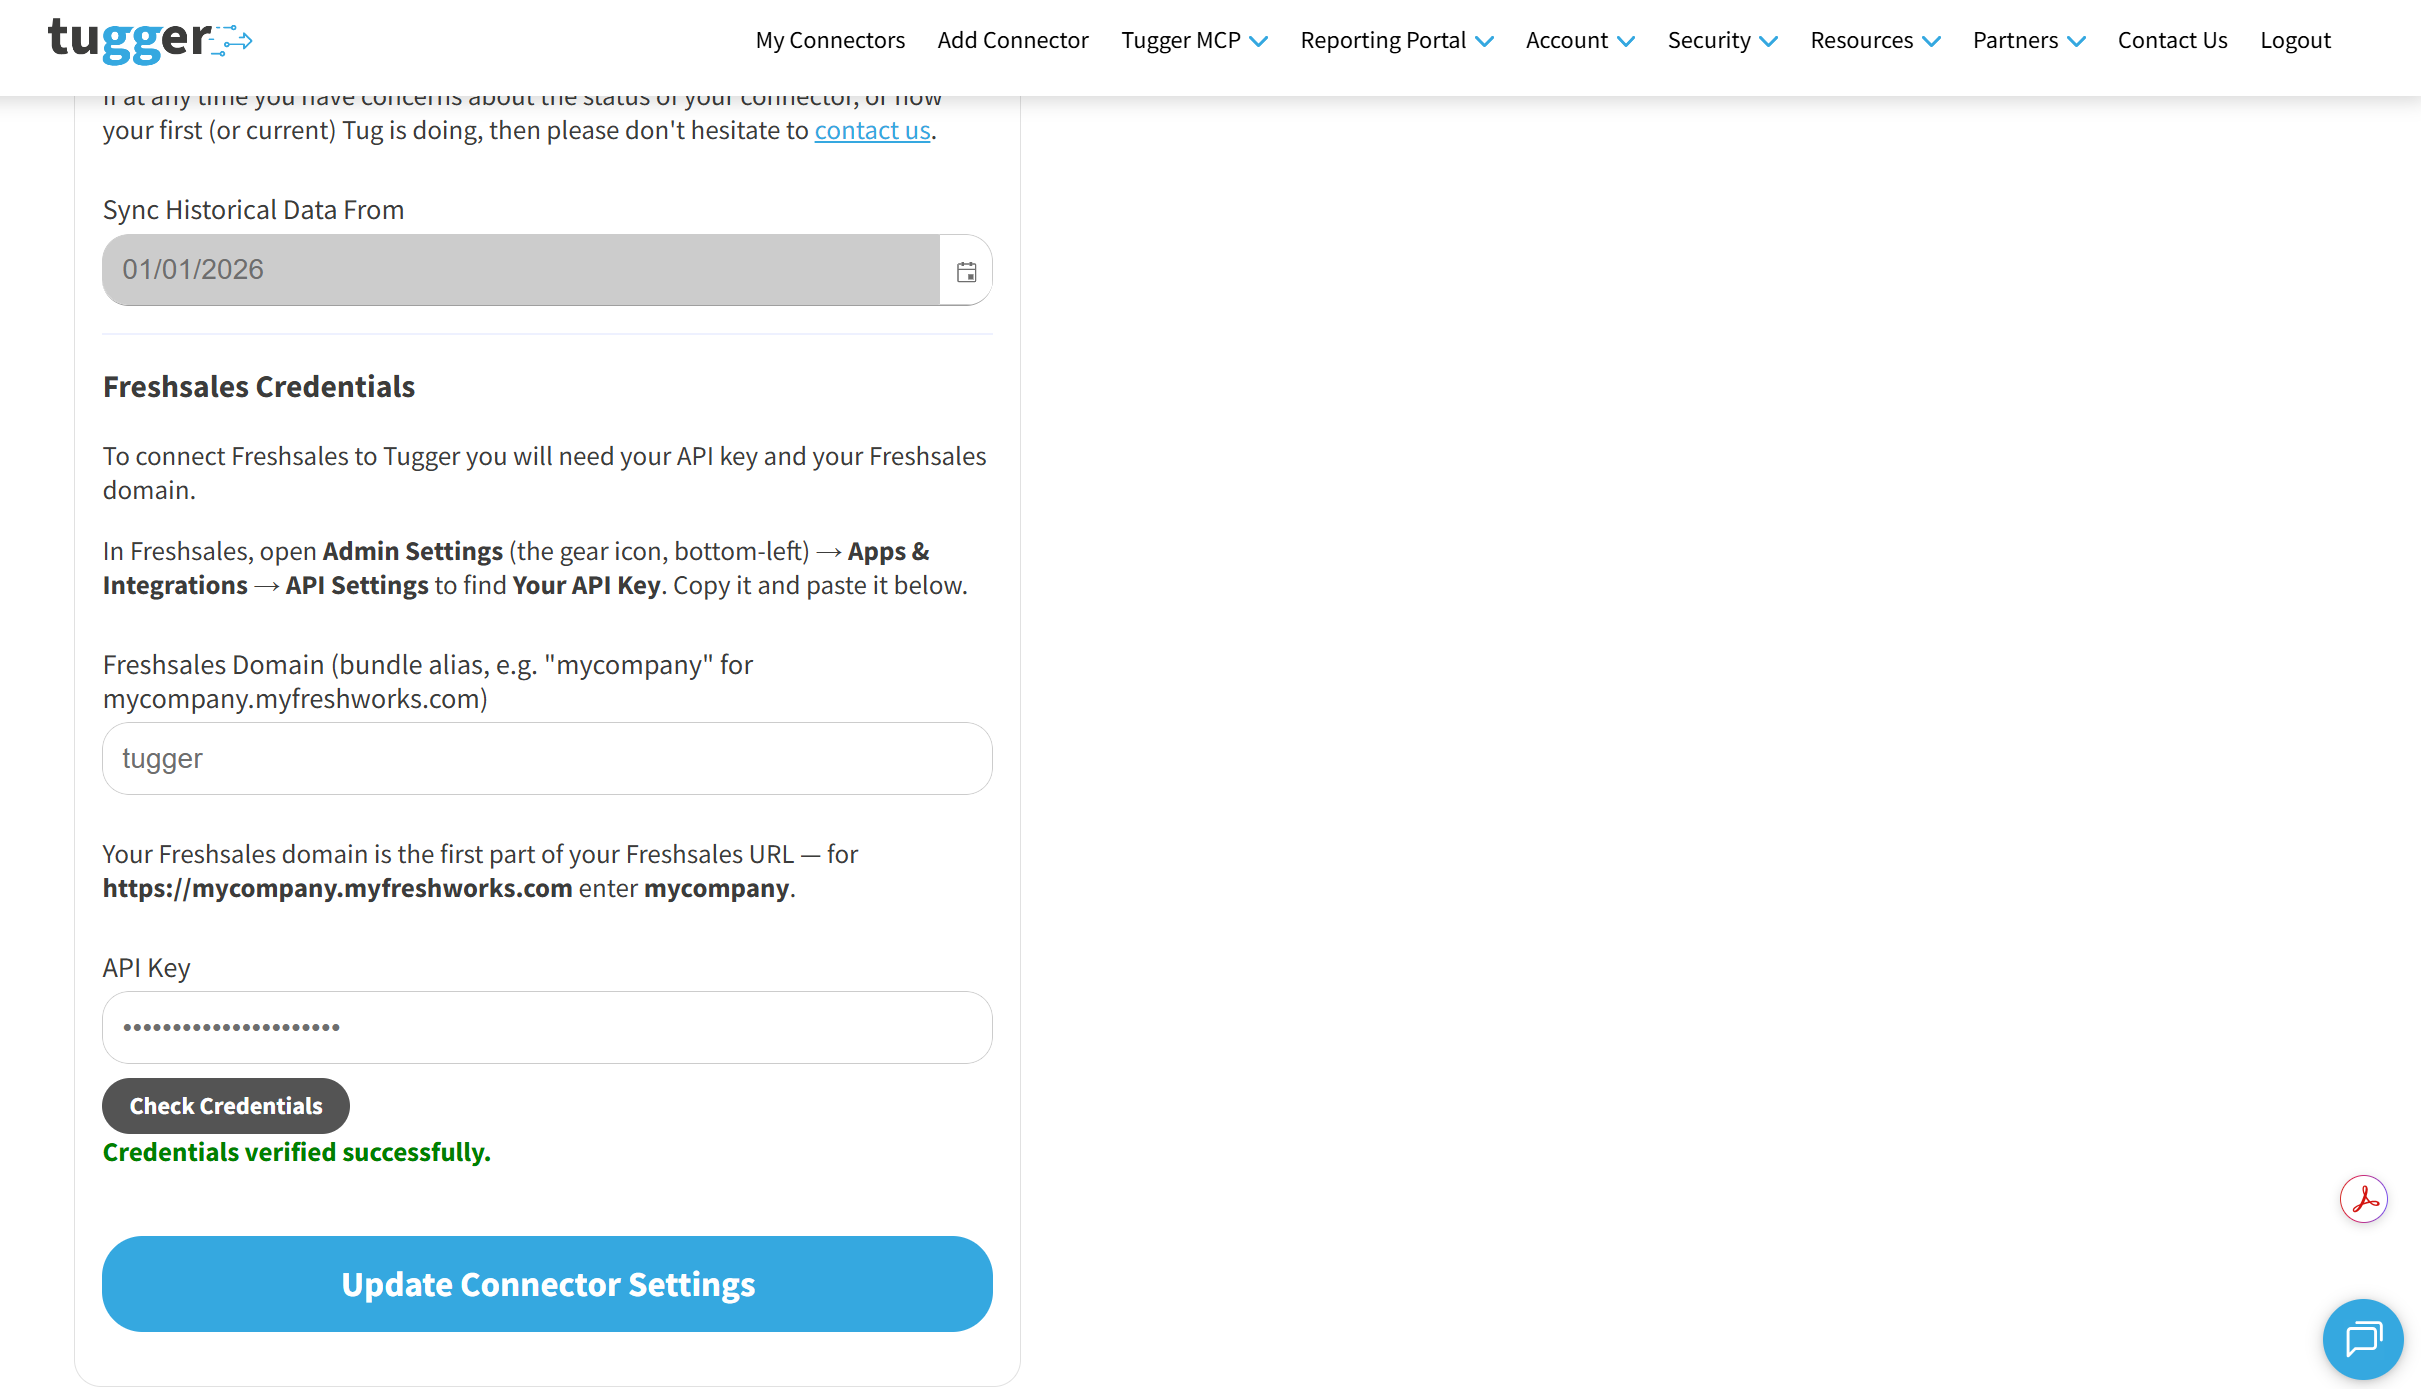
Back on your connector settings page, scroll down to Freshsales Credentials:
- In Freshsales Domain, enter just the first part of your bundle alias (e.g. yourcompany)
- Paste your key into API Key
- Click Check Credentials
Tugger will test the connection and confirm with Credentials verified successfully. The save button then appears - click Save Connector Settings to finish. If you're updating a connector you've already saved, the button reads Update Connector Settings instead.
No further setup needed - Tugger takes it from here.
Step 5: Your first sync
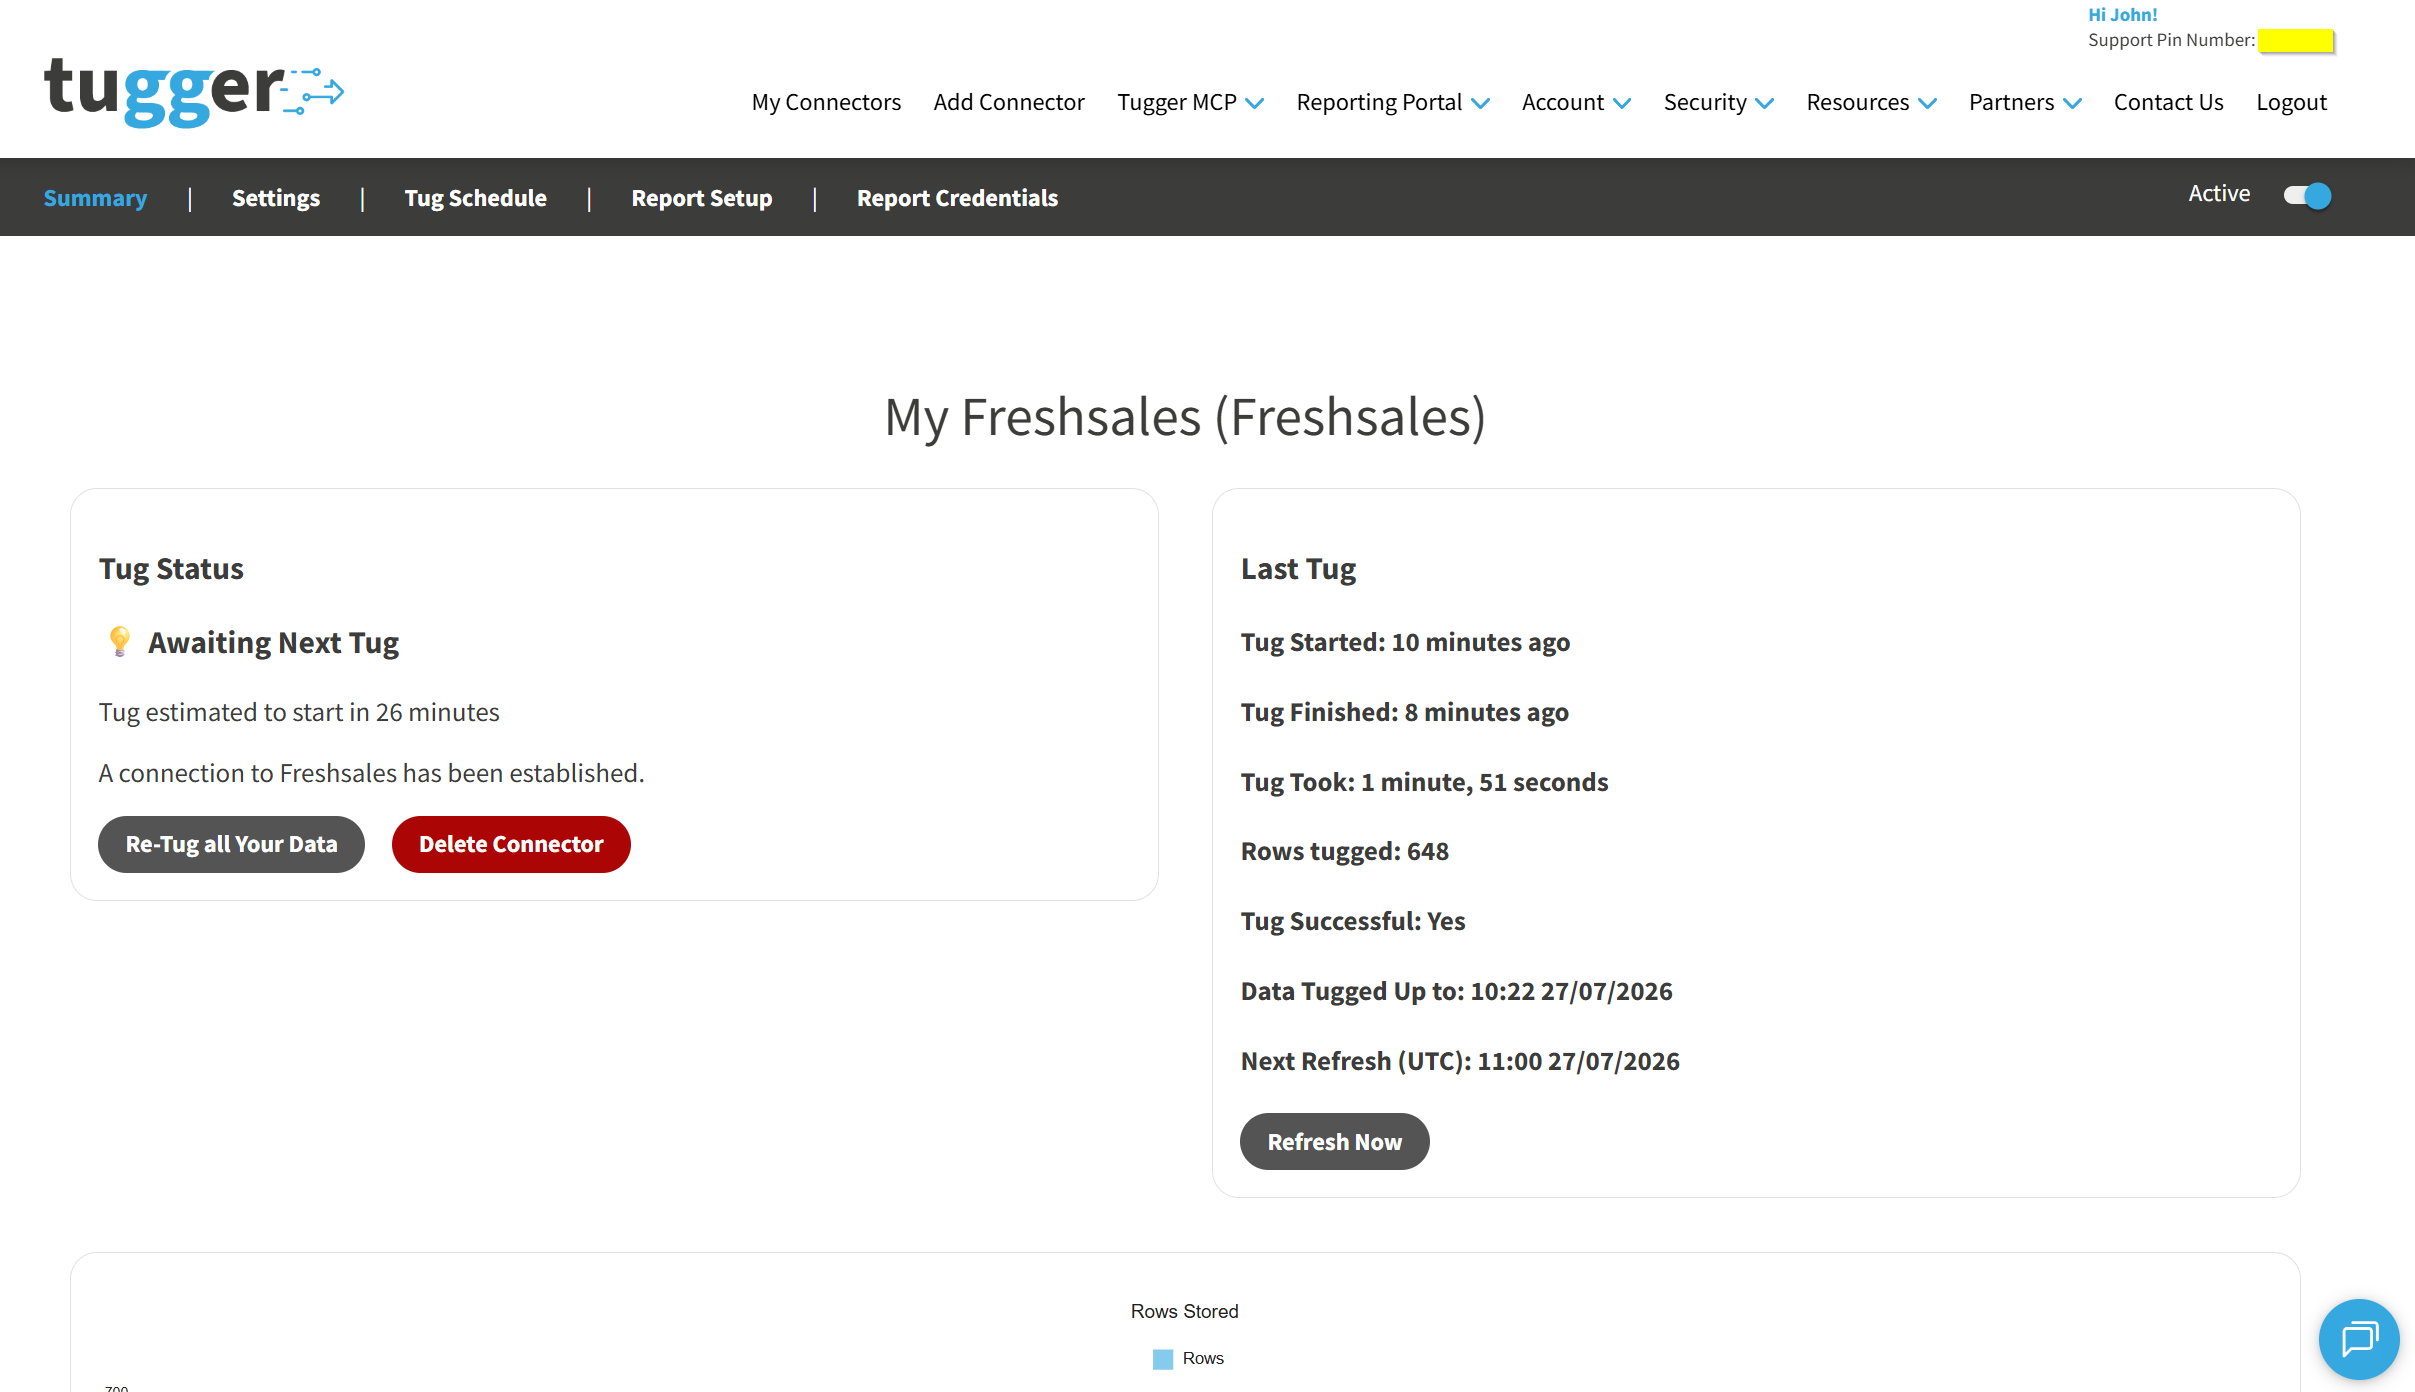
Once you've saved, Tugger starts pulling your Freshsales data straight away. You can follow progress on the Summary page.
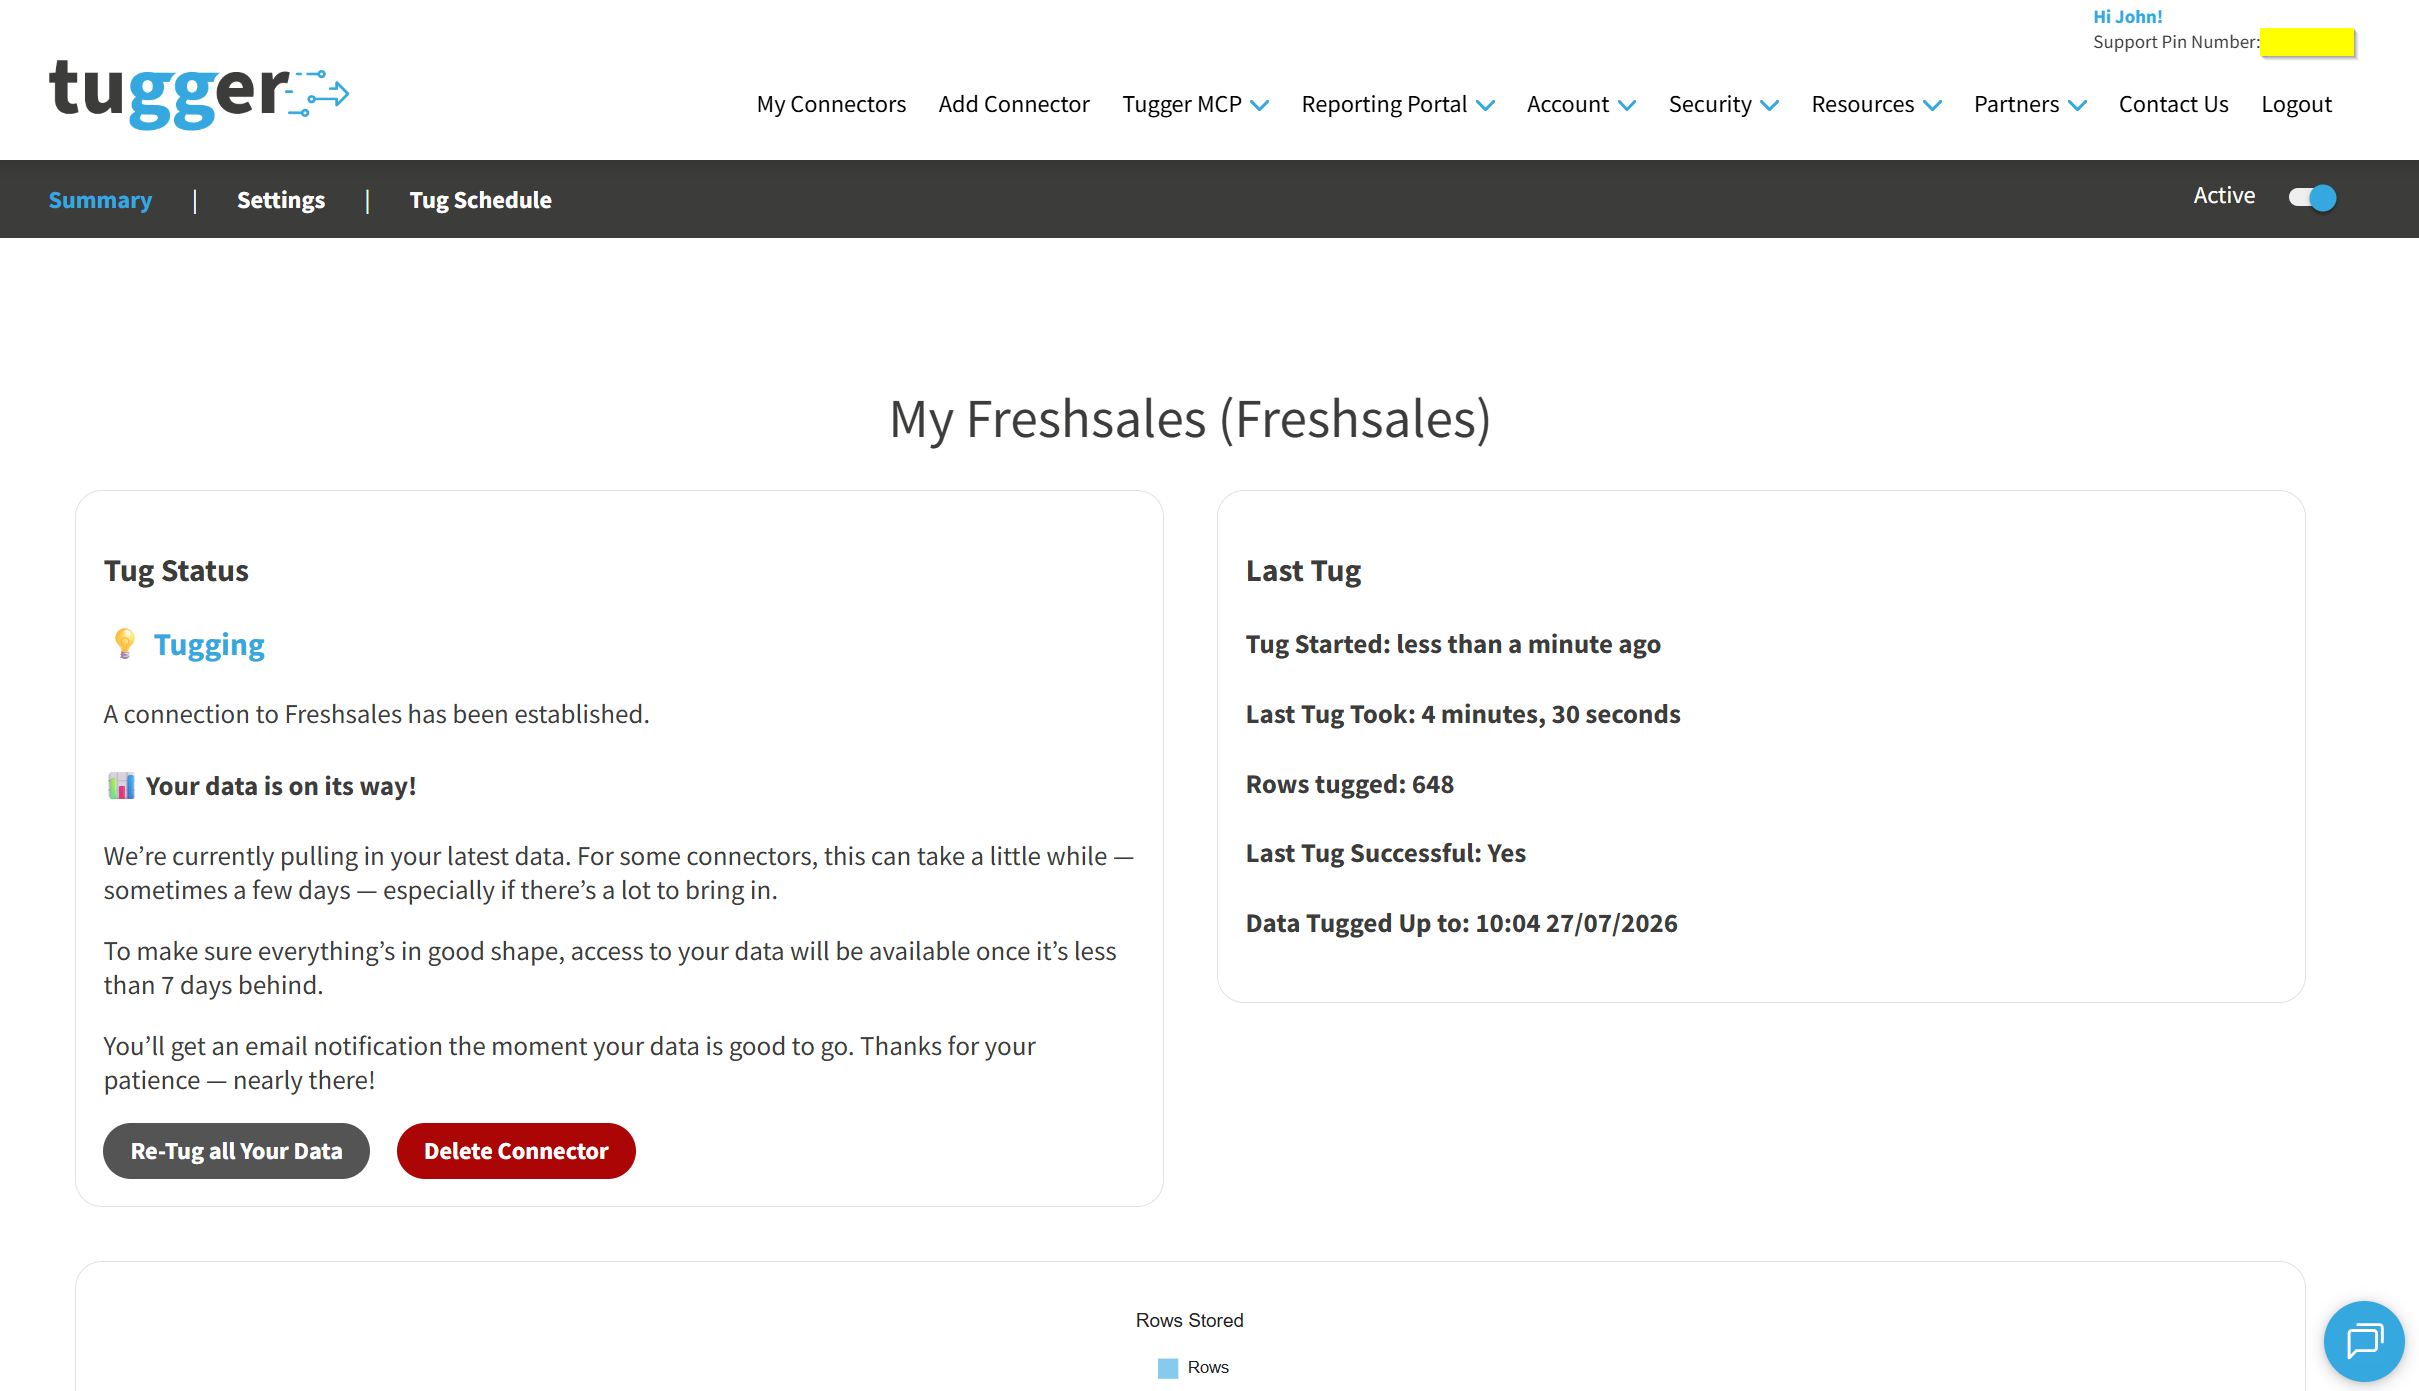
Depending on how much data you have - and how far back your start date goes - the first sync may take anywhere from a few minutes to considerably longer. After that, Tugger keeps your data up to date automatically, refreshing every day at 08:00 UK time by default. You can change this if you'd like - see Managing Your Sync Schedule.
You'll receive an email (or SMS, if you've enabled it) once your data is ready. At that point you can start asking questions with AI Insights or building reports.
What data does Tugger pull from Freshsales?
Tugger syncs a comprehensive set of CRM data from Freshsales, including:
- Contacts - the people you sell to, with their job title, company, owner, lifecycle stage and status, plus any custom fields you've added
- Sales accounts - the companies and organisations in your CRM, with industry, business type, territory, website and account owner
- Deals - every opportunity with its value, currency, expected close date, pipeline, stage, deal type and win or loss reason
- Sales activities - logged calls, meetings and other touchpoints, with their type, outcome and the records they relate to
- Tasks - to-dos raised against contacts, accounts and deals, with due dates, owners and completion status
- Appointments - scheduled meetings with times, locations, attendees and the records they relate to
- Notes - the free-text notes your team adds to contacts, accounts and deals
- Marketing lists - your saved lists and which contacts belong to each one
- Pipelines and deal stages - your sales pipelines and the stages within them, including forecast category and win probability, so you can measure conversion stage by stage
- Your sales team and territories - the owners records are assigned to, and the territories they cover
- Reference lists - lead sources, industries, business types, campaigns, contact statuses, lifecycle stages, activity types, deal types, loss reasons and currencies, so the values in your reports read as proper names rather than codes
- Custom field definitions - the custom fields configured on your contacts, accounts, deals and activities, so you can tell what each custom value means
For a full list of data tables and fields, ask Tugger AI Insights - try "What data is available from my Freshsales connector?"
What's next?
Once you've received the email (or SMS) confirming your data is ready:
AI Insights
- What is Tugger AI Insights? - ask questions about your Freshsales data in plain English
- Connect Tugger to Claude | ChatGPT
Reporting
Manage your sync schedule
- Managing Your Sync Schedule - change when and how often Tugger pulls your data
Need help? Contact the Tugger team - we're always happy to help you get up and running.