Connect your Prospect CRM account to Tugger and start asking questions of your data in plain English with AI Insights - or pull it into Power BI, Tableau, or Excel. Setup takes around 10 minutes.
What you'll need
- A Tugger account (sign up free)
- A Prospect CRM 365 account with CRM Admin rights - this is needed to create the Personal Access Token that connects the two systems
- A few minutes in both systems, as you'll start in Tugger, pop over to Prospect CRM to create the token, then come back
Connecting more than one Prospect CRM workspace? Each workspace needs its own connector and its own Personal Access Token. Each one counts as one connector on your Tugger plan.
Step 1: Add the Prospect CRM connector in Tugger
- Log in to Tugger at tuggerapp.com
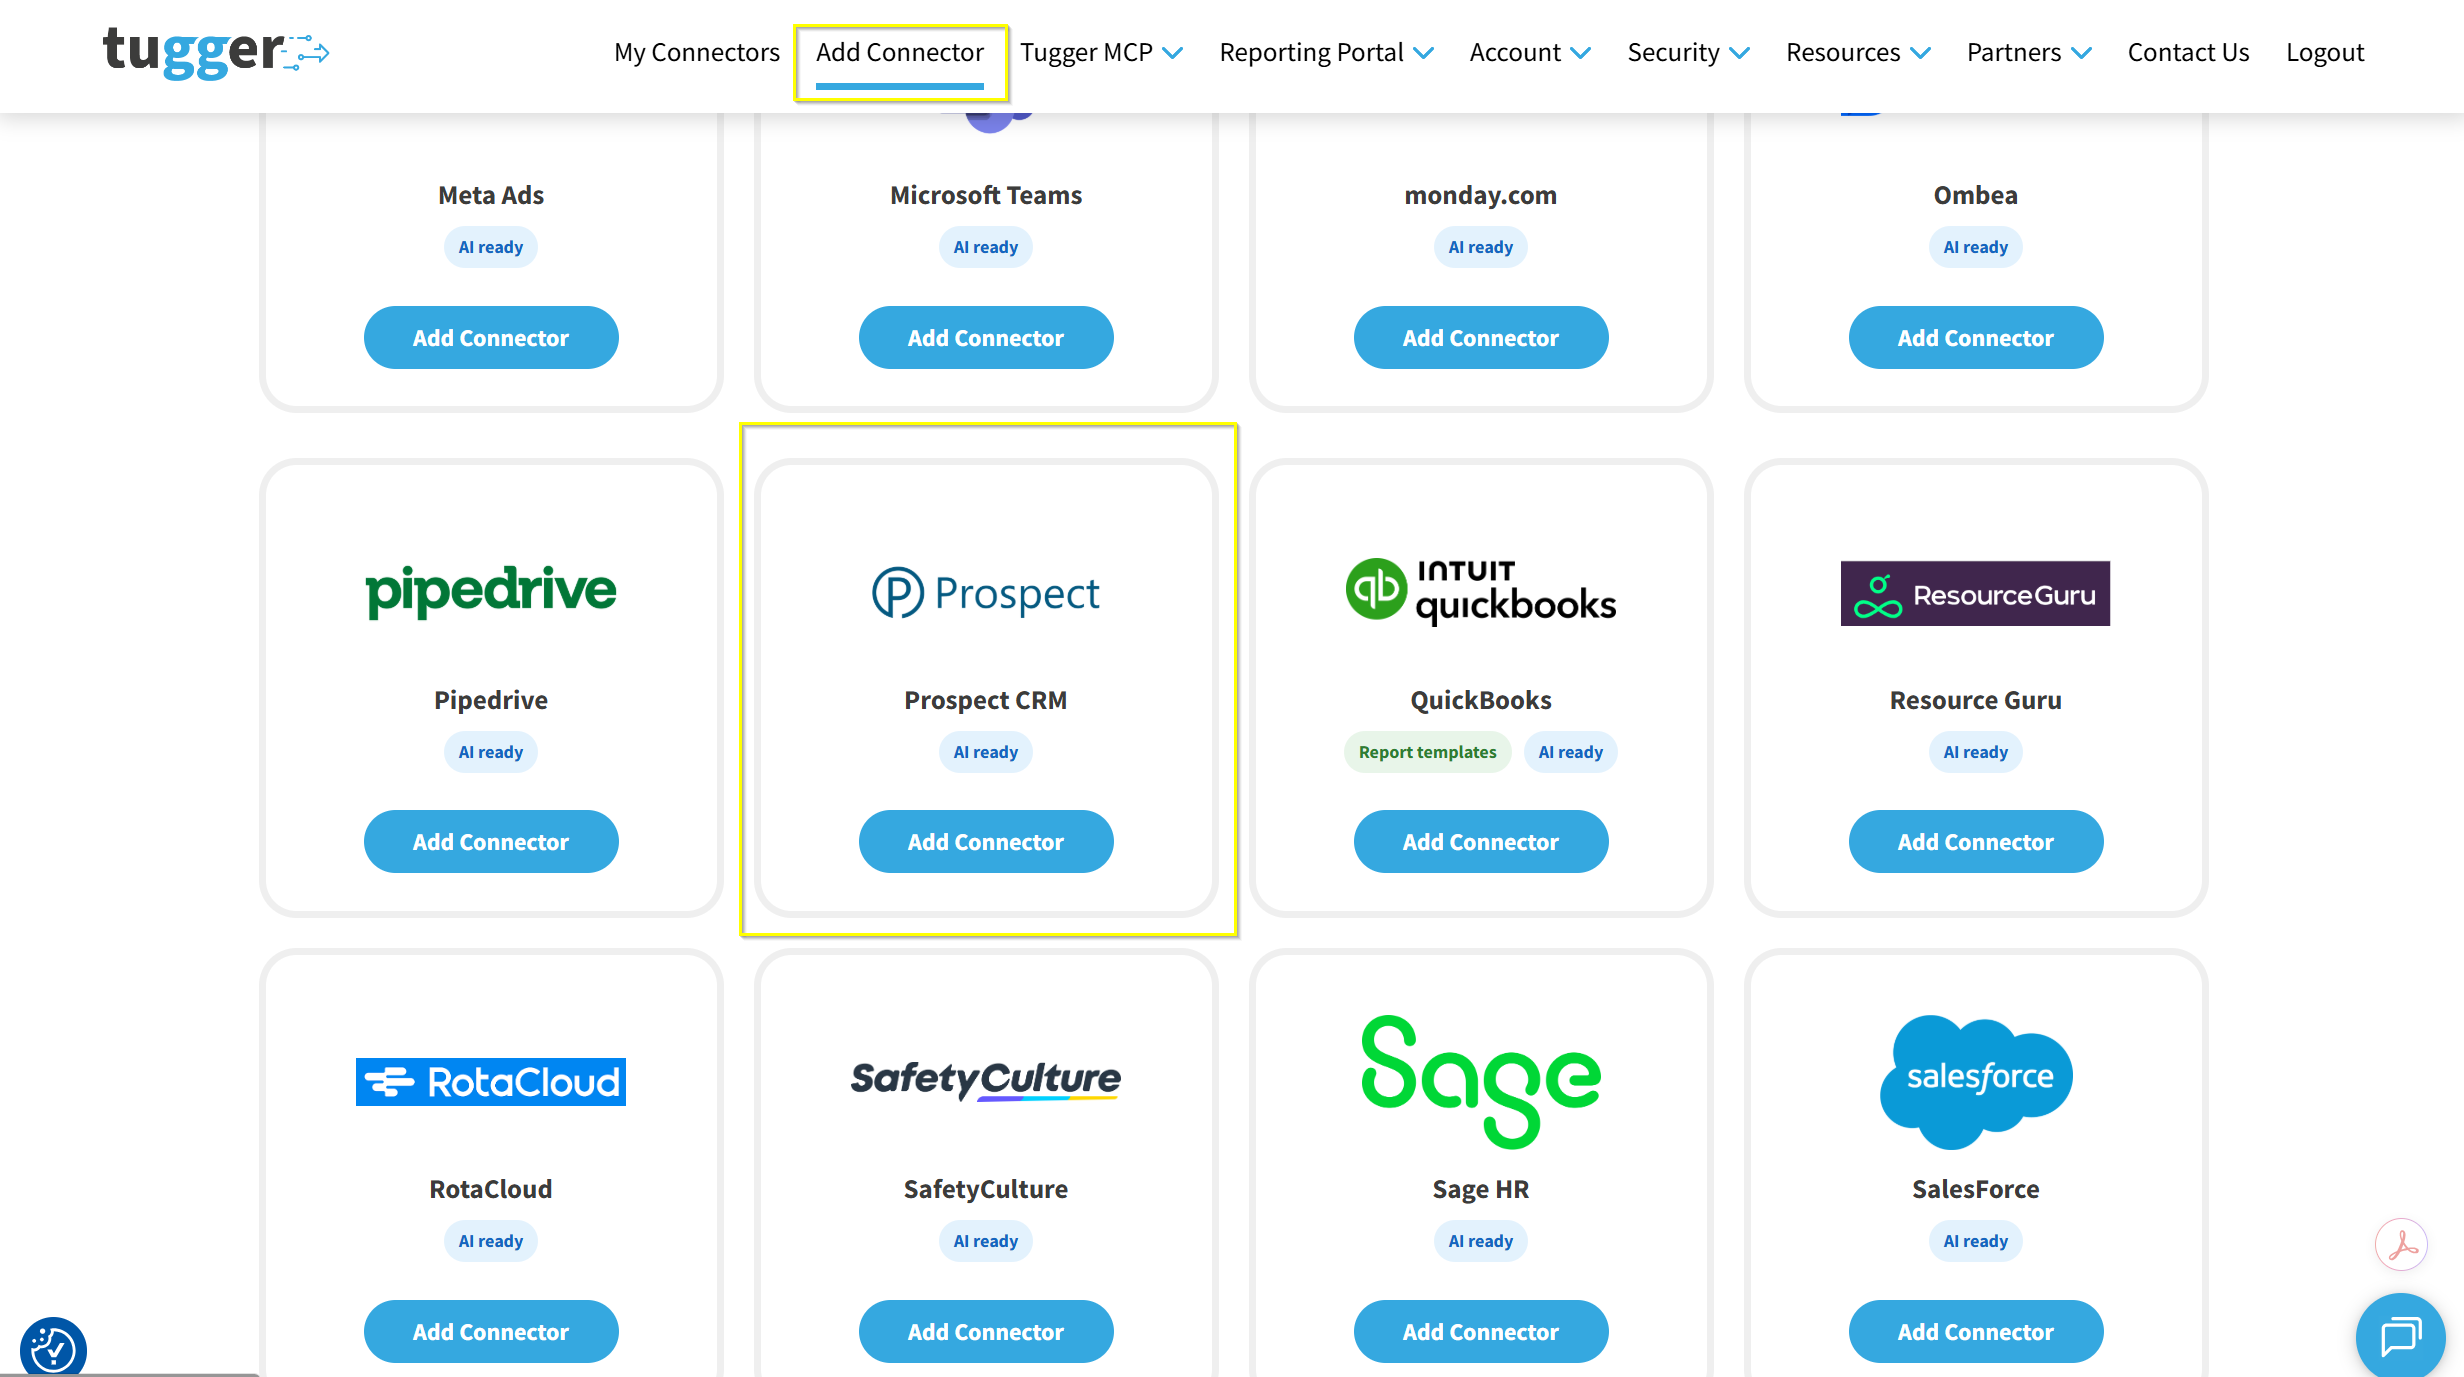
- Click Add Connector from the menu
- Select Prospect CRM, then click Add Connector
Step 2: Configure your connector
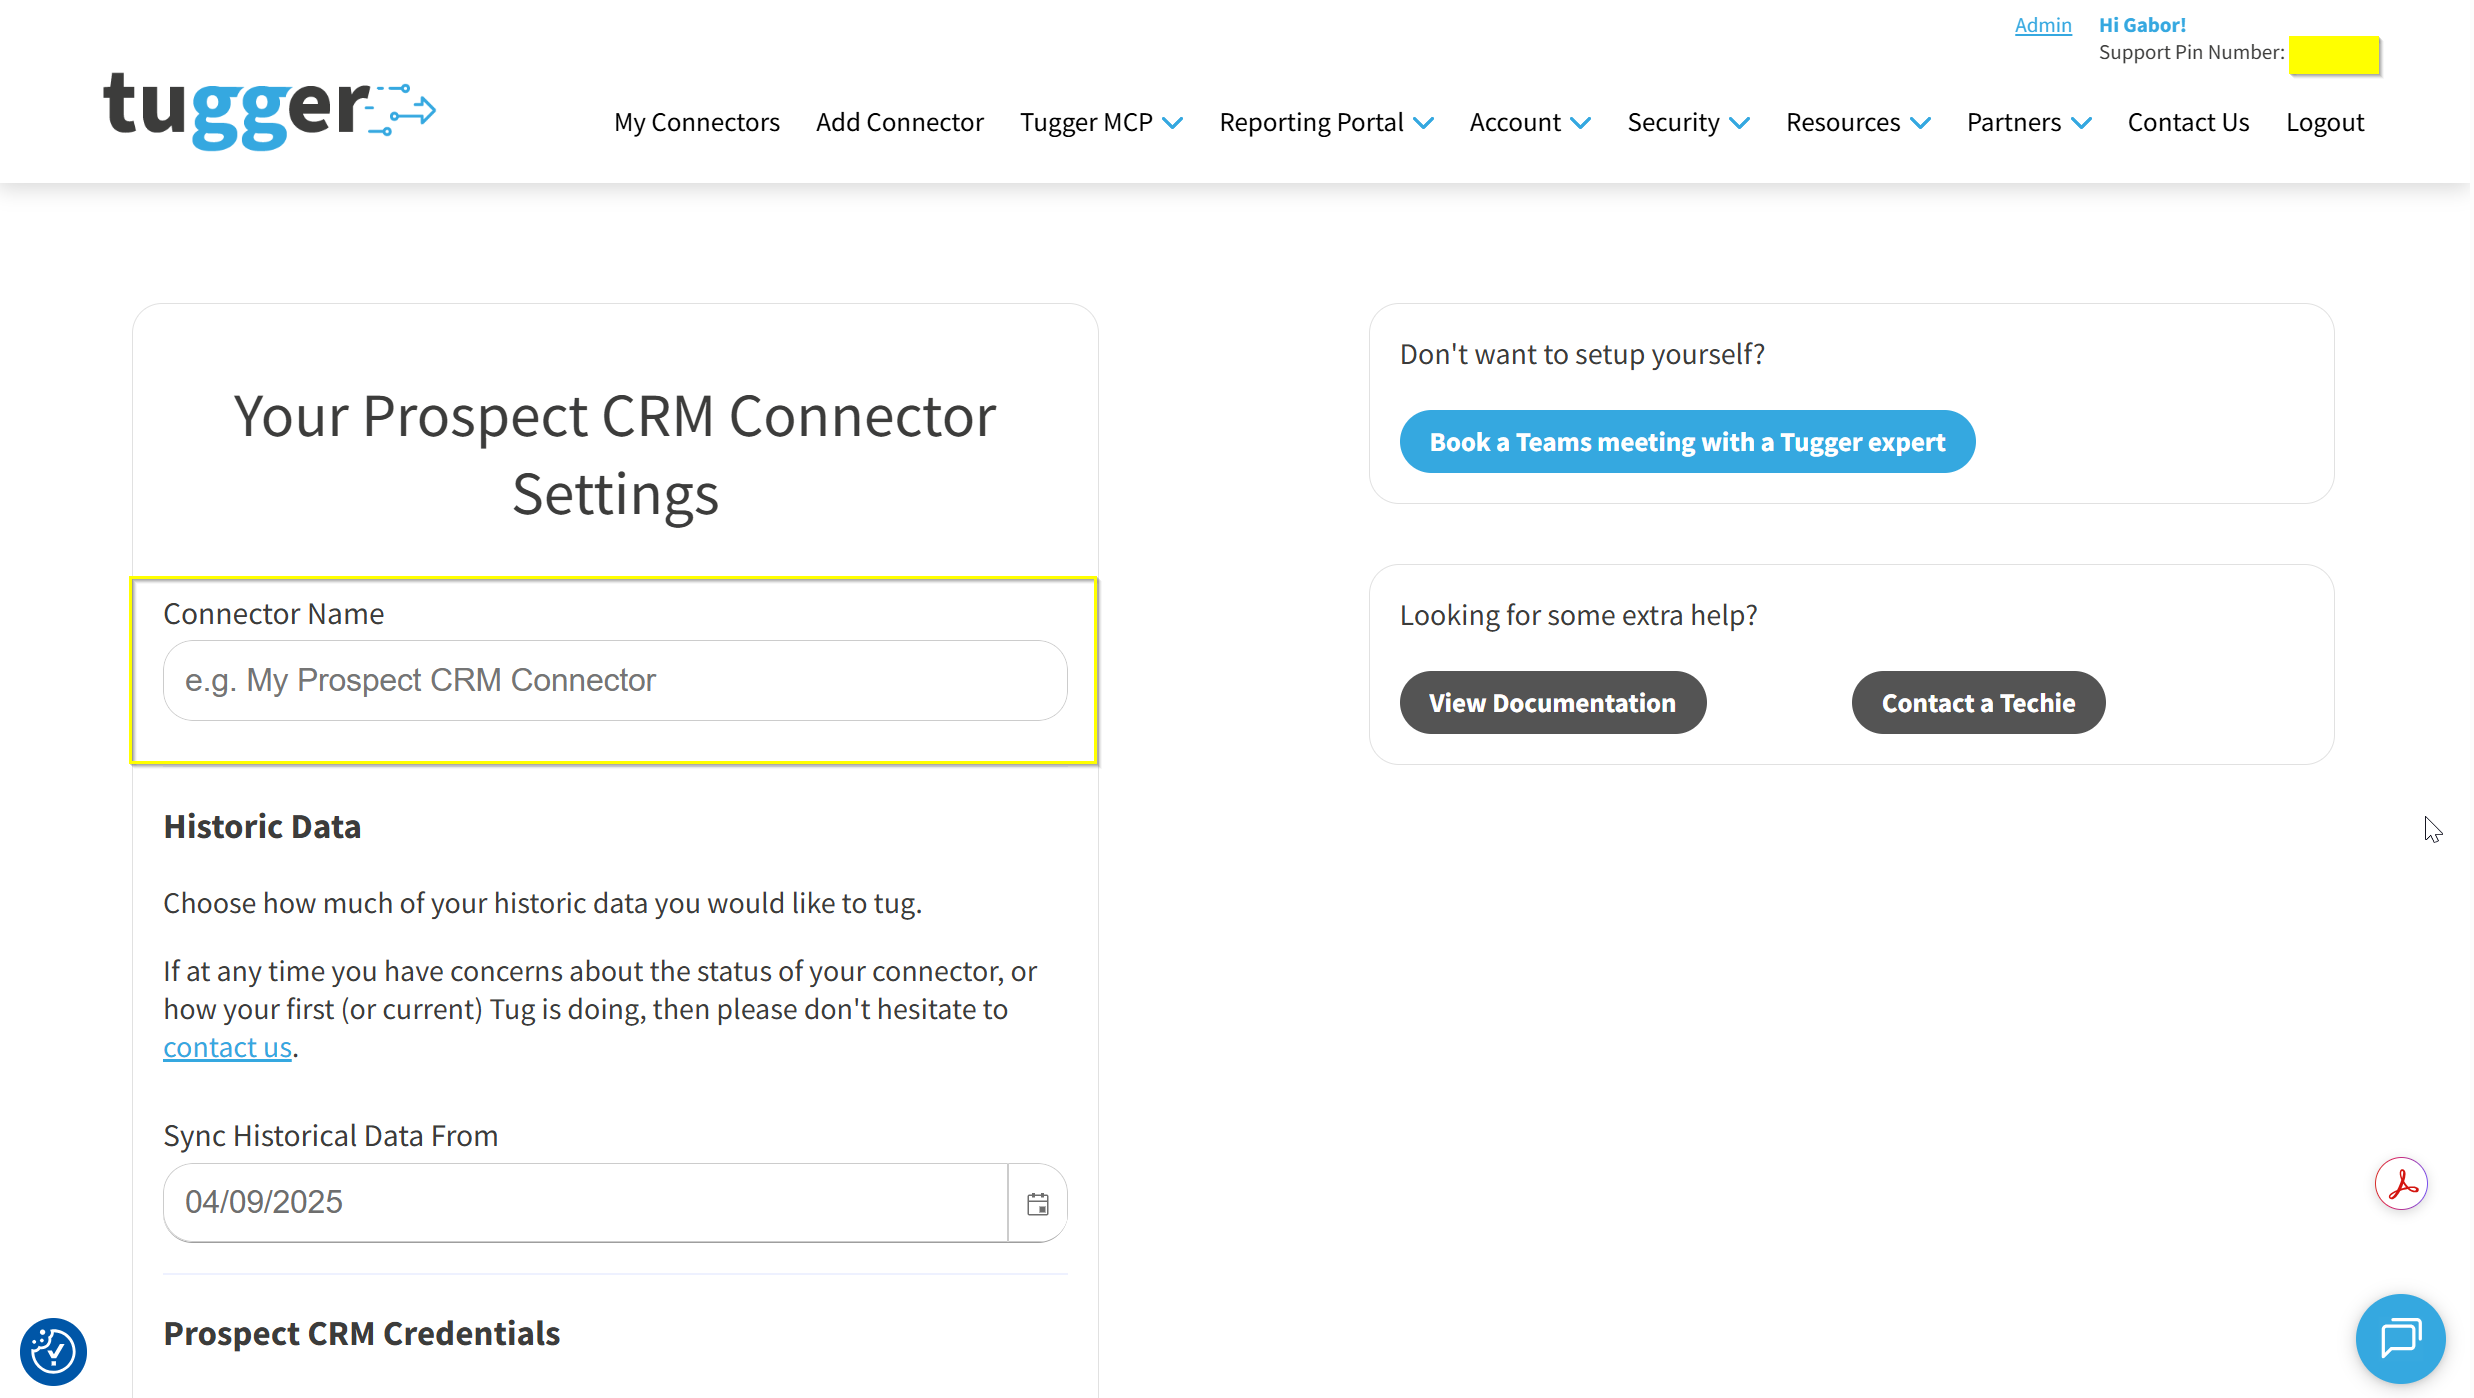
On the Your Prospect CRM Connector Settings page you'll be asked to set up two things:
- Connector Name - give it a name that makes sense to you (e.g. "Prospect CRM - Main Workspace"). This is especially helpful if you use more than one connector.
- Sync Historical Data From - choose how far back you want Tugger to pull data from. The further back you go, the more data will be stored and the longer your first sync will take.
Scroll down and you'll see the Prospect CRM Credentials section, with a Personal Access Token field and a Check Credentials button. This is where you'll paste the token you're about to create.
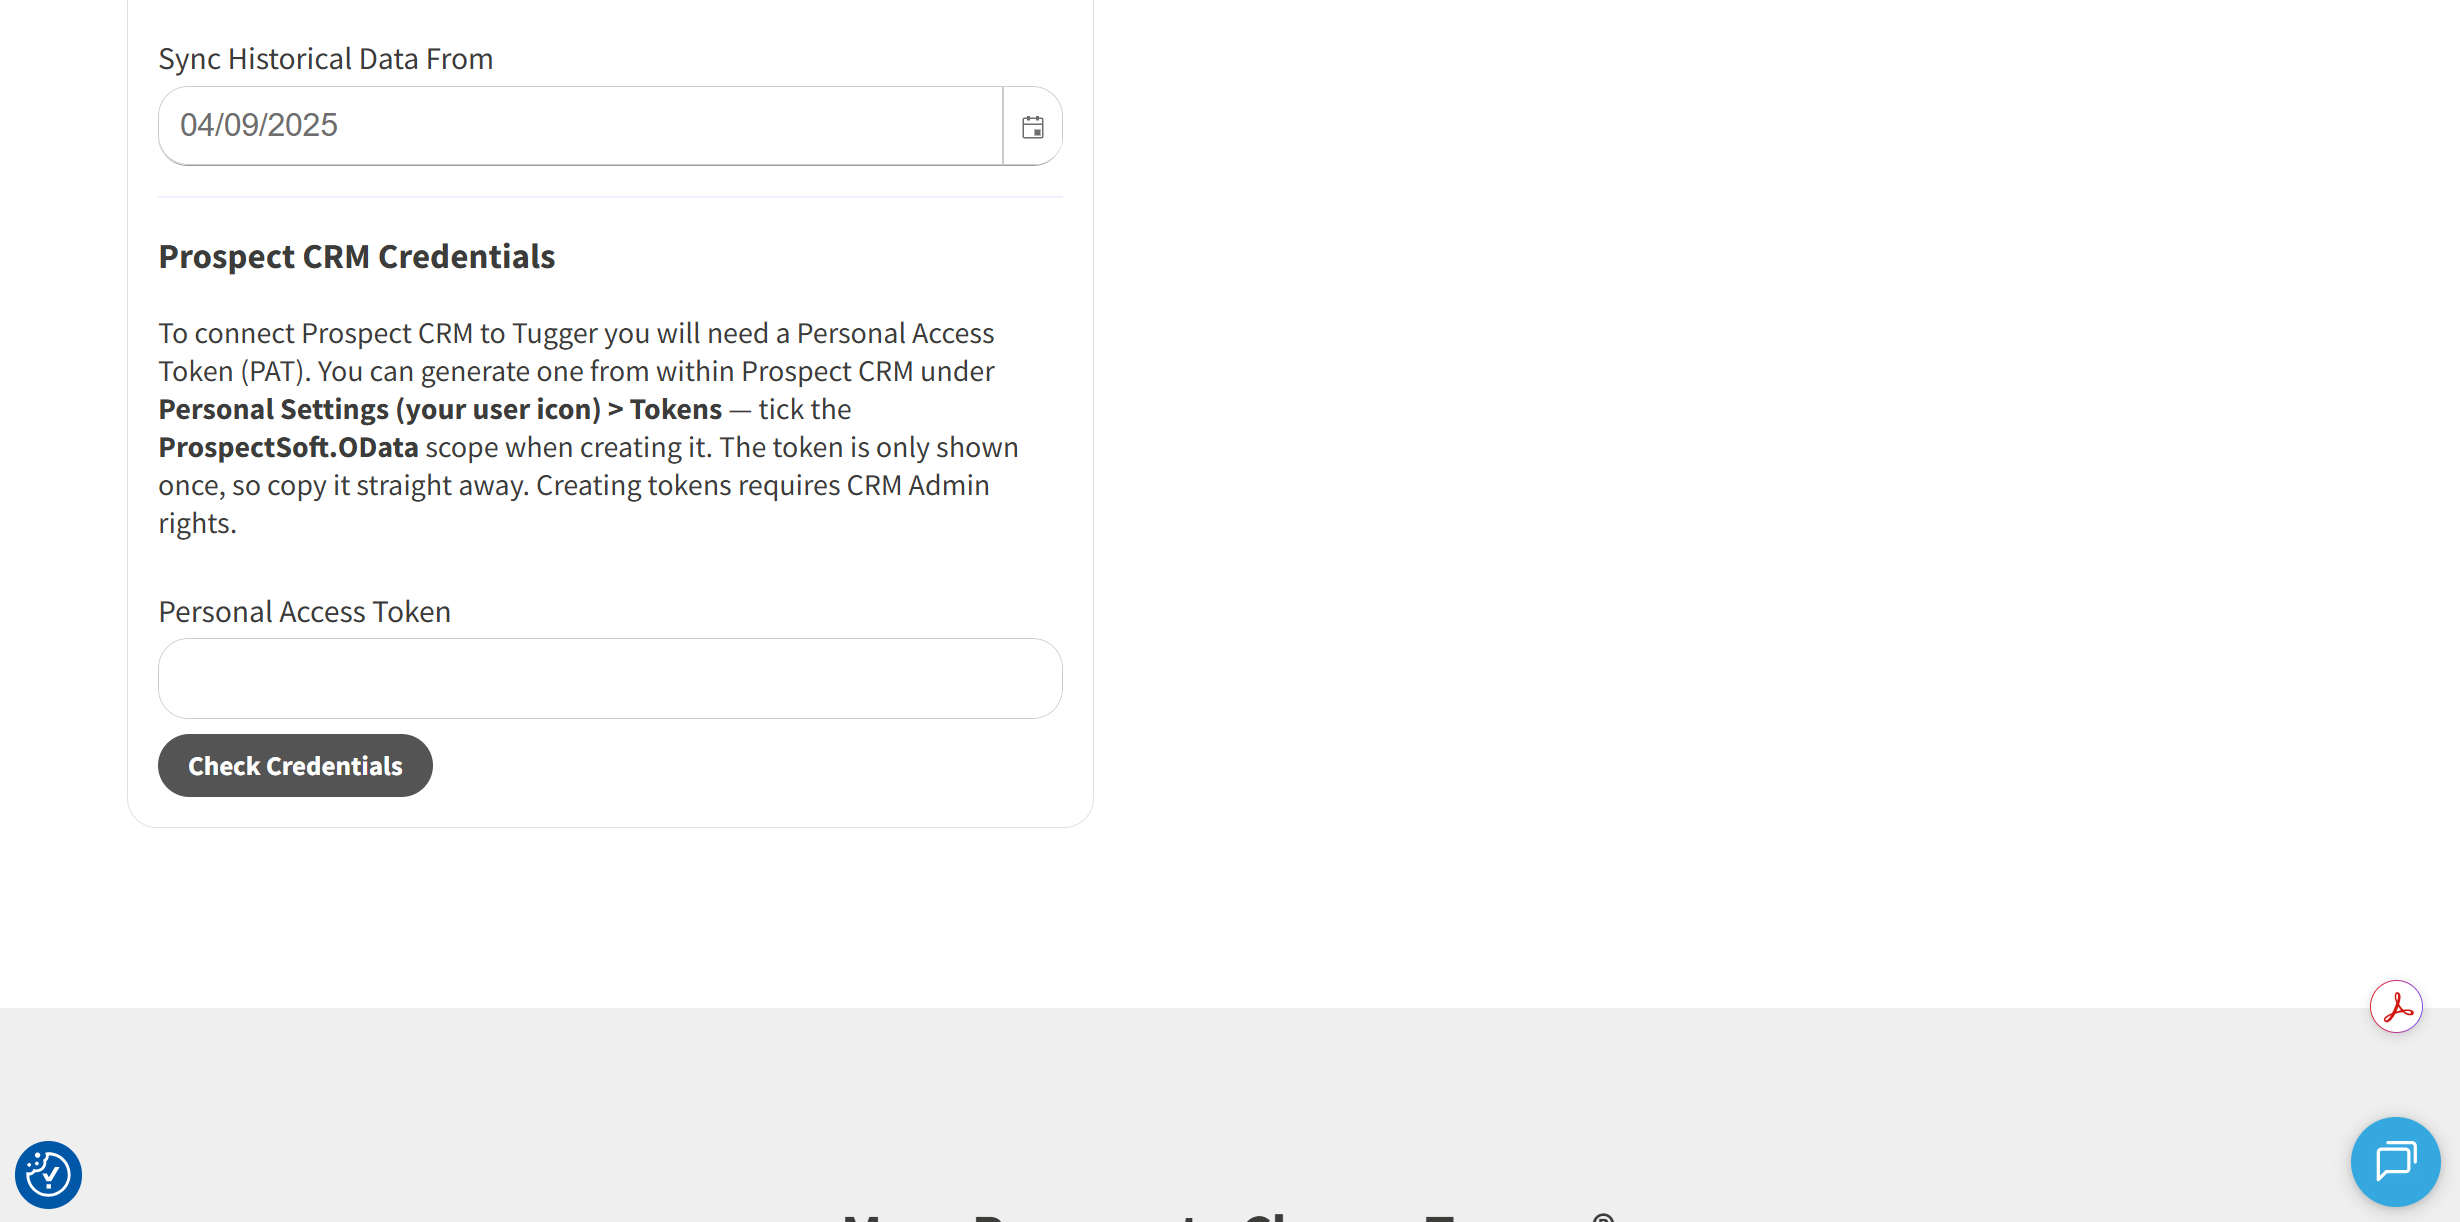
Leave this page open in a tab. You'll come back to it in Step 4.
Step 3: Create a Personal Access Token in Prospect CRM
A Personal Access Token is a one-off code that lets Tugger read your data securely, without ever needing your Prospect CRM password. You create it once and Tugger looks after it from then on.
- Log in to Prospect CRM at crm.prospect365.com
- Click your user icon in the bottom left corner to open your Personal Settings
- Select the Tokens page, then click Create Token
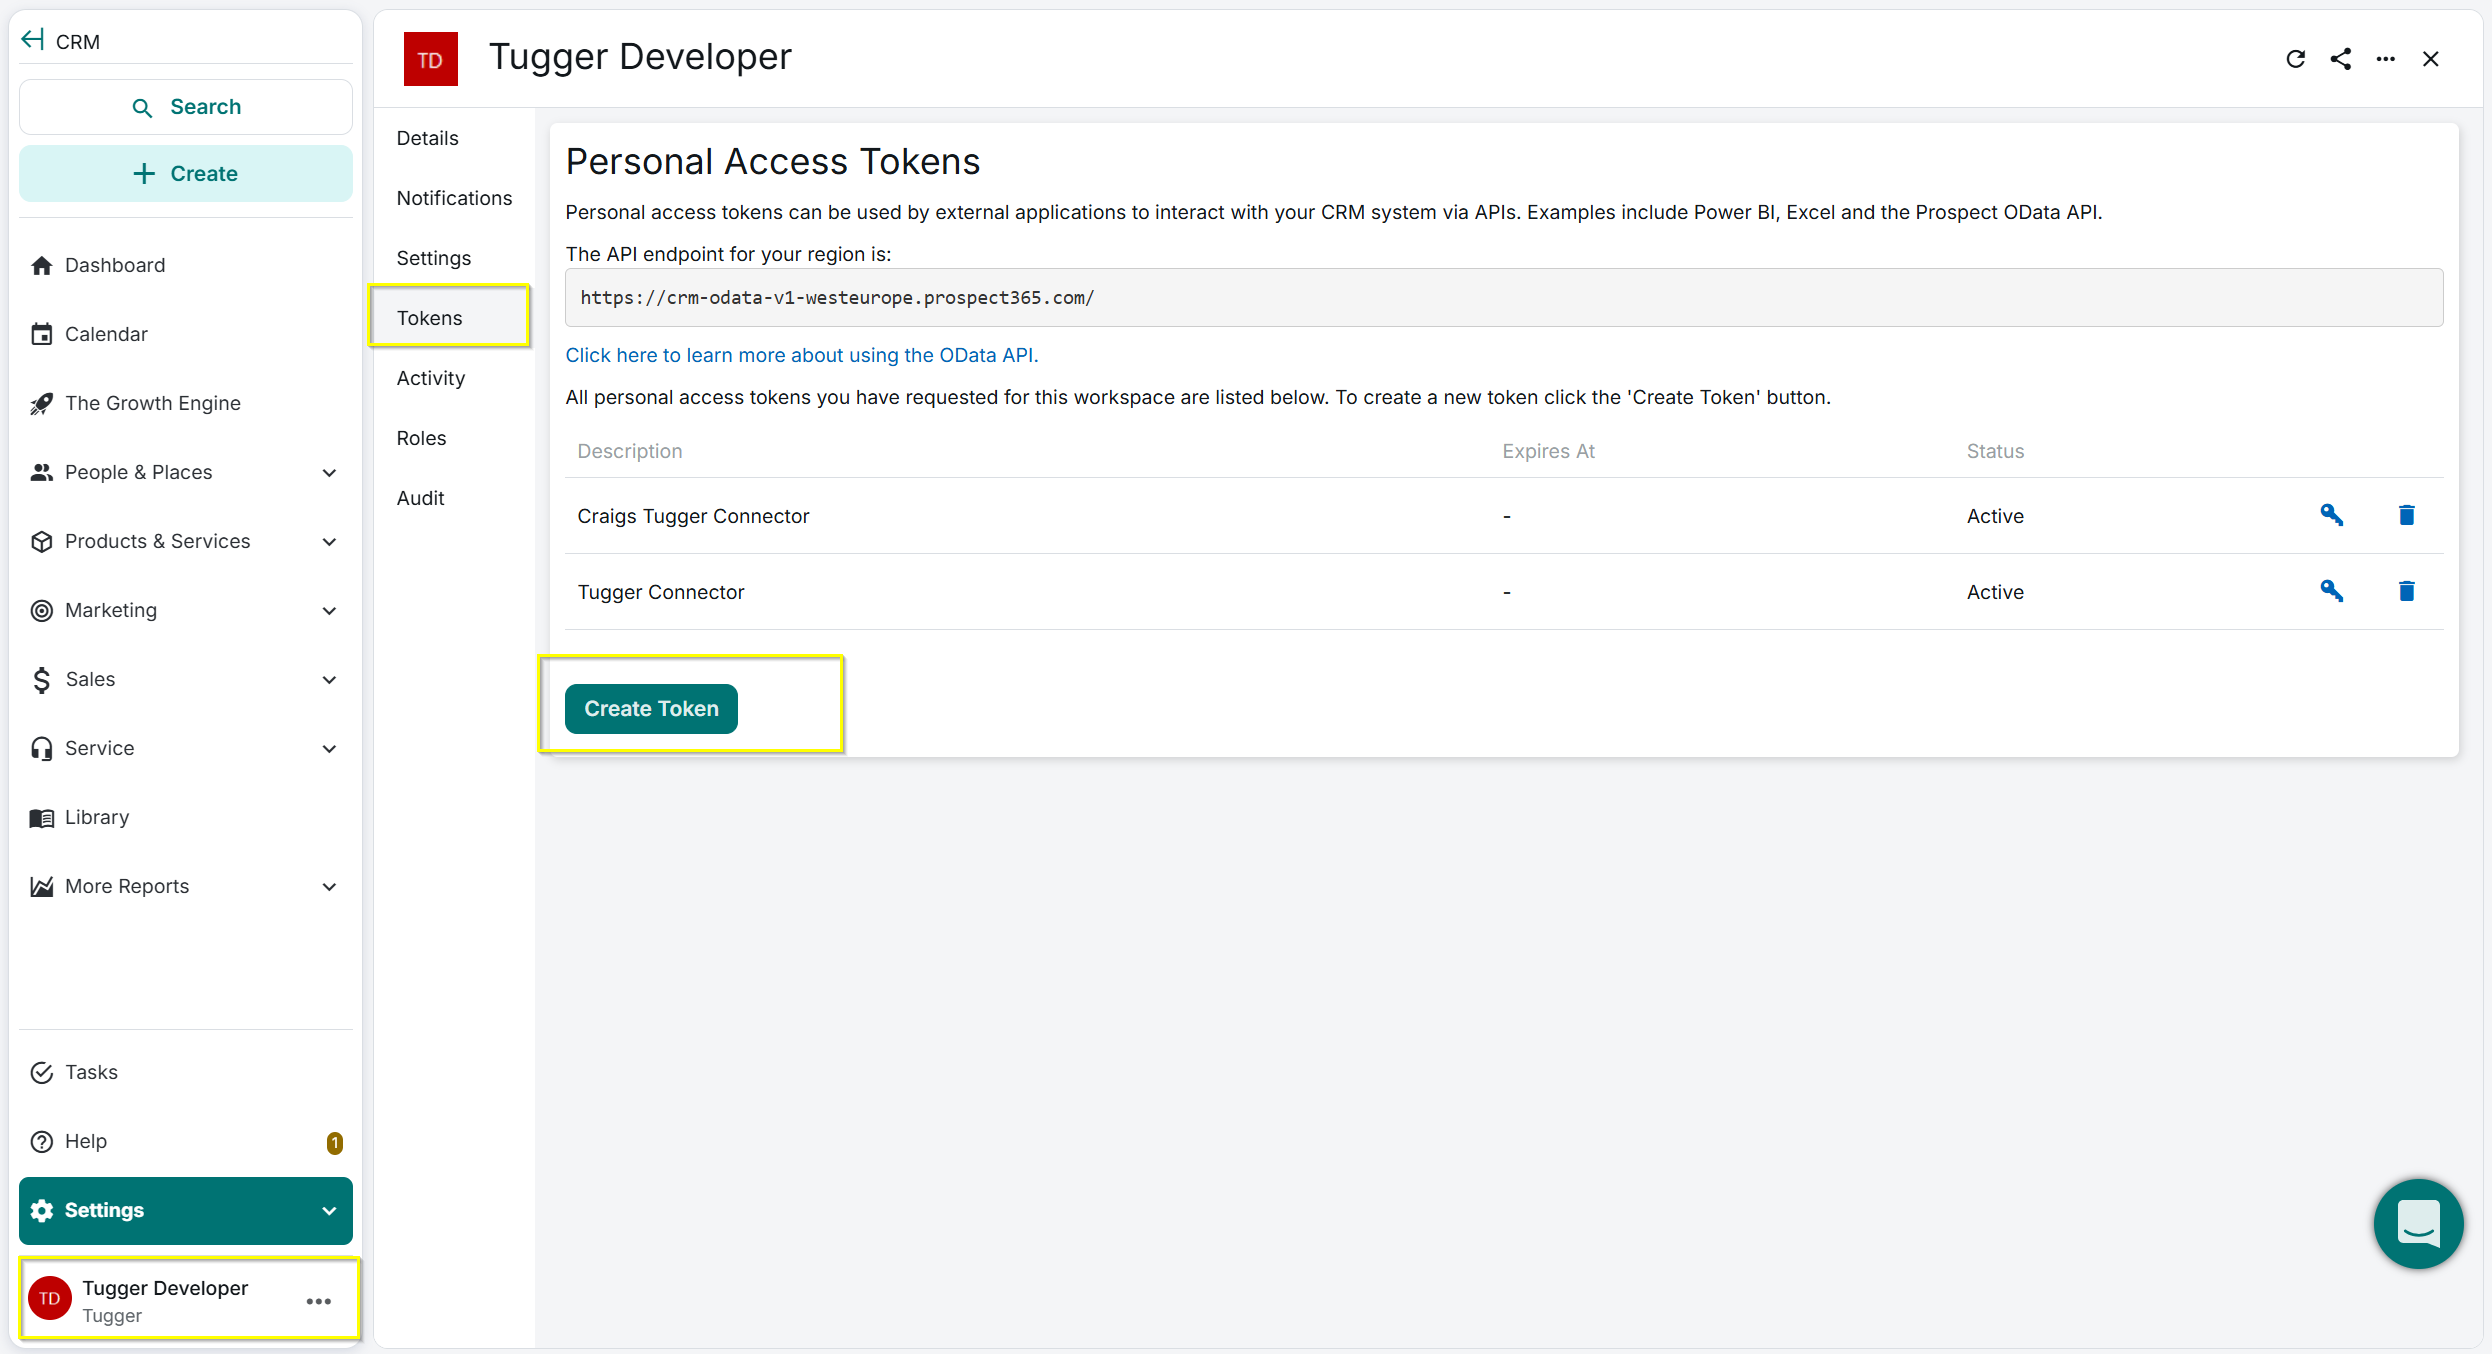
The Tokens page only appears for users with Admin permissions. If you can't see it, ask whoever administers your Prospect CRM account to create the token for you.
In the Create Token window:
- Tick the ProspectSoft.OData scope - this is what allows Tugger to read your data
- Give it a Description you'll recognise later, such as "Tugger"
- Choose an Expiry Date
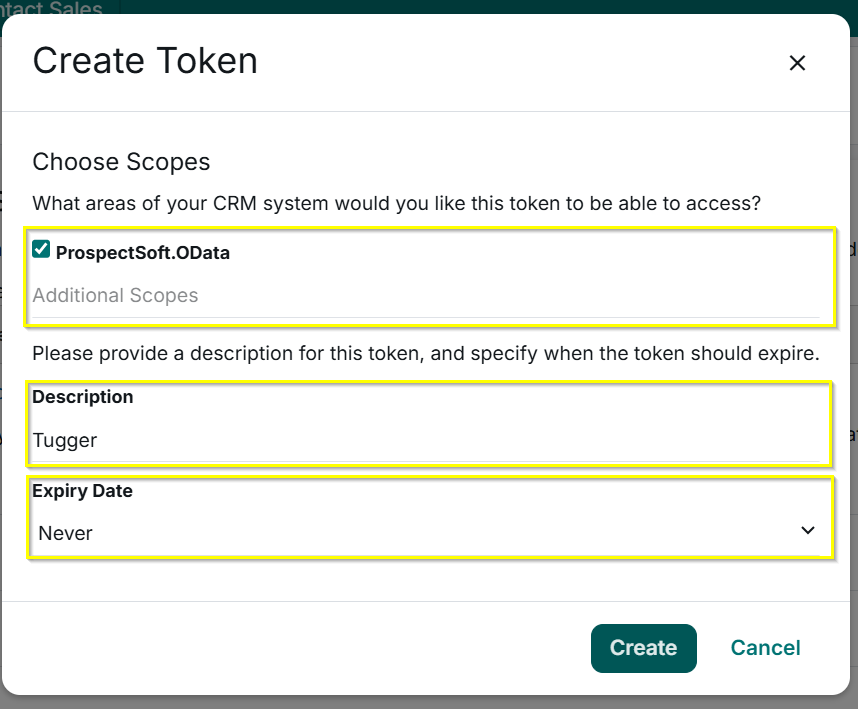
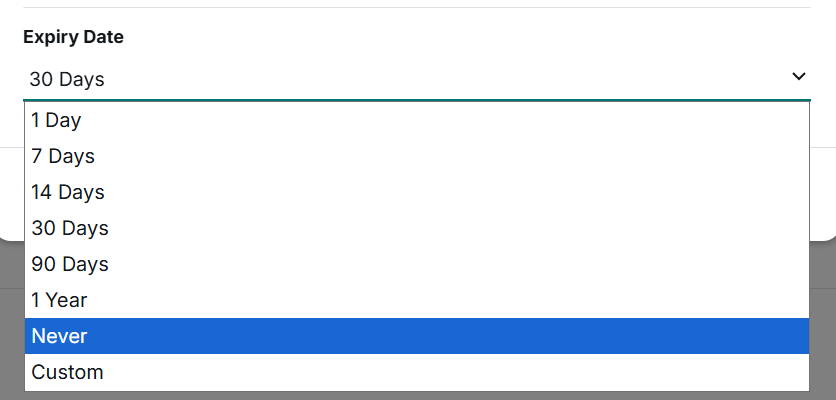
The expiry dropdown offers anything from a single day up to Never, plus a Custom date of your choosing. Bear in mind that when a token expires your connector will stop pulling new data until you create a replacement, so pick a date you'll remember, or choose Never if you'd rather not think about it again. You can revoke a token at any time regardless of the expiry you set.
Click Create. Your new token appears on screen.
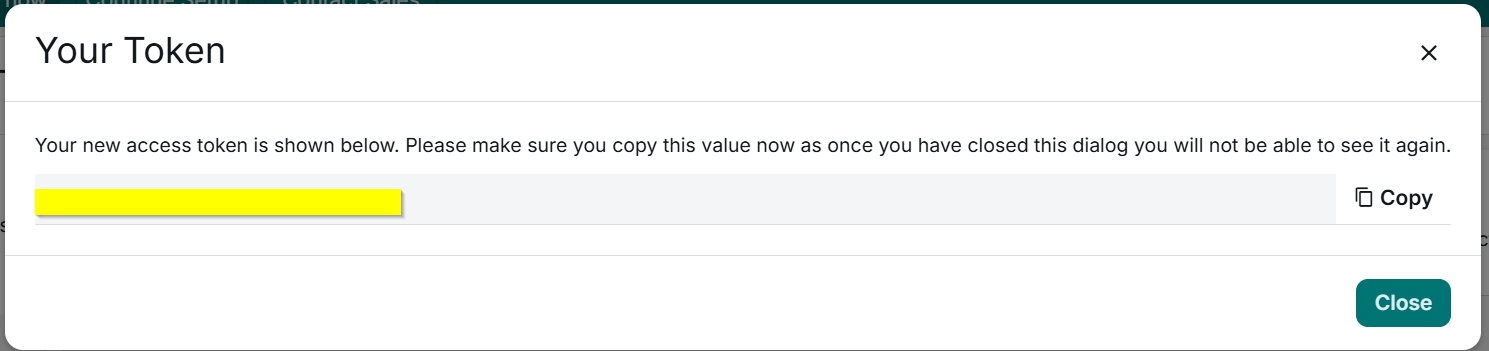
Copy it now. Prospect CRM shows the token only once, and you won't be able to see it again after you close this window. Treat it like a password: don't email it or share it with anyone.
Step 4: Paste the token into Tugger
Go back to your Tugger tab and finish the setup:
- Paste the token into the Personal Access Token field
- Click Check Credentials
- Wait for the green Credentials verified successfully. message
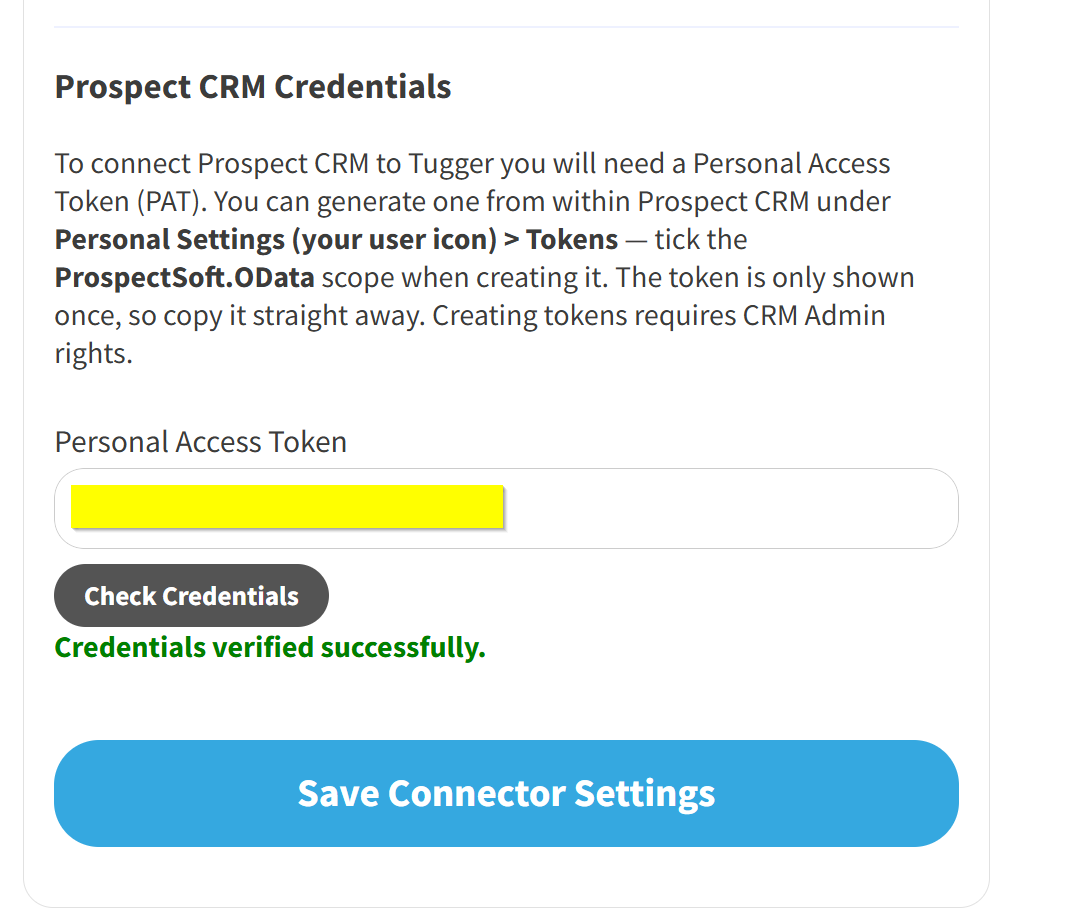
The Save Connector Settings button only appears once your token has been verified, so if you can't see it yet, run the check first. If the check fails, the most likely causes are a token that was copied incompletely, or one created without the ProspectSoft.OData scope ticked.
Click Save Connector Settings to finish.
Step 5: Your first sync
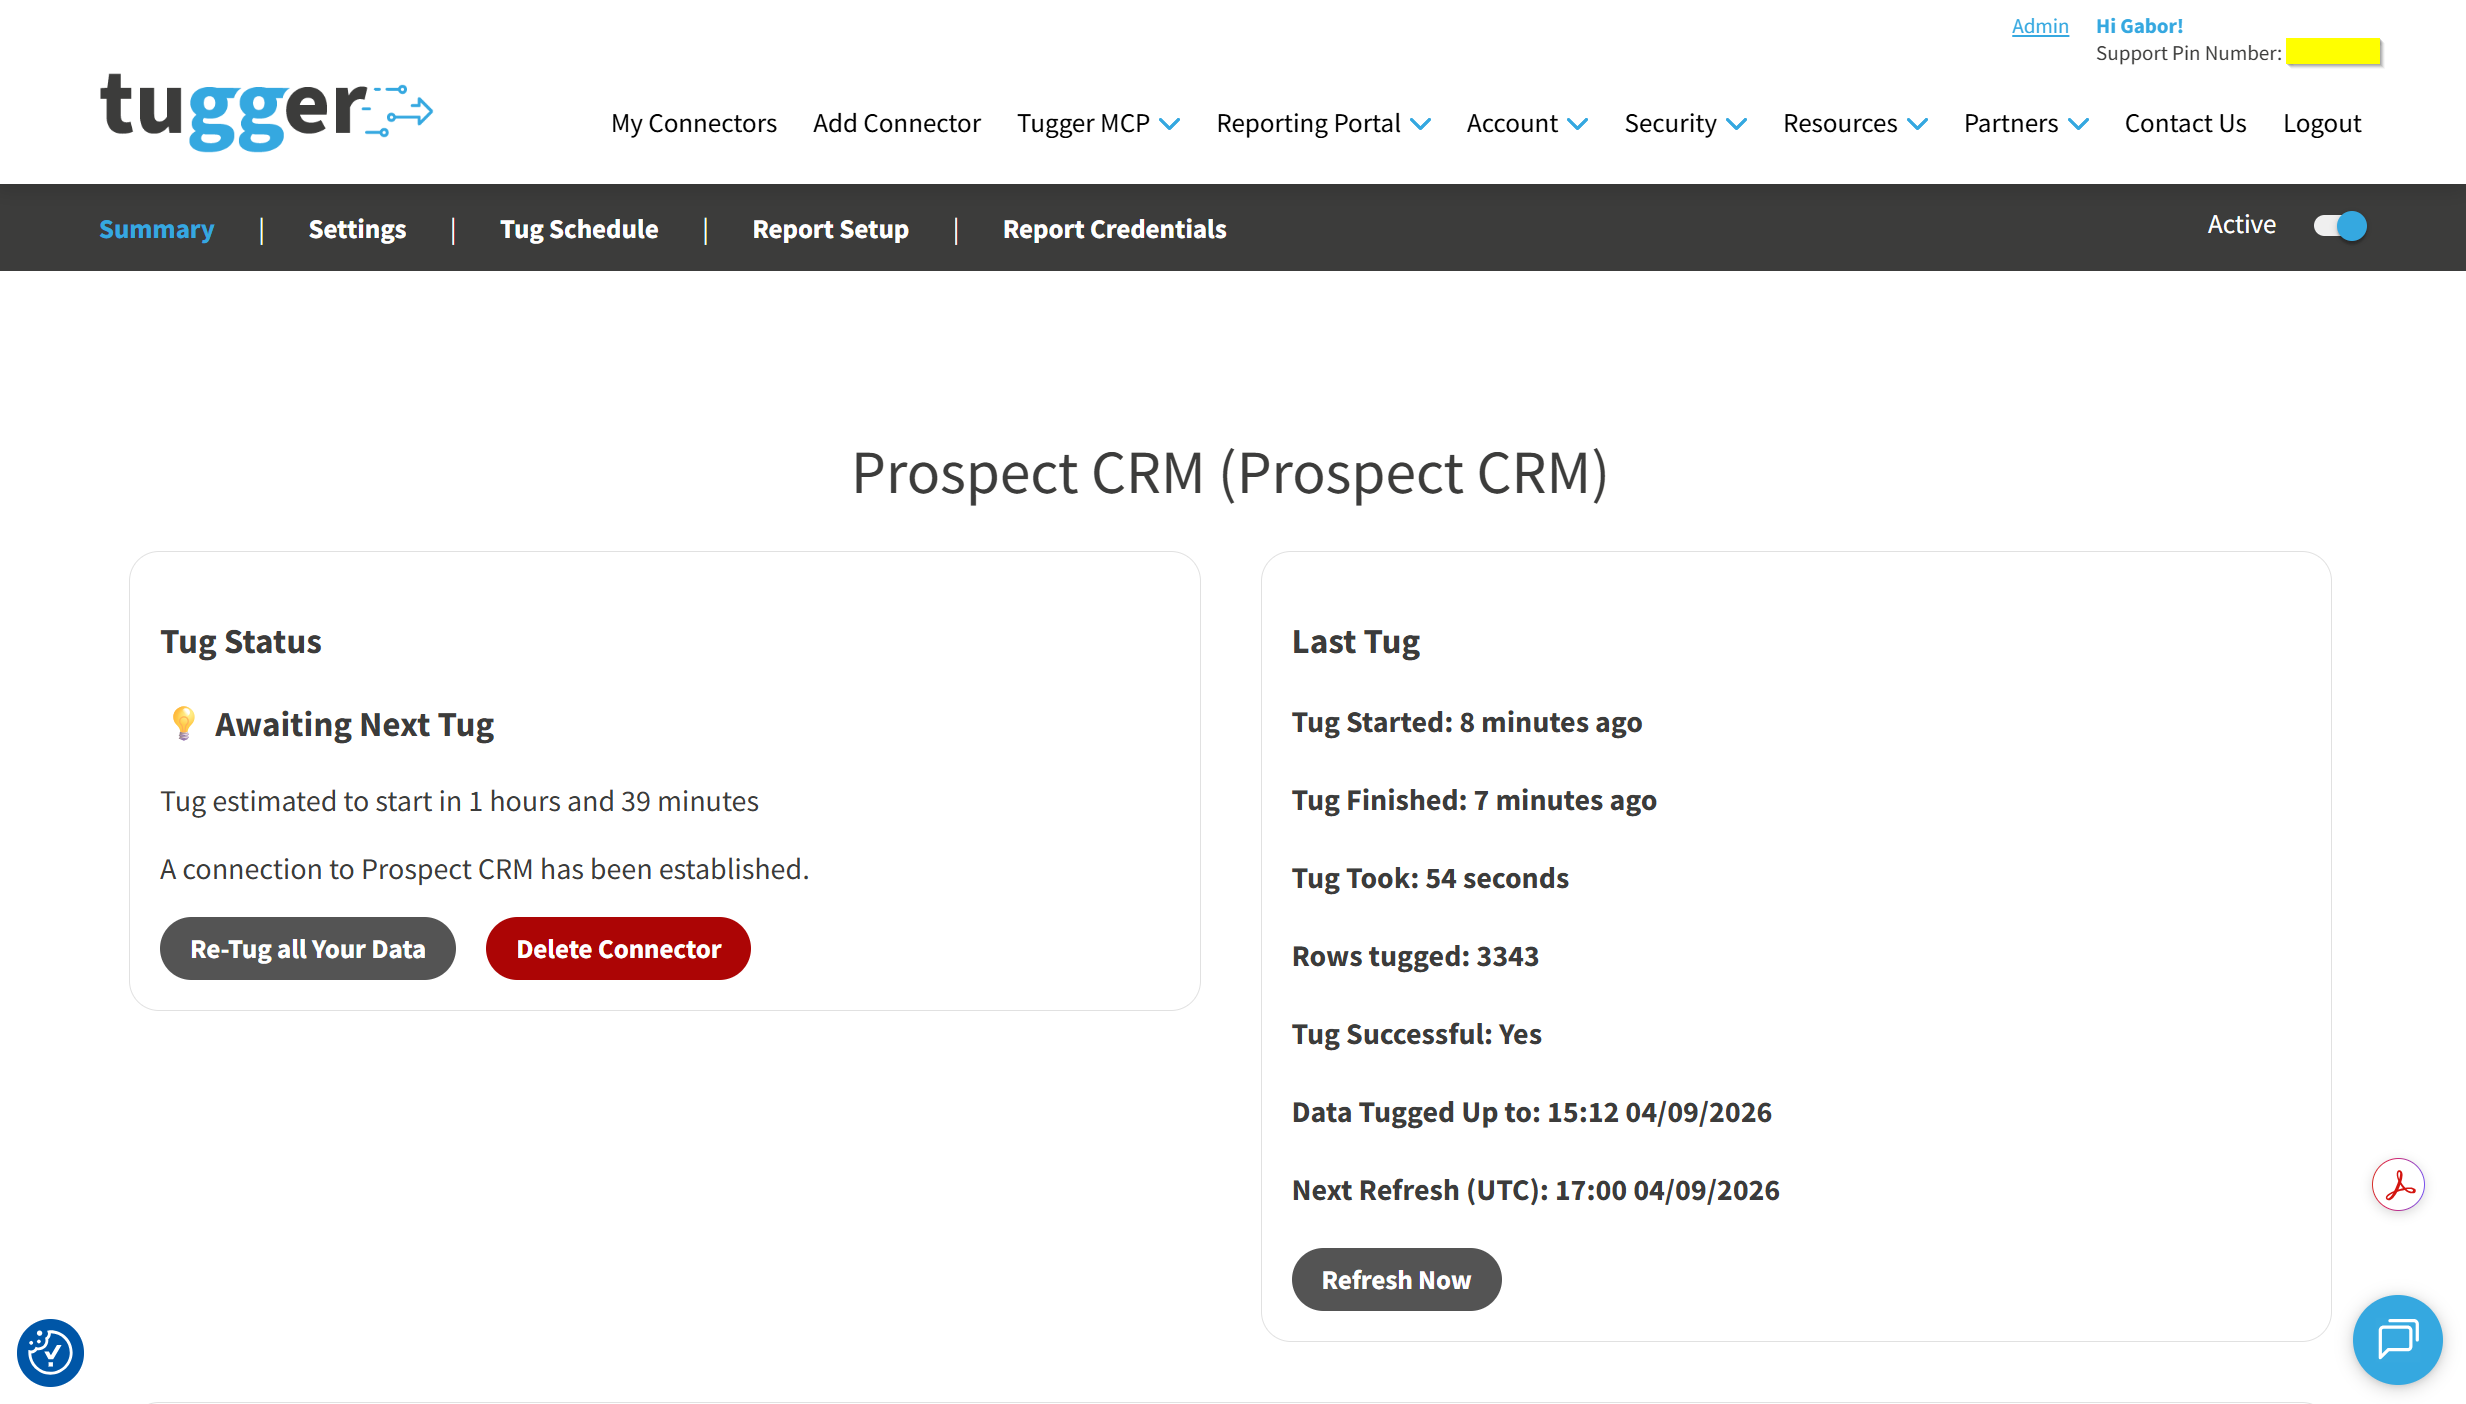
Once setup is complete, Tugger will start pulling your Prospect CRM data automatically. You can check progress on the Summary page.
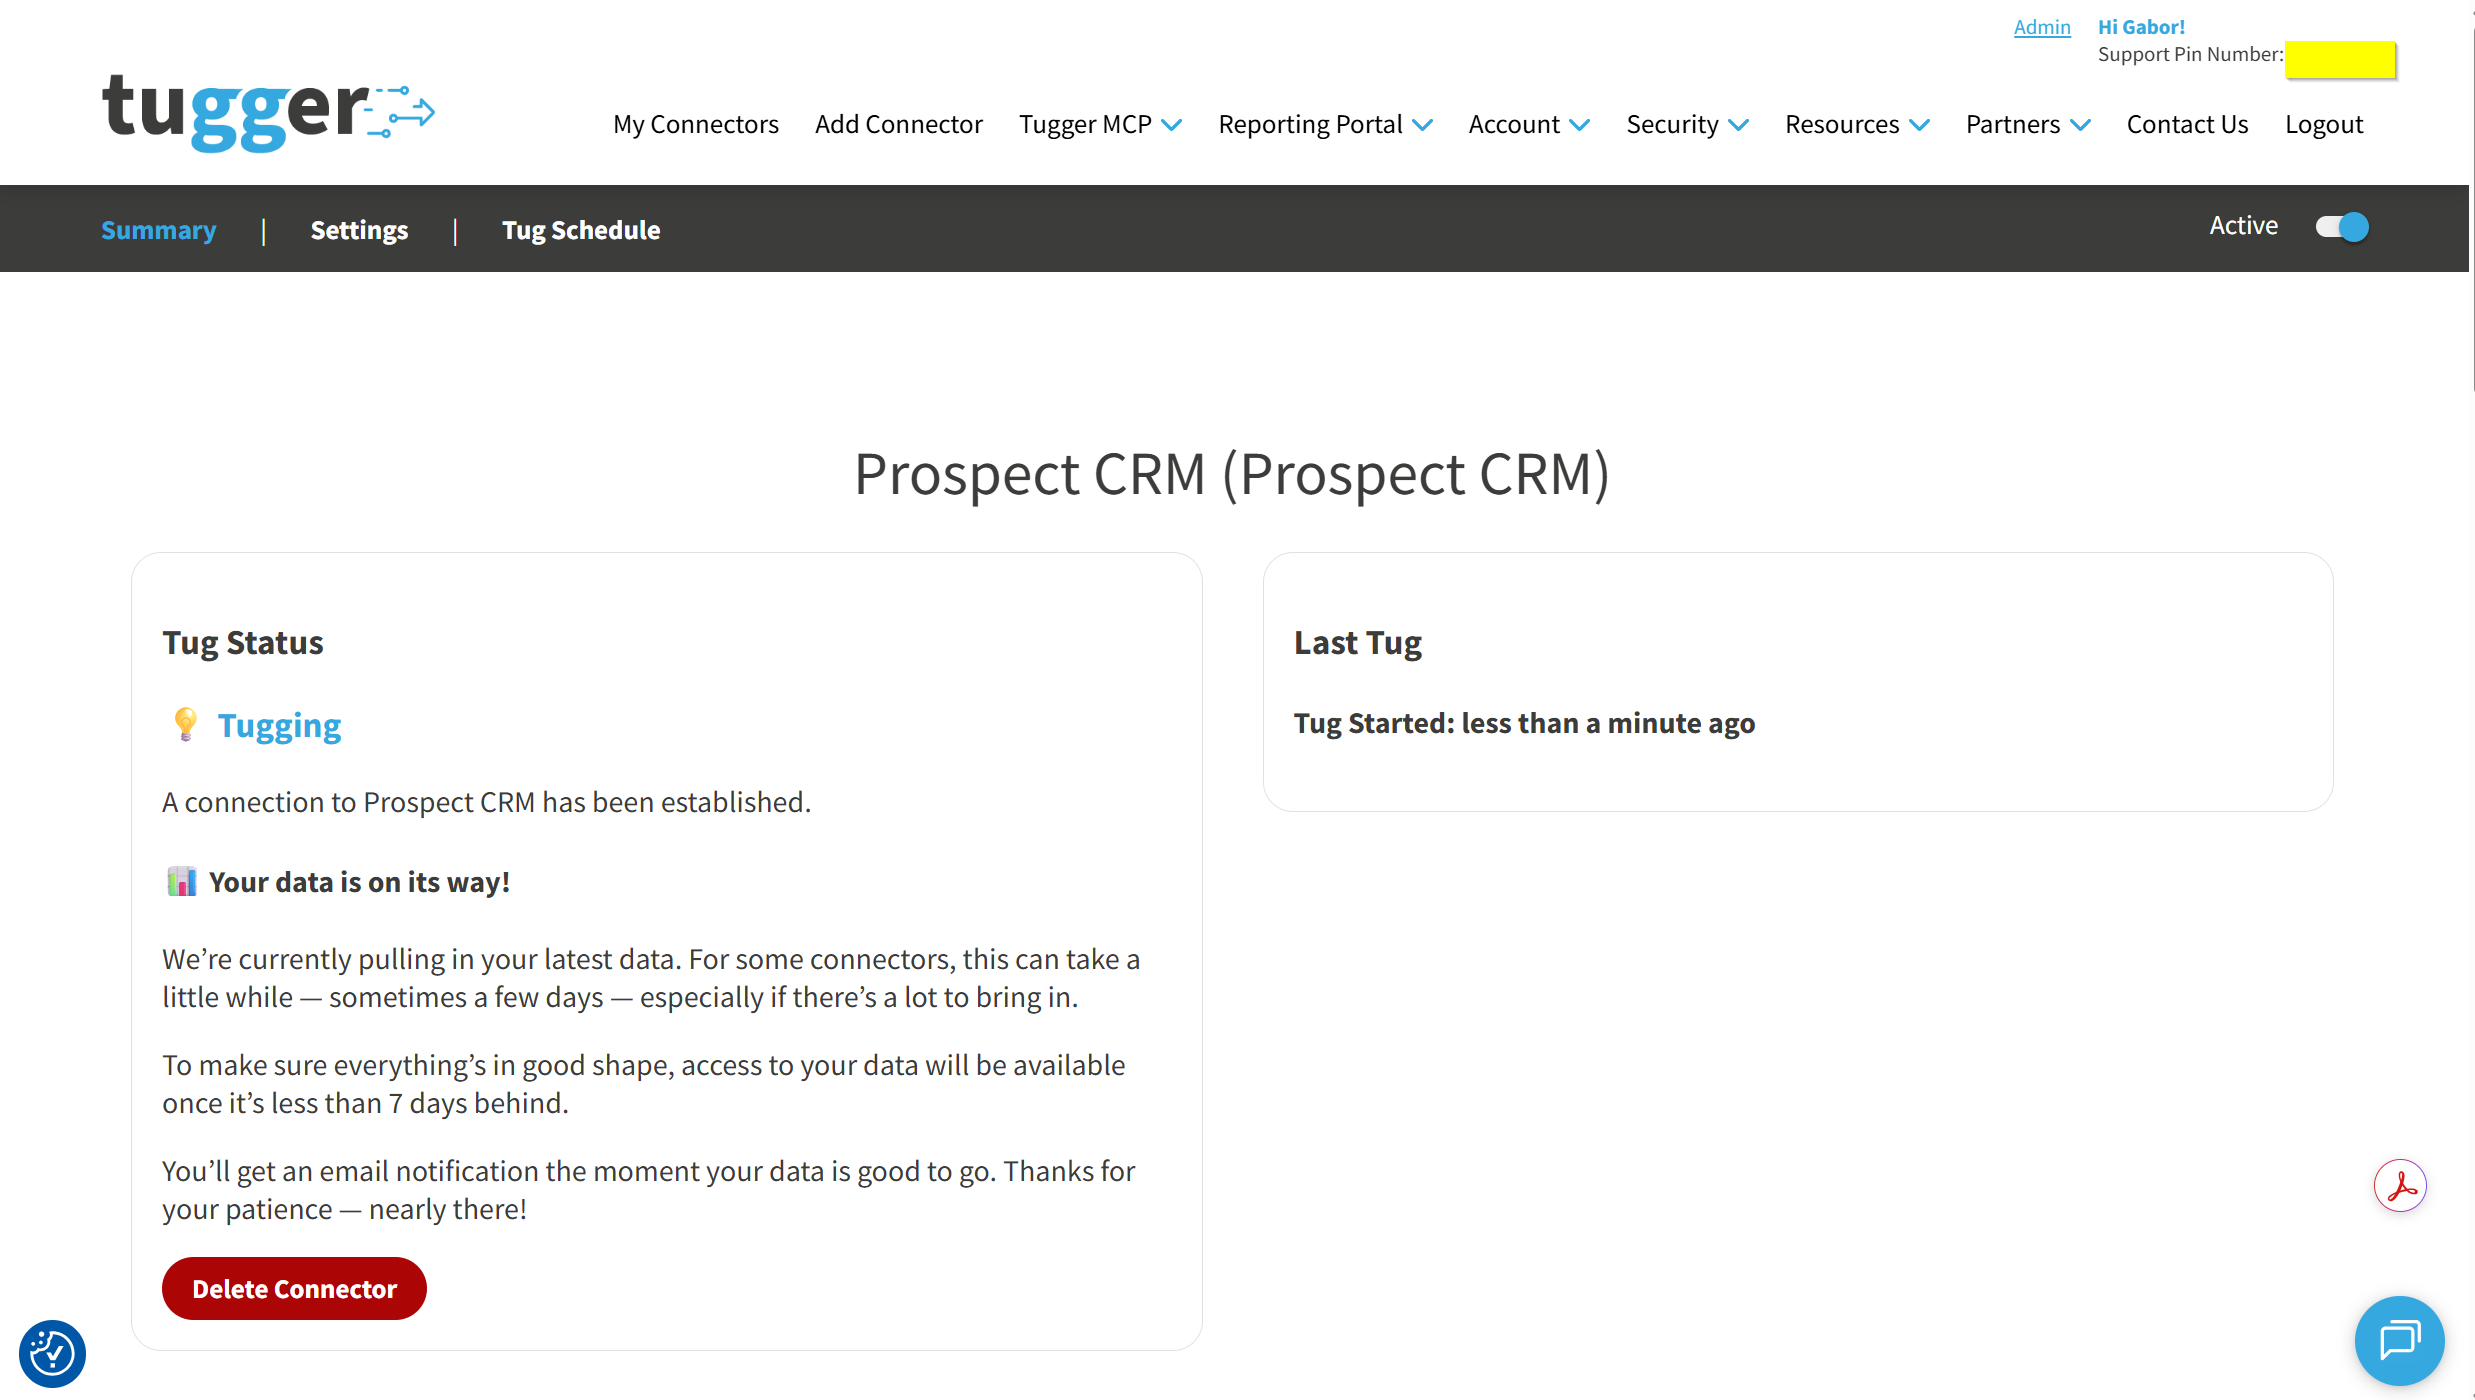
Depending on how much data you have (and how far back your data start date goes), the first sync may take anywhere from a few minutes to a longer period. After that, Tugger syncs your data automatically every day at 08:00 UK time by default. You can change this schedule if needed - see Managing Your Sync Schedule.
You'll receive an email (or SMS, if you've enabled it) once your data is ready. At that point you can start asking questions with AI Insights or building reports.
What data does Tugger pull from Prospect CRM?
Tugger syncs a comprehensive picture of your CRM, from first enquiry through to invoice and after-sales support, including:
- Companies and contacts - your customer and prospect records, with addresses, phone numbers, social links, contact preferences, roles and industry codes
- Leads and the sales pipeline - leads with their source, size, type and status, plus your pipeline stages and the action log of what happened at each step
- Enquiries - incoming enquiries and web enquiry forms, with their status and interaction history
- Quotes and sales orders - quotes and orders with full line-item detail, groupings, types and status
- Sales invoices and transactions - invoice headers, sales and purchase transactions, payment receipts, payment terms and payment types
- Purchasing - purchase orders and their request lines, approval status, and supplier ledgers
- Products and pricing - your product catalogue, categories and families, bills of materials, price lists, price bands, promotions and discount matrices
- Stock and warehousing - stock by warehouse and by bin, serial numbers, inventory status and manufacturers
- Contracts, jobs and bookings - recurring contracts and their schedules, jobs, bookings, tasks and calendar events, each with their own status and type
- Customer support - support problems with their pipeline, source, status and the products they relate to, plus the full action log
- Marketing and activity - campaigns and campaign activities, email marketing history, email events and engagement, activity feeds and notes
- Custom fields - the extra fields your business has added to companies, contacts, leads, quotes, jobs, products and more, so your own tailored data comes through too
- Reference data - currencies and exchange rates, VAT rates and countries, delivery methods, zones and charges, territories, cost centres, divisions and users
For a full list of data tables and fields, ask Tugger AI Insights - try "What data is available from my Prospect CRM connector?"
What's next?
Once you've received the email (or SMS) confirming your data is ready:
AI Insights
- What is Tugger AI Insights? - ask questions about your Prospect CRM data in plain English
- Connect Tugger to Claude | ChatGPT
Reporting
Manage your sync schedule
- Managing Your Sync Schedule - change when and how often Tugger pulls your data
Need help? Contact the Tugger team - we're always happy to help you get up and running.