Once you've got your report working in Power BI Desktop, the next step is to publish it to Power BI Service (online) so you can share it with your team. This guide walks you through the process.
Before you start
- Power BI Desktop with your Tugger report loaded and saved. If you haven't done this yet, see Connecting Power BI Desktop to Tugger.
- Power BI Service account - this can be added to a Microsoft 365 account and usually comes with a 60-day free trial. See pricing here.
- Signed in to your Microsoft account in Power BI Desktop - check the top-right corner of Power BI Desktop. If it says "Sign in", click it and log in with your Microsoft account before publishing.
Step 1: Create a Workspace (recommended)
Before you publish, we recommend creating a dedicated Workspace in Power BI Service. This gives you proper control over who can see and interact with your reports.
If you publish to "My Workspace" (the default), you won't be able to share reports with others via the standard access controls. You can move reports to a new Workspace later, but the dataset won't copy across, which can cause issues with refreshing.
If you've already created a Workspace, skip to Step 2.
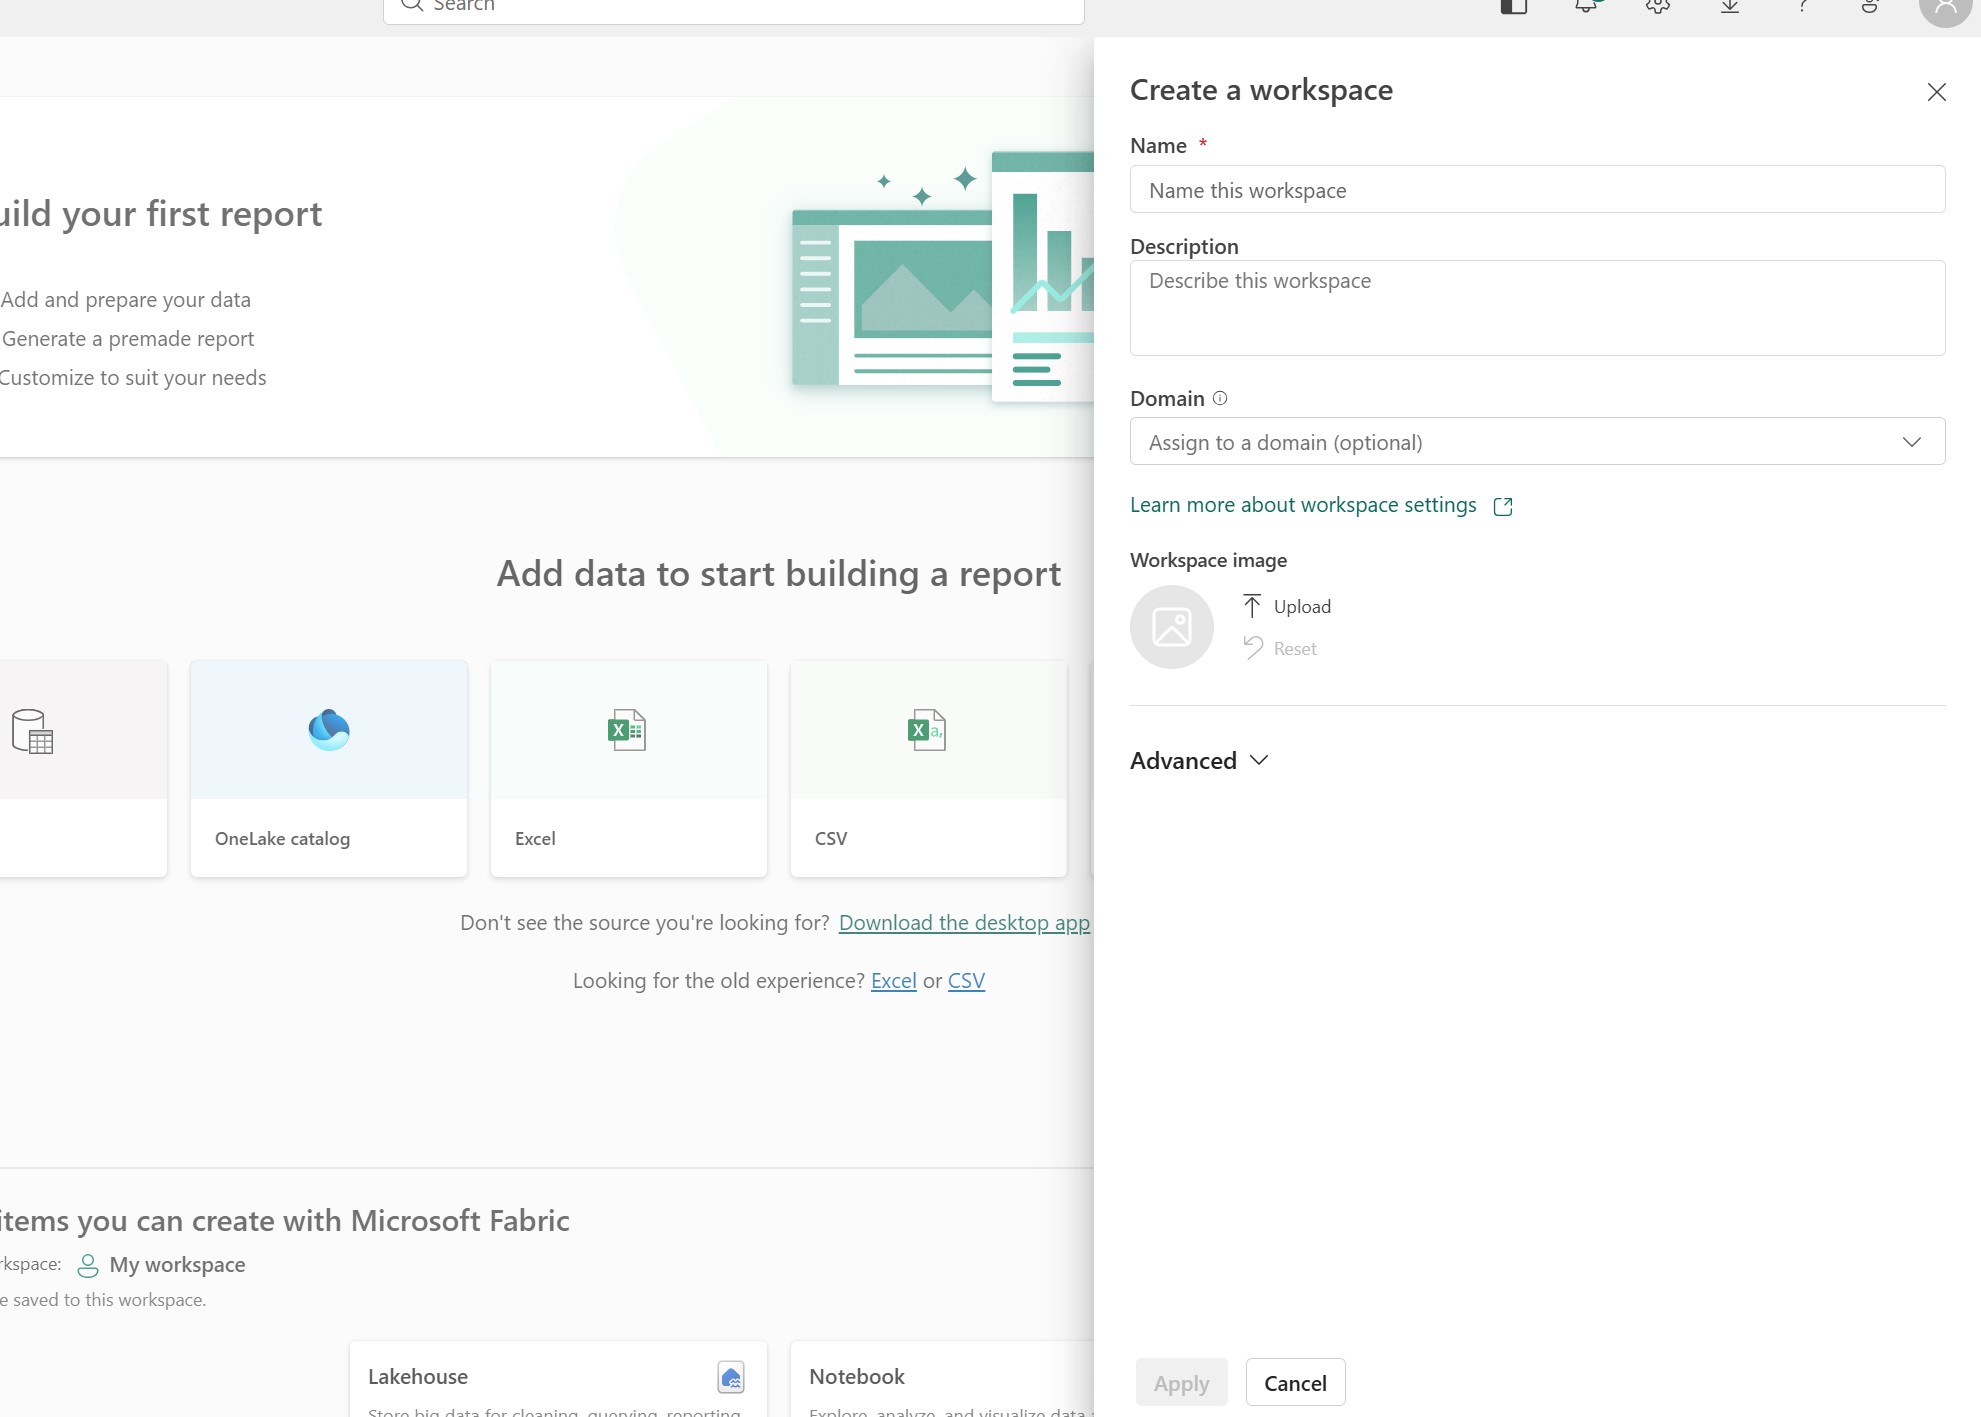
- Go to Power BI Service and sign in
- In the left sidebar, click Workspaces, then New workspace
- Give it a name (e.g. "Xero Reports" or "Finance Dashboard")
- Add any colleagues who need access and set their permission level
For more detail on Workspaces and managing user access, see Setting Up Workspaces & User Access.
Step 2: Publish from Power BI Desktop
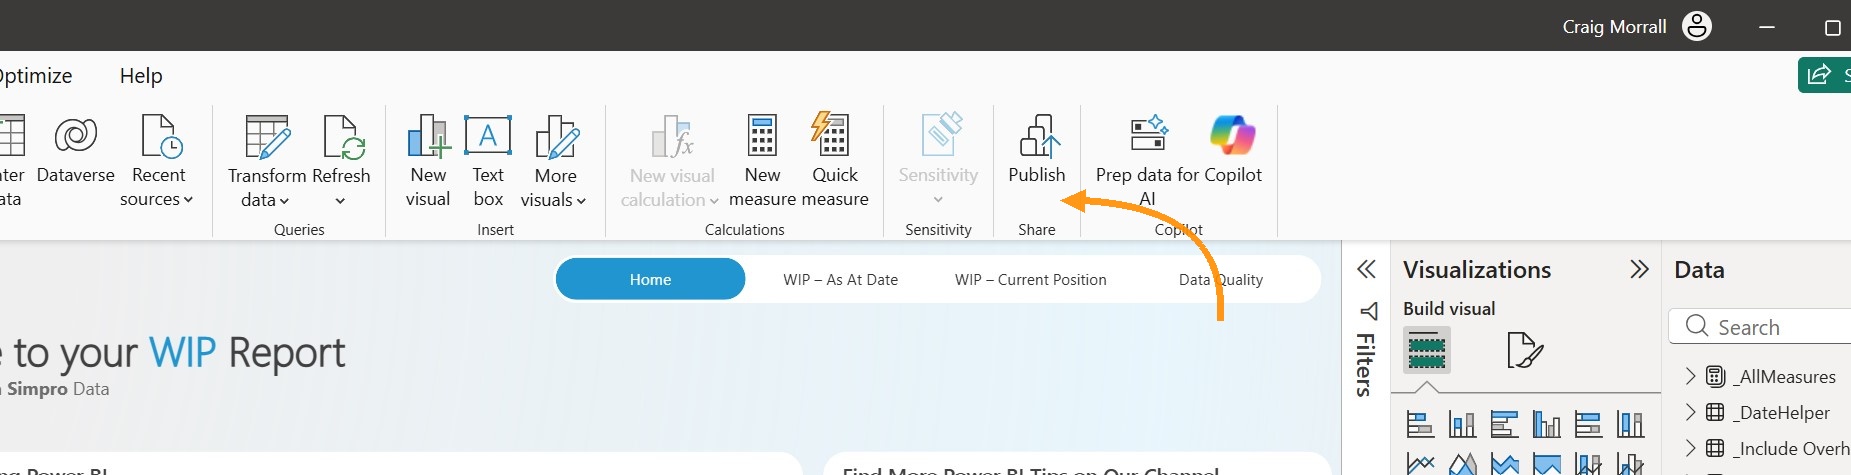
- In Power BI Desktop, click Publish in the Home ribbon
-
If you haven't saved your report yet, you'll be prompted to save. Choose a location on your computer and click Save.
-
The Publish to Power BI dialogue will appear, showing your available Workspaces.
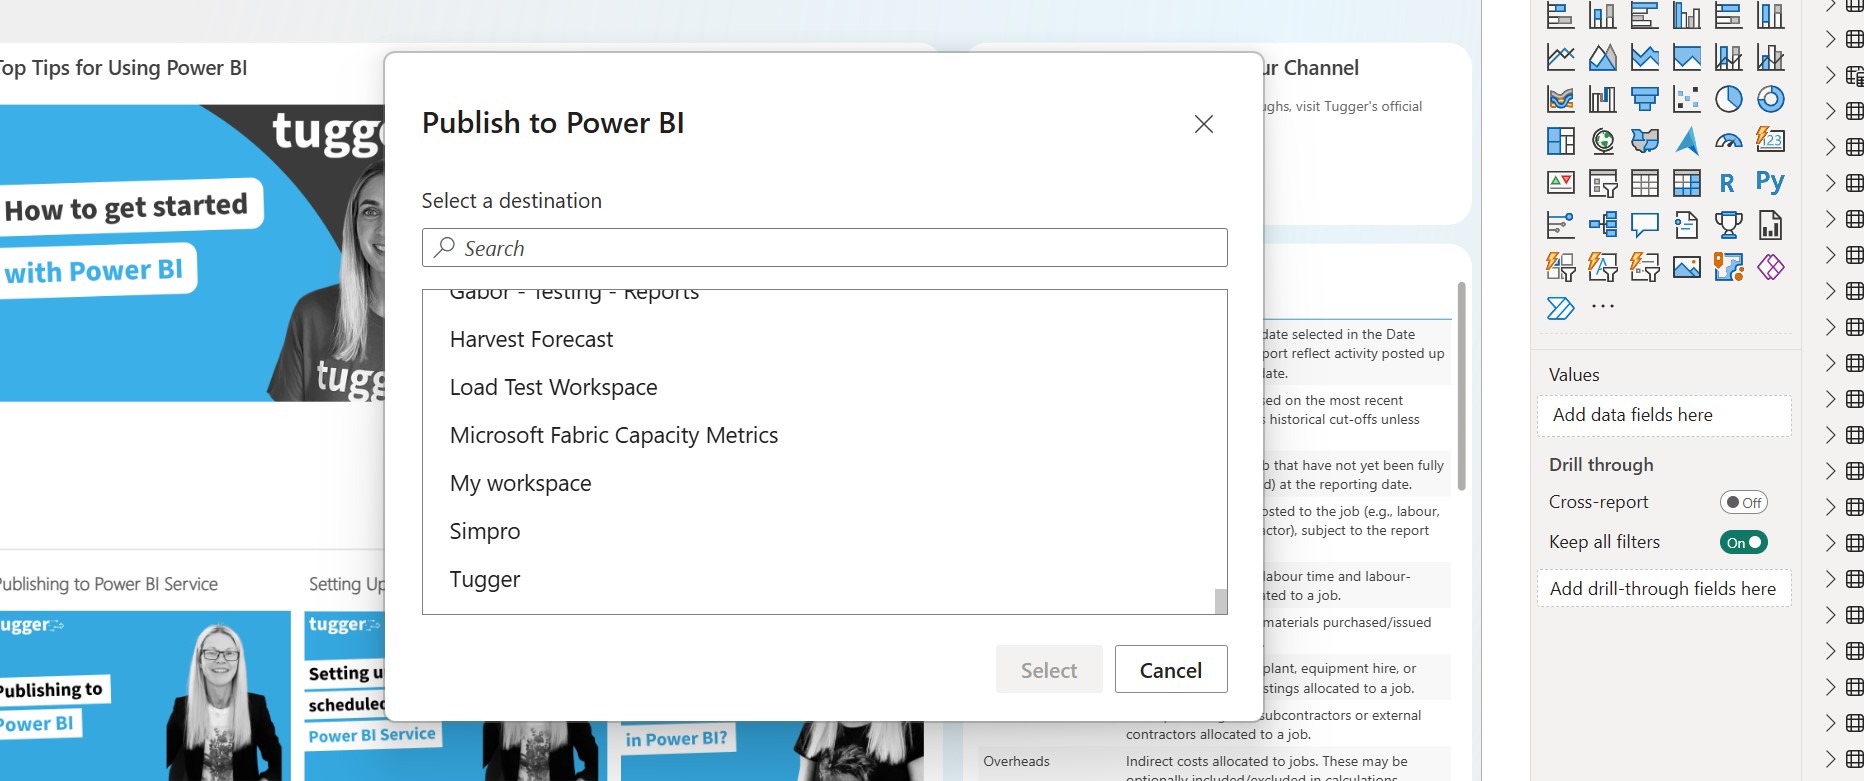
- Select the Workspace you want to publish to (not "My Workspace" if you plan to share with others)
- Click Select
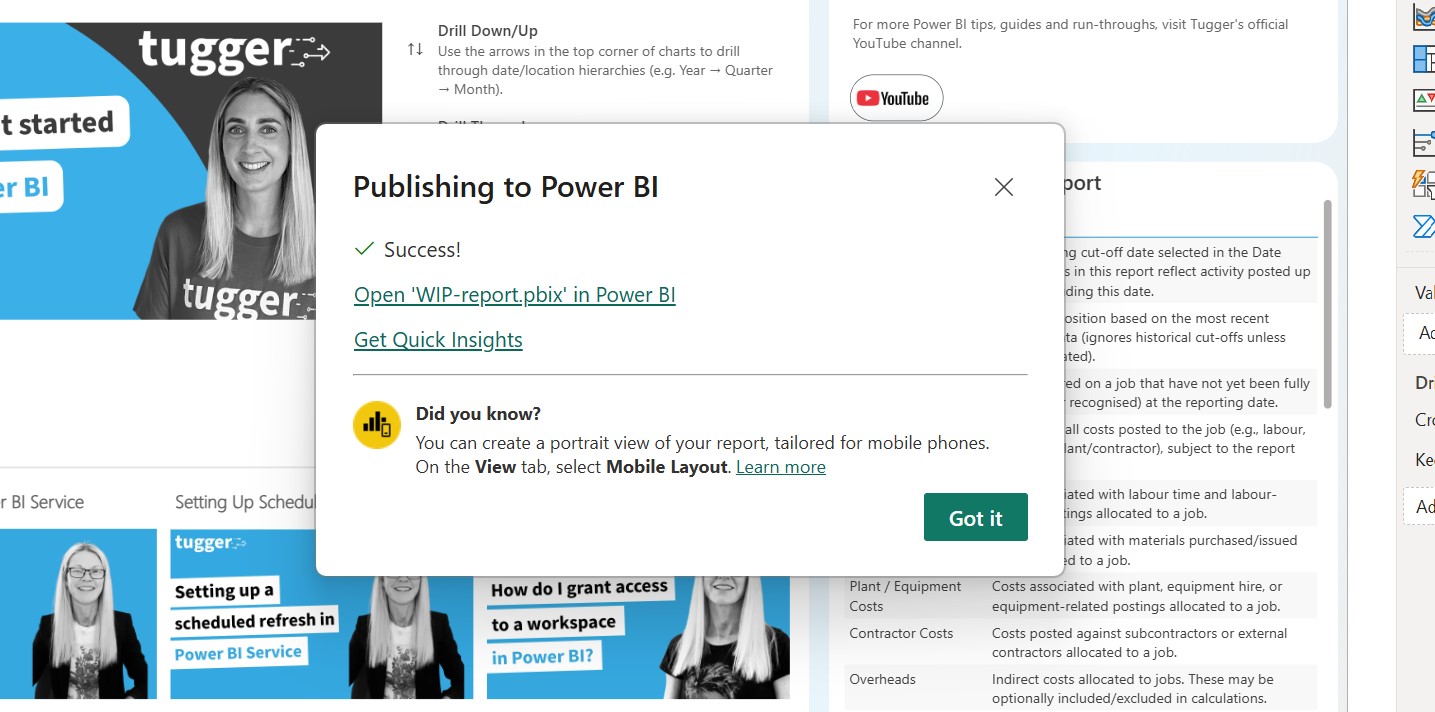
Power BI will upload your report. After a few moments, you'll see a success message with a link to view your report online.
Step 3: View your report in Power BI Service
Click the link in the success message, or navigate to your report manually:
- Go to Power BI Service
- Click Workspaces in the left sidebar
- Select the Workspace you published to
- Click on your report to open it
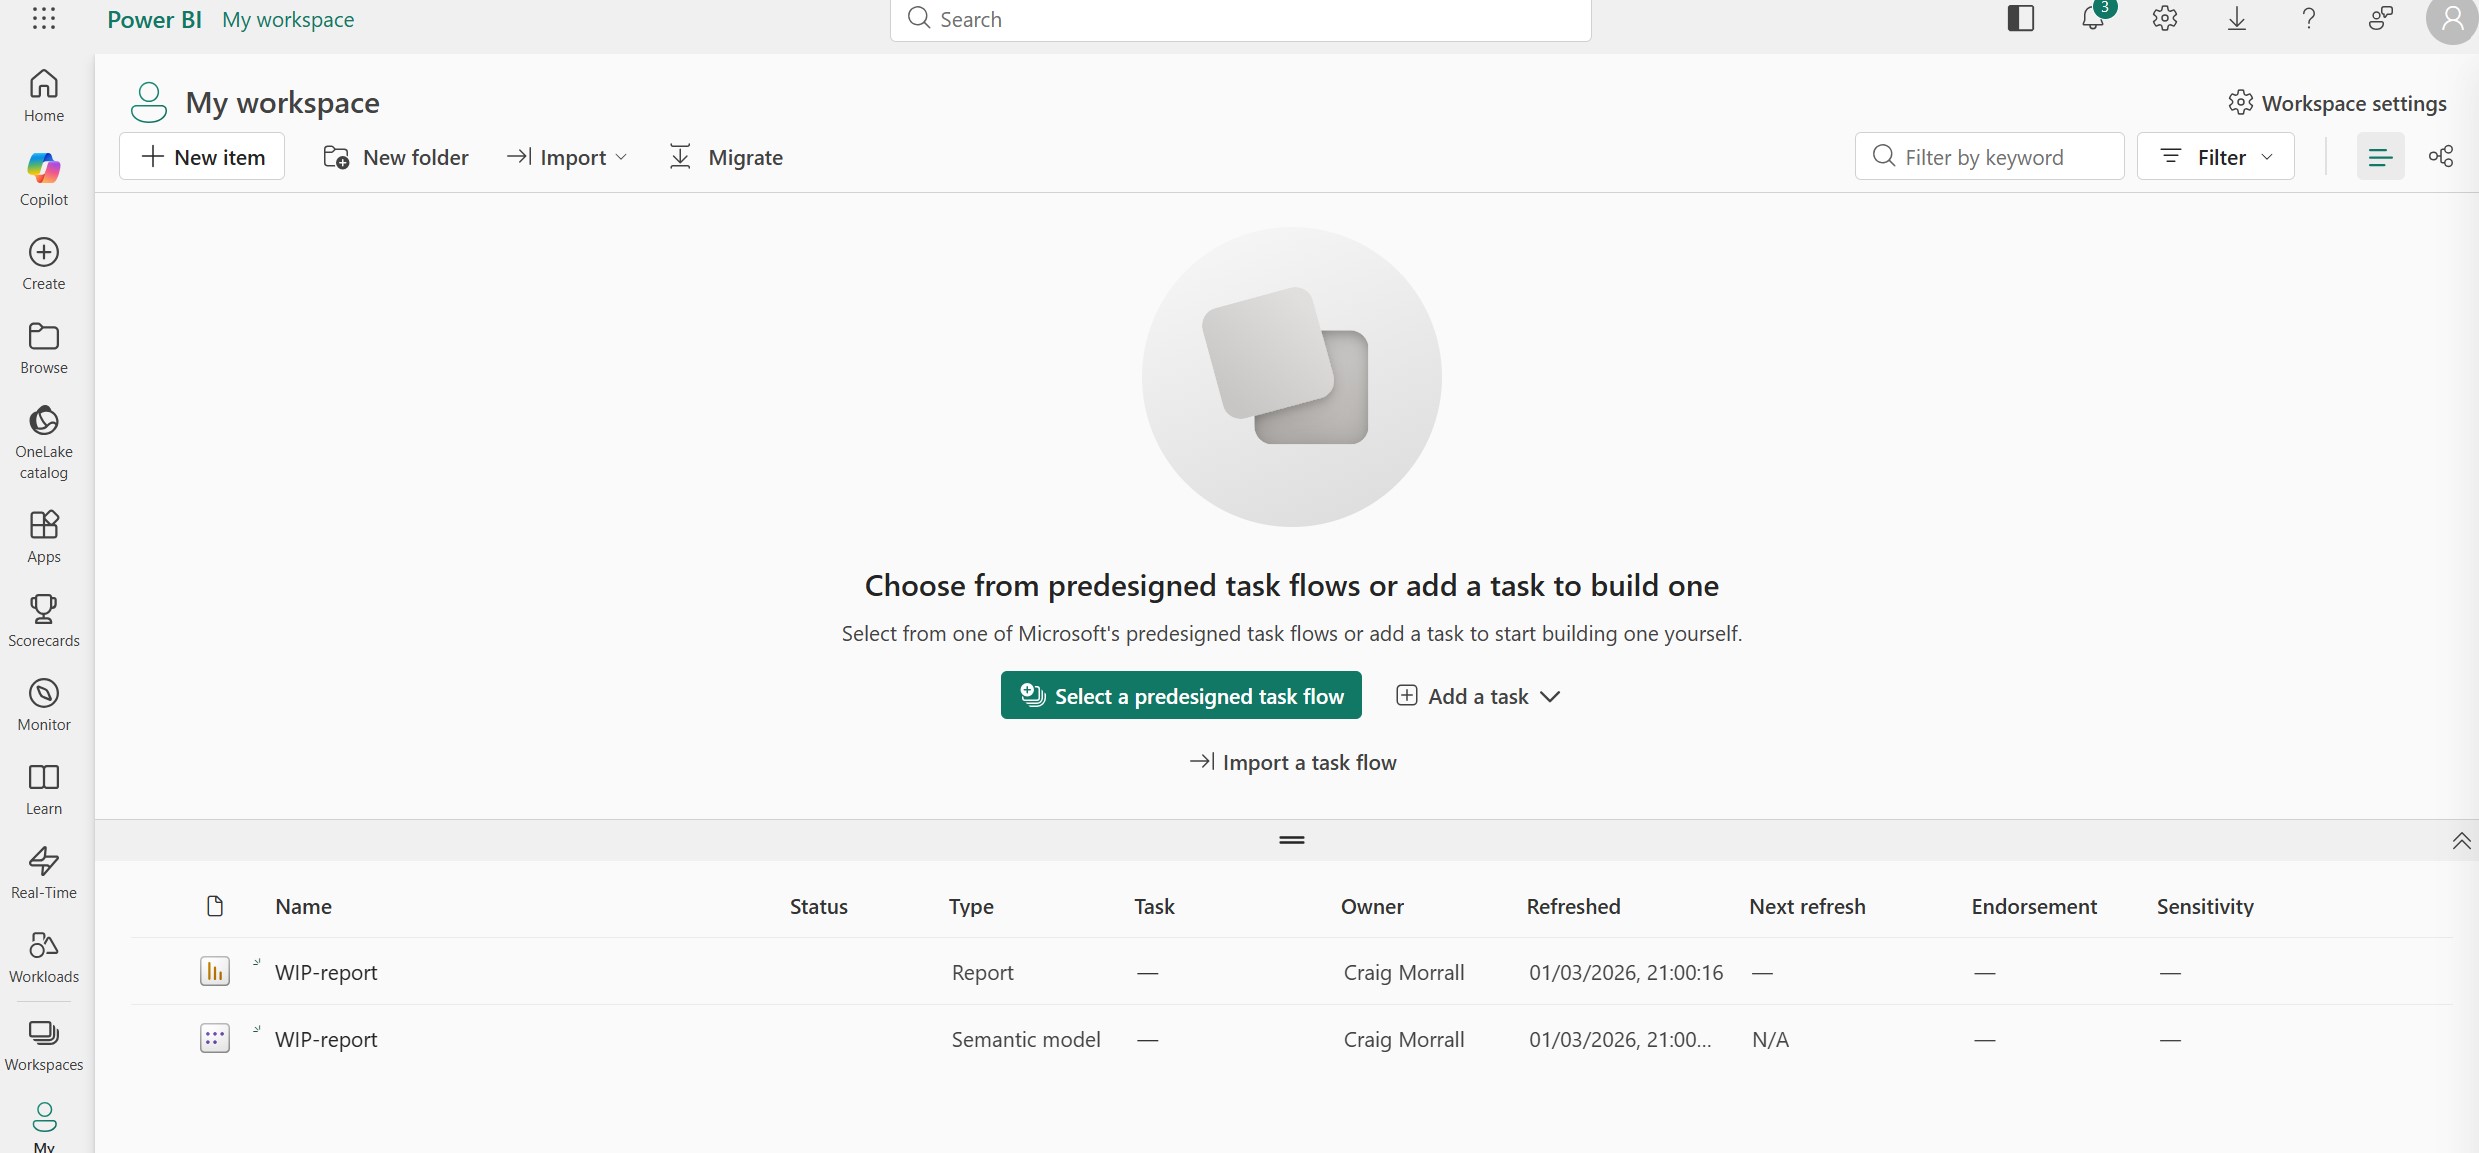
You'll notice two items in your Workspace - the report and the dataset. Both are needed for the report to work properly.
Setting up automatic refresh
Once your report is published, you'll want it to refresh automatically so it always shows the latest data from Tugger. Tugger syncs your data daily by default (see Managing Your Sync Schedule), and you can set Power BI Service to pick up those updates automatically.
- In your Workspace, hover over the dataset (not the report) and click the Schedule refresh icon
- Under Gateway connection, you may need to enter your Tugger OData credentials (the same Username and Password from Tugger's Report Credentials page)
- Under Scheduled refresh, turn it on and set the frequency and time - we suggest scheduling this after your Tugger sync completes, to make sure the latest data is available
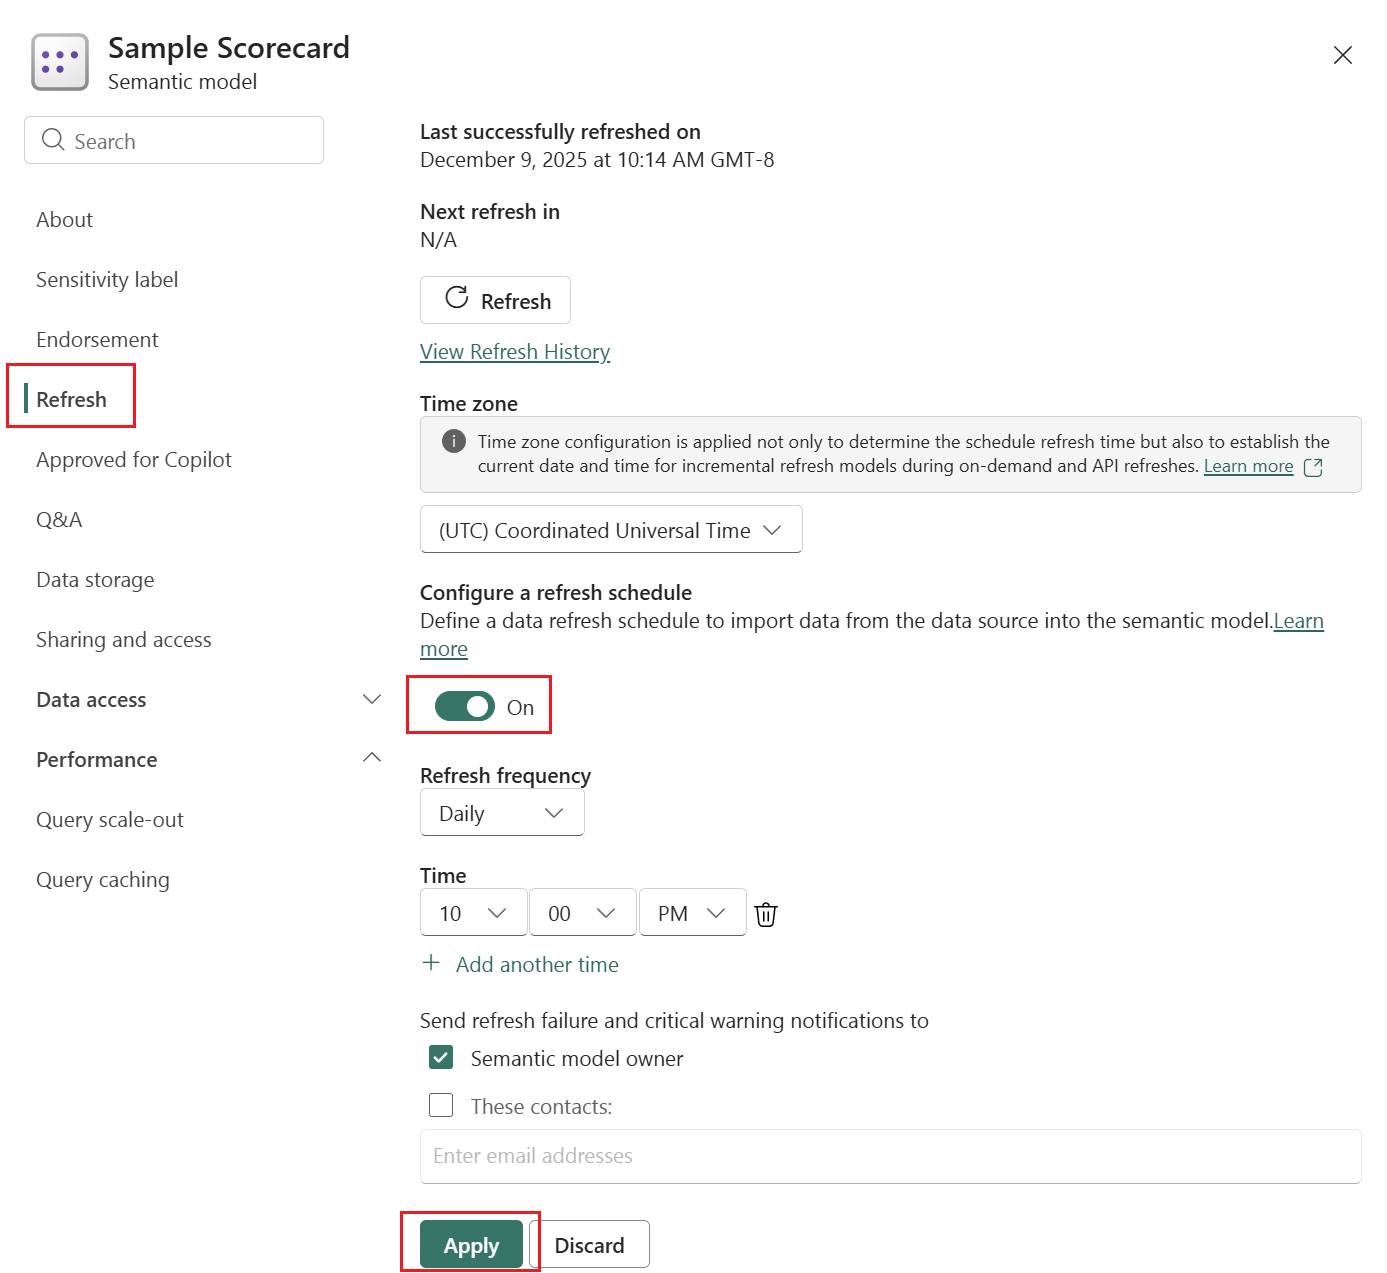
Tip: If your Tugger sync runs at 08:00 UK time (the default), try scheduling your Power BI refresh for 09:00 or later to give the sync time to complete.
Sharing your report
Once published, you can share your report with colleagues in several ways:
- Workspace access - anyone added to the Workspace can see all reports in it. This is the simplest approach for teams.
- Share link - click the Share button on any report to send a direct link to specific people.
- Embed - reports can be embedded in Teams, SharePoint, or other Microsoft tools.
For more detail, see Setting Up Workspaces & User Access.
Troubleshooting
"Publish" button is greyed out
- Make sure you're signed in to your Microsoft account in Power BI Desktop (check the top-right corner).
Report published but colleagues can't see it
- Check that you published to a shared Workspace, not "My Workspace".
- Make sure your colleagues have been added to the Workspace with the right permission level.
Report shows old data in Power BI Service
- Set up scheduled refresh (see above) so the report pulls the latest data automatically.
- You can also trigger a manual refresh by clicking the refresh icon on the dataset in your Workspace.
Scheduled refresh fails
- Check that your Tugger OData credentials are entered correctly in the dataset settings.
- If you've regenerated your credentials in Tugger, you'll need to update them in Power BI Service too. See Regenerating Report Credentials.
Related articles: