Power BI Workspaces control who can see and interact with your Tugger reports in Power BI Service. This guide covers creating a workspace, adding users, and managing permissions.
Before you start
- A Power BI Service account with a Pro or Premium Per User licence. See pricing here.
- At least one report published to Power BI Service. See Publishing to Power BI Service if you haven't done this yet.
Why use a workspace?
When you first publish a report, Power BI offers "My Workspace" as the default destination. This is a personal space that only you can see. If you want others to view your reports, you need a shared workspace.
Reports published to My Workspace can be moved later, but the dataset won't copy across, which can cause issues with scheduled refresh. It's easier to create a workspace first and publish directly to it.
Creating a workspace
- Go to Power BI Service and sign in
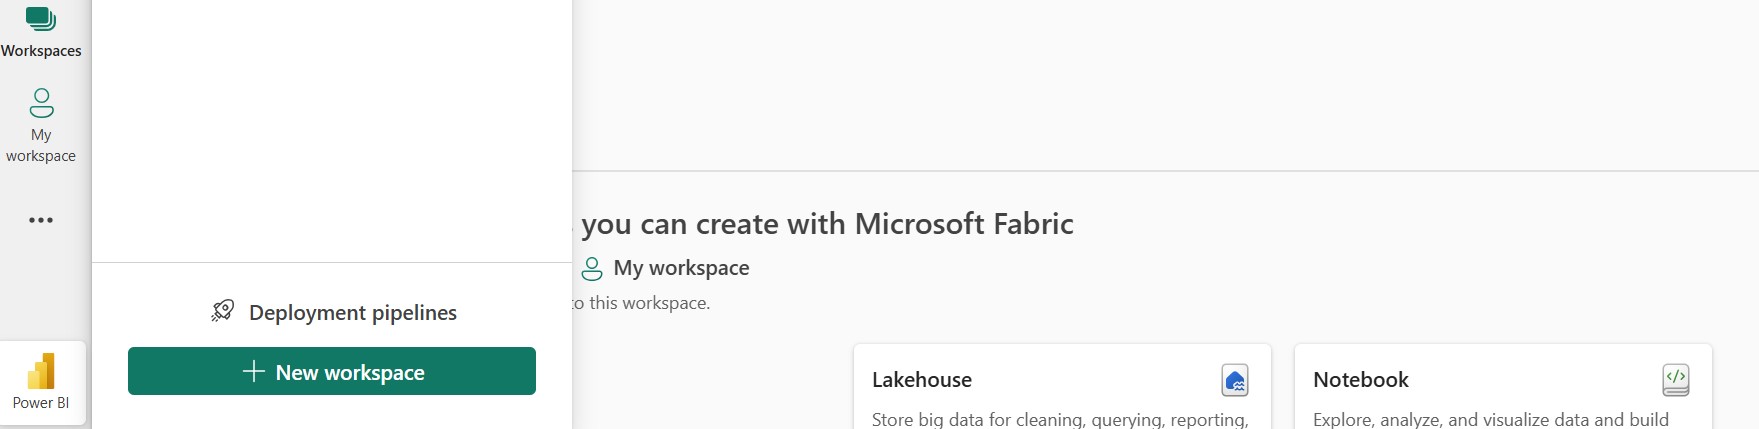
- In the left sidebar, click Workspaces
- Click New workspace
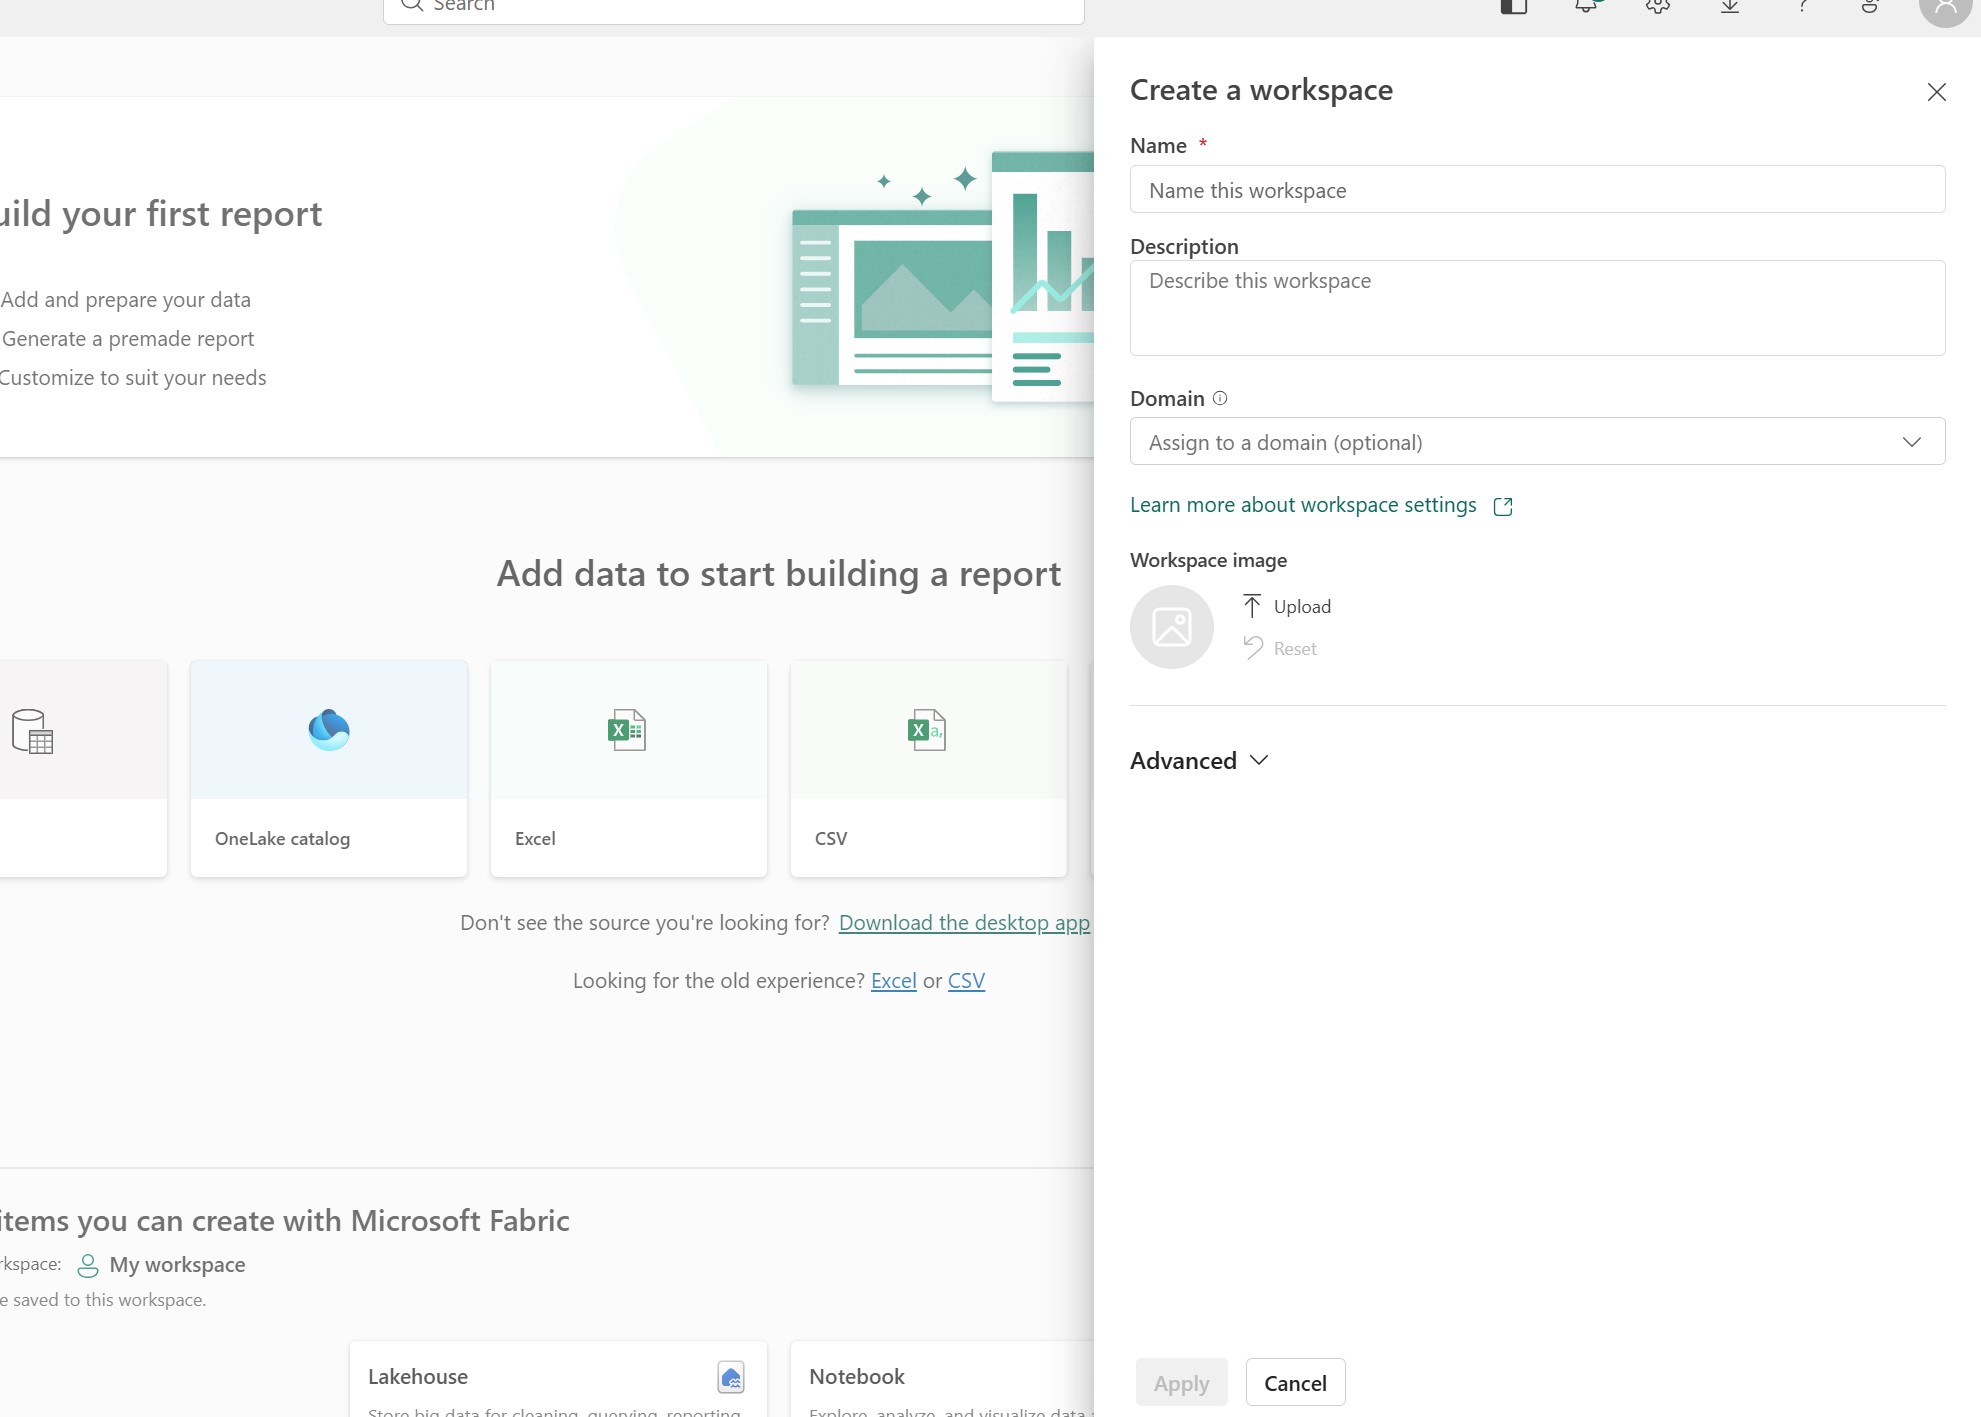
- Give your workspace a name (e.g. "Finance Reports", "Xero Dashboard", or your company name)
- Optionally add a description so colleagues know what the workspace is for
- Click Apply
Your workspace is now ready. You can publish reports to it from Power BI Desktop by selecting it in the Publish dialogue.
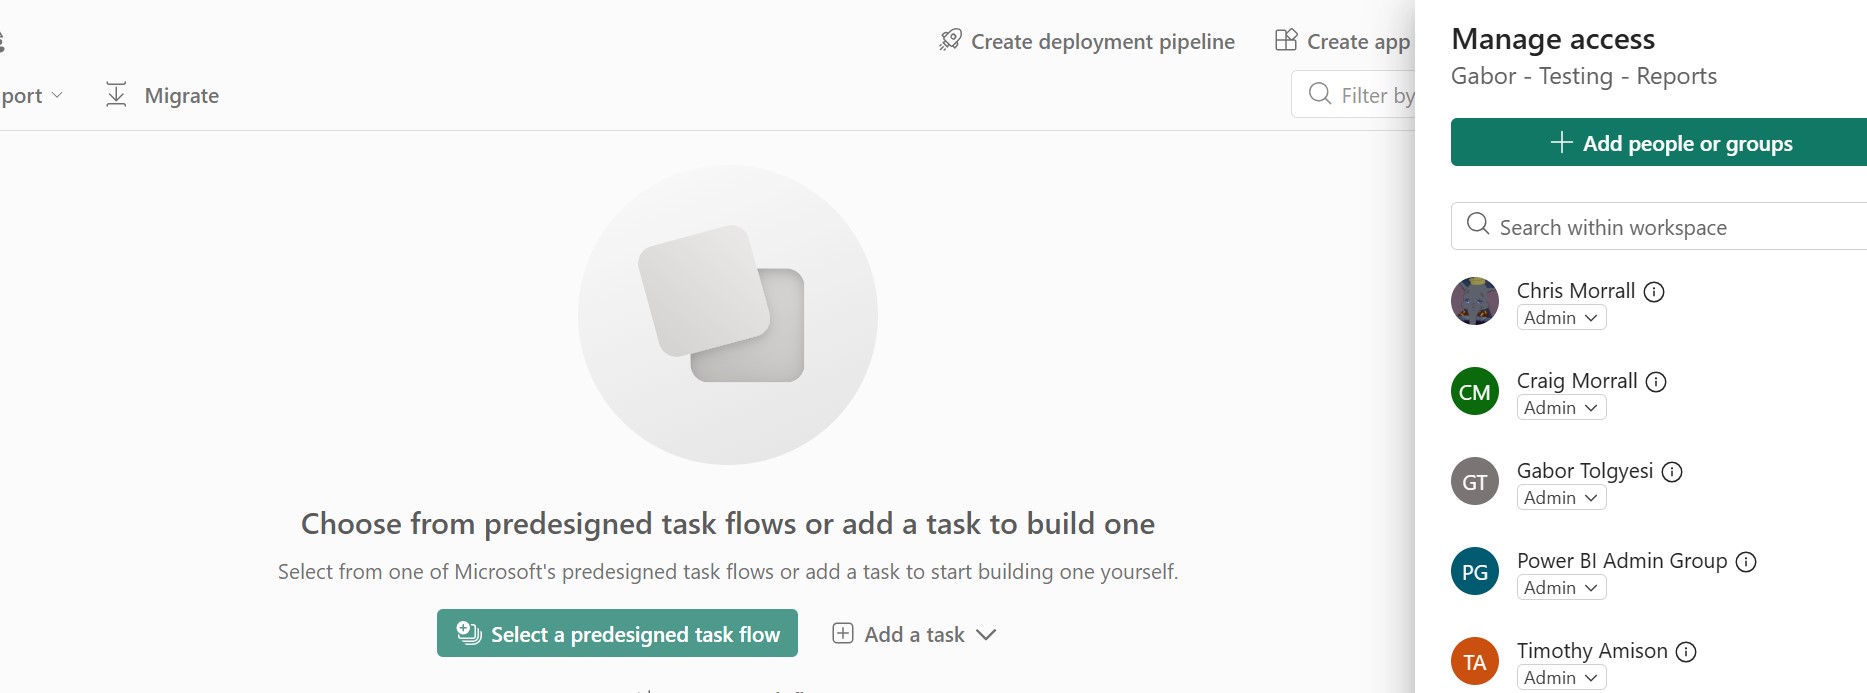
Adding users to a workspace
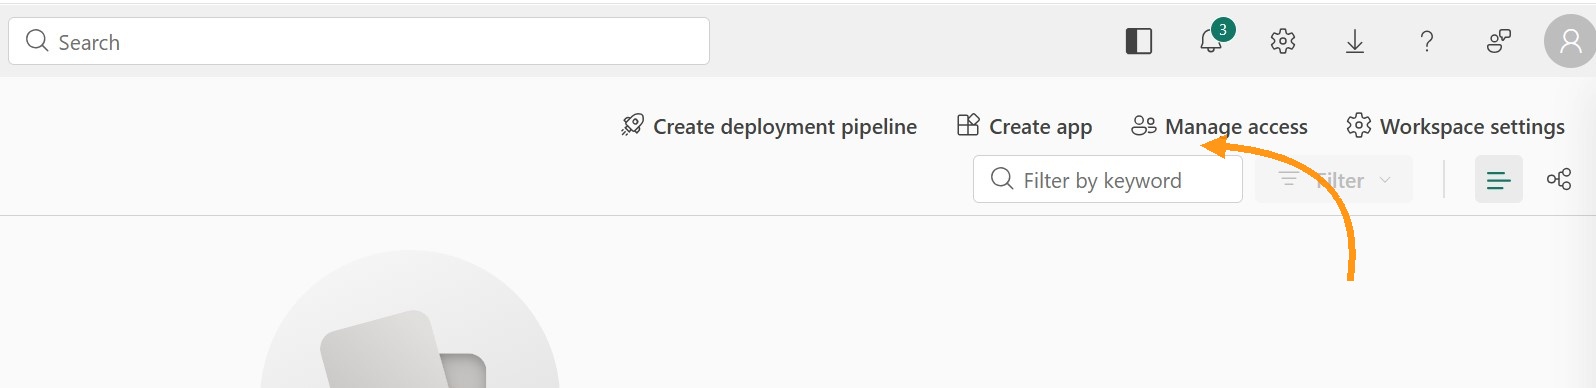
- Open your workspace in Power BI Service
- Click Manage Access in the top toolbar (or the sharing icon, depending on your view)
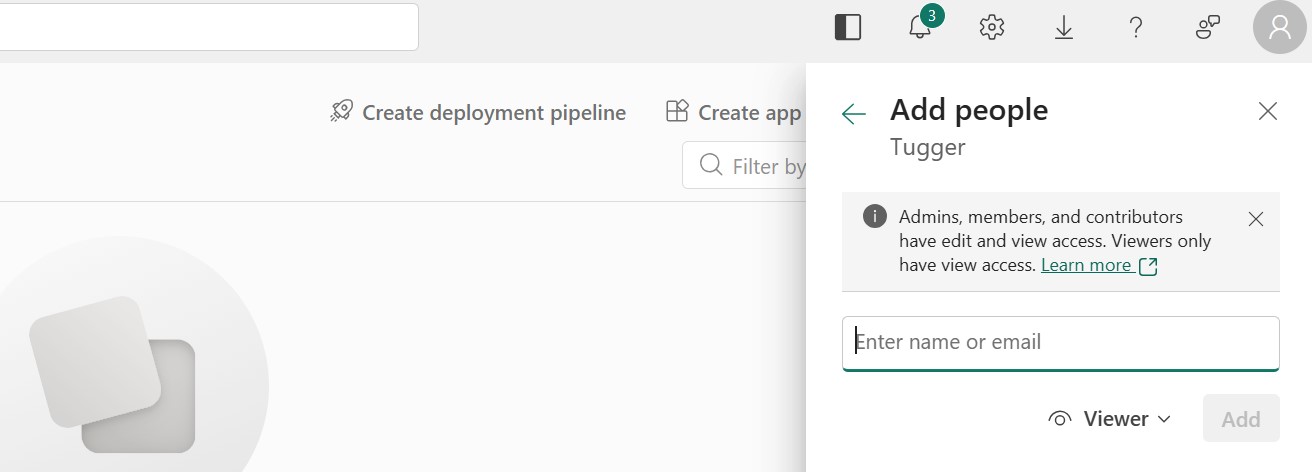
- Click Add people of groups
- Enter the email address of the person you want to add
- Choose their role (see below)
- Click Add
Repeat for each person who needs access. Users will be able to see the workspace and its contents as soon as they're added.
Understanding workspace roles
Power BI has four workspace roles. Choose the one that fits what each person needs to do.
| Role | Can view reports | Can edit reports | Can publish/delete | Can manage access |
|---|---|---|---|---|
| Viewer | Yes | No | No | No |
| Contributor | Yes | Yes | Yes | No |
| Member | Yes | Yes | Yes | Can add Viewers and Contributors |
| Admin | Yes | Yes | Yes | Full control, including adding/removing any role |
For most colleagues who just need to see reports, Viewer is the right choice. Give Contributor access to anyone who needs to create or edit reports within the workspace. Use Member or Admin sparingly.
Tip: Everyone you add needs their own Power BI Pro or Premium Per User licence. If a user has a free licence, they won't be able to access the workspace. Your Microsoft 365 admin can manage licences.
Sharing individual reports
If you want to share a specific report without giving someone access to the whole workspace, you can share it directly.
- Open the report in Power BI Service
- Click Share in the top toolbar
- Enter the recipient's email address
- Choose whether they can reshare or build new content from the report's data
- Click Send
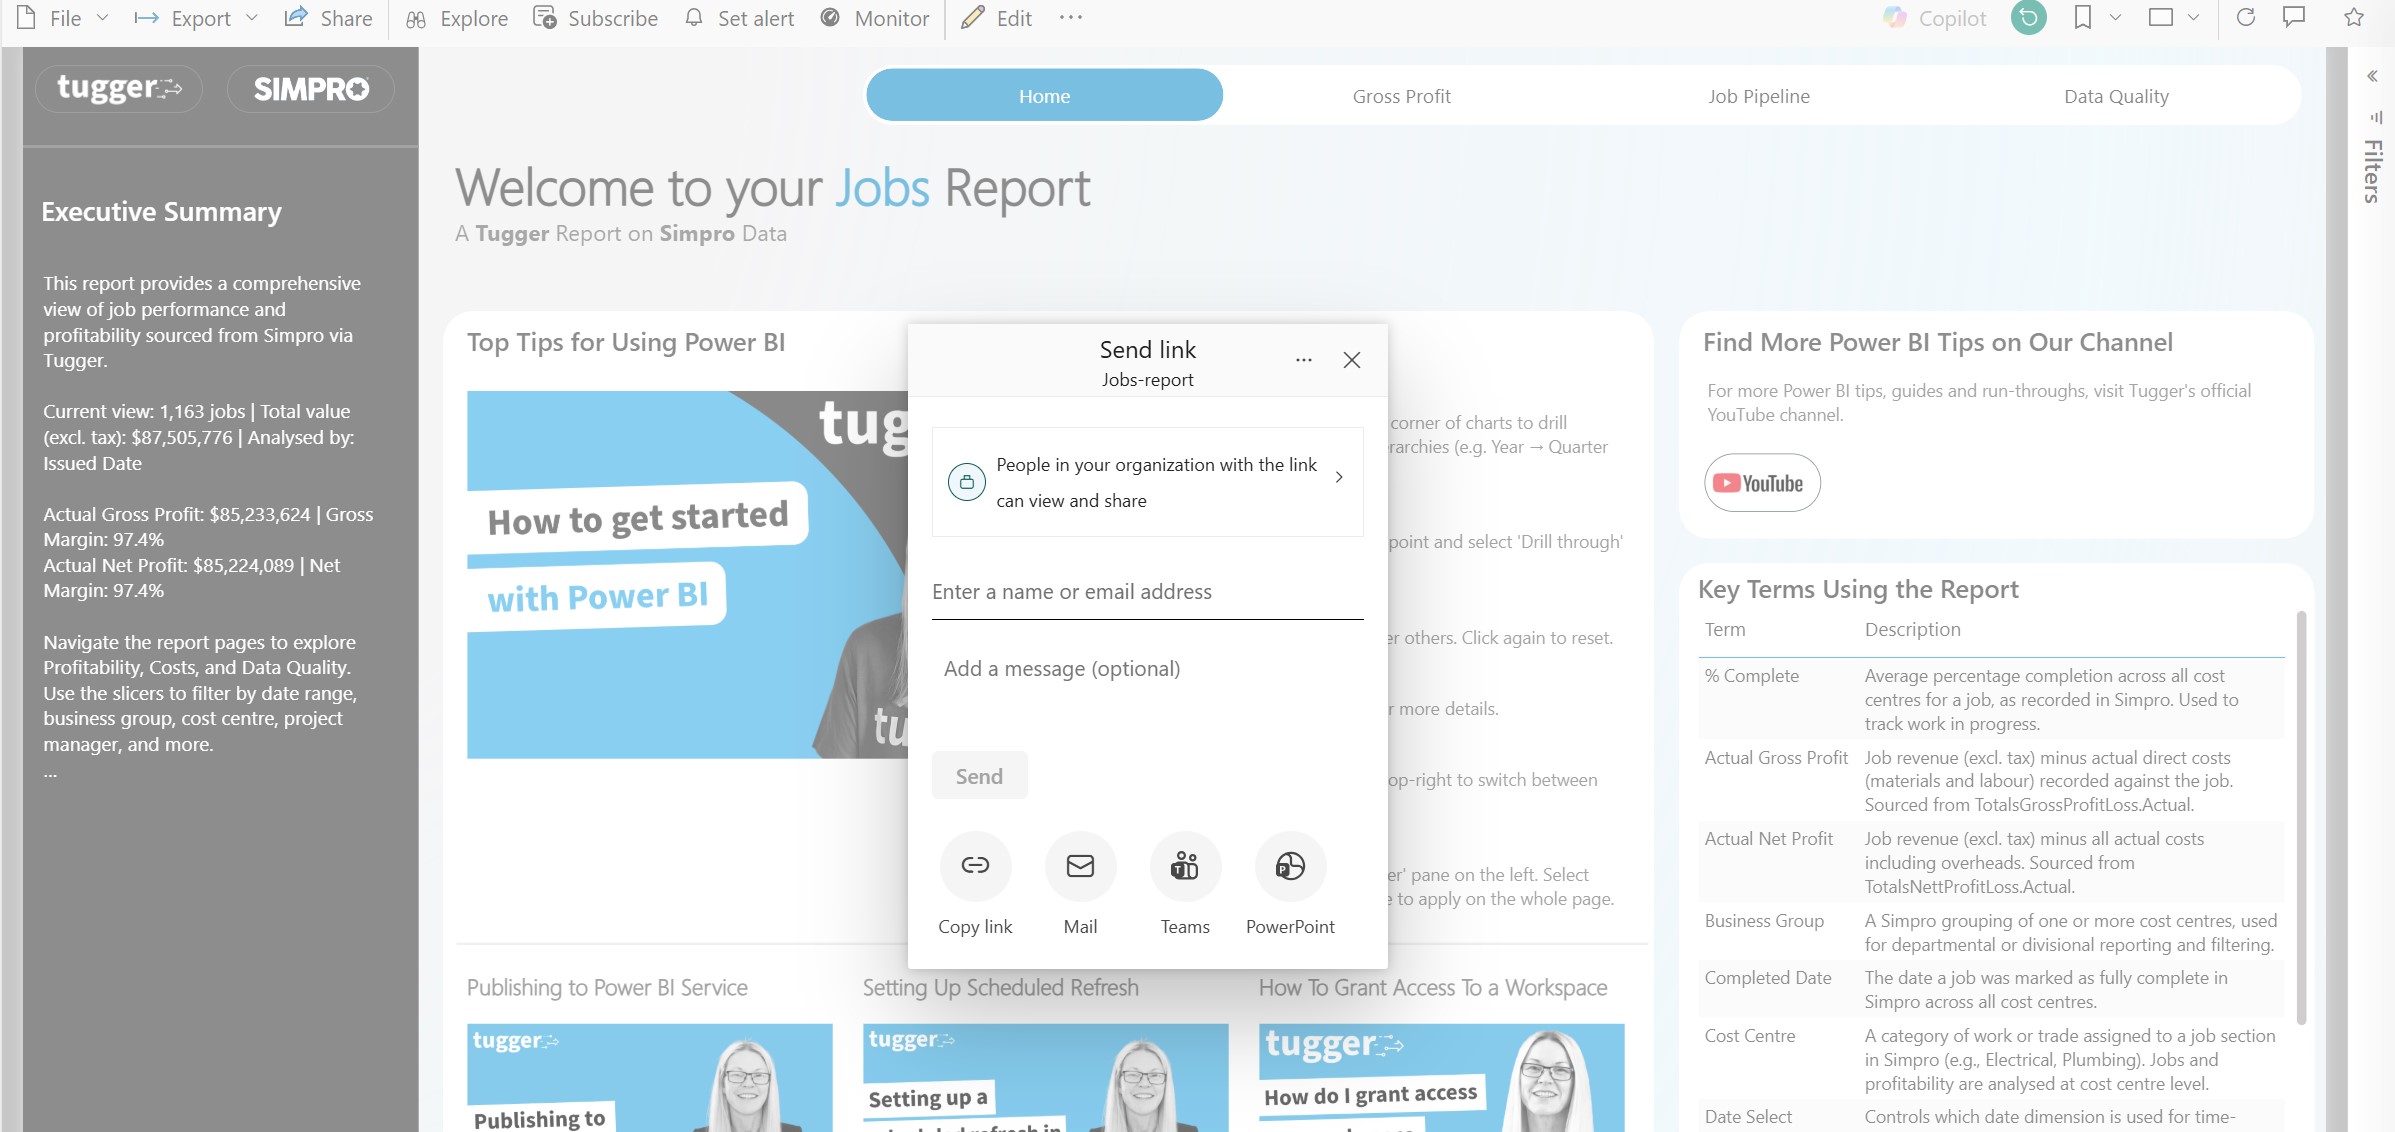
The recipient will get an email with a link to the report. They'll still need a Power BI Pro or Premium Per User licence to view it.
Embedding reports in Microsoft Teams
If your team uses Microsoft Teams, you can pin Power BI reports directly into a Teams channel.
- In Microsoft Teams, go to the channel where you want to add the report
- Click the + tab at the top of the channel
- Select Power BI
- Choose the report from your workspace
- Click Save

Team members with the right Power BI licence and workspace permissions will be able to view the report without leaving Teams.
Managing access over time
To review or change who has access to a workspace:
- Open the workspace in Power BI Service
- Click Manage Access
- You'll see the full list of users and their roles
- To change a role, click the dropdown next to the person's name
- To remove someone, click the dropdown next to the person's name and then click on Remove
Troubleshooting
Colleague can't see the workspace
- Check they've been added to the workspace with the correct role.
- Confirm they have a Power BI Pro or Premium Per User licence.
Colleague can see the workspace but not the report
- The report may not have been published to that workspace. Check which workspace it was published to in Power BI Desktop.
"You need a Power BI Pro licence" message
- The person viewing the report needs their own Pro or Premium Per User licence. Contact your Microsoft 365 admin to assign one.
Report data isn't updating for other users
- Make sure scheduled refresh is set up on the dataset. See Publishing to Power BI Service for instructions.
Related articles: