# Tugger MCP Configuration
The MCP Configuration page is where you manage how AI tools connect to your Tugger data. From here you can find your server URL, manage connected AI platforms, control which users can access your data, and generate API keys for local tools.
To access this page, log in to Tugger at tuggerapp.com and click MCP Configuration in the menu.
Note: This page is only visible to account administrators.
The page has four tabs: Setup Guides, OAuth Clients, User Permissions, and API Keys.
Setup Guides
This is the default tab when you open MCP Configuration.
.jpg)
At the top you'll find your Server URL. This is the URL you'll paste into your AI platform when setting up a connection. Click the copy button next to it to copy it to your clipboard.
Below the URL, you'll see cards for each supported AI platform: Claude, ChatGPT, Cursor, Perplexity, and Google Gemini. Click View Guide on any card to see the step-by-step setup instructions for that platform.
OAuth Clients
This tab shows AI platforms that have been connected to your Tugger account via OAuth.
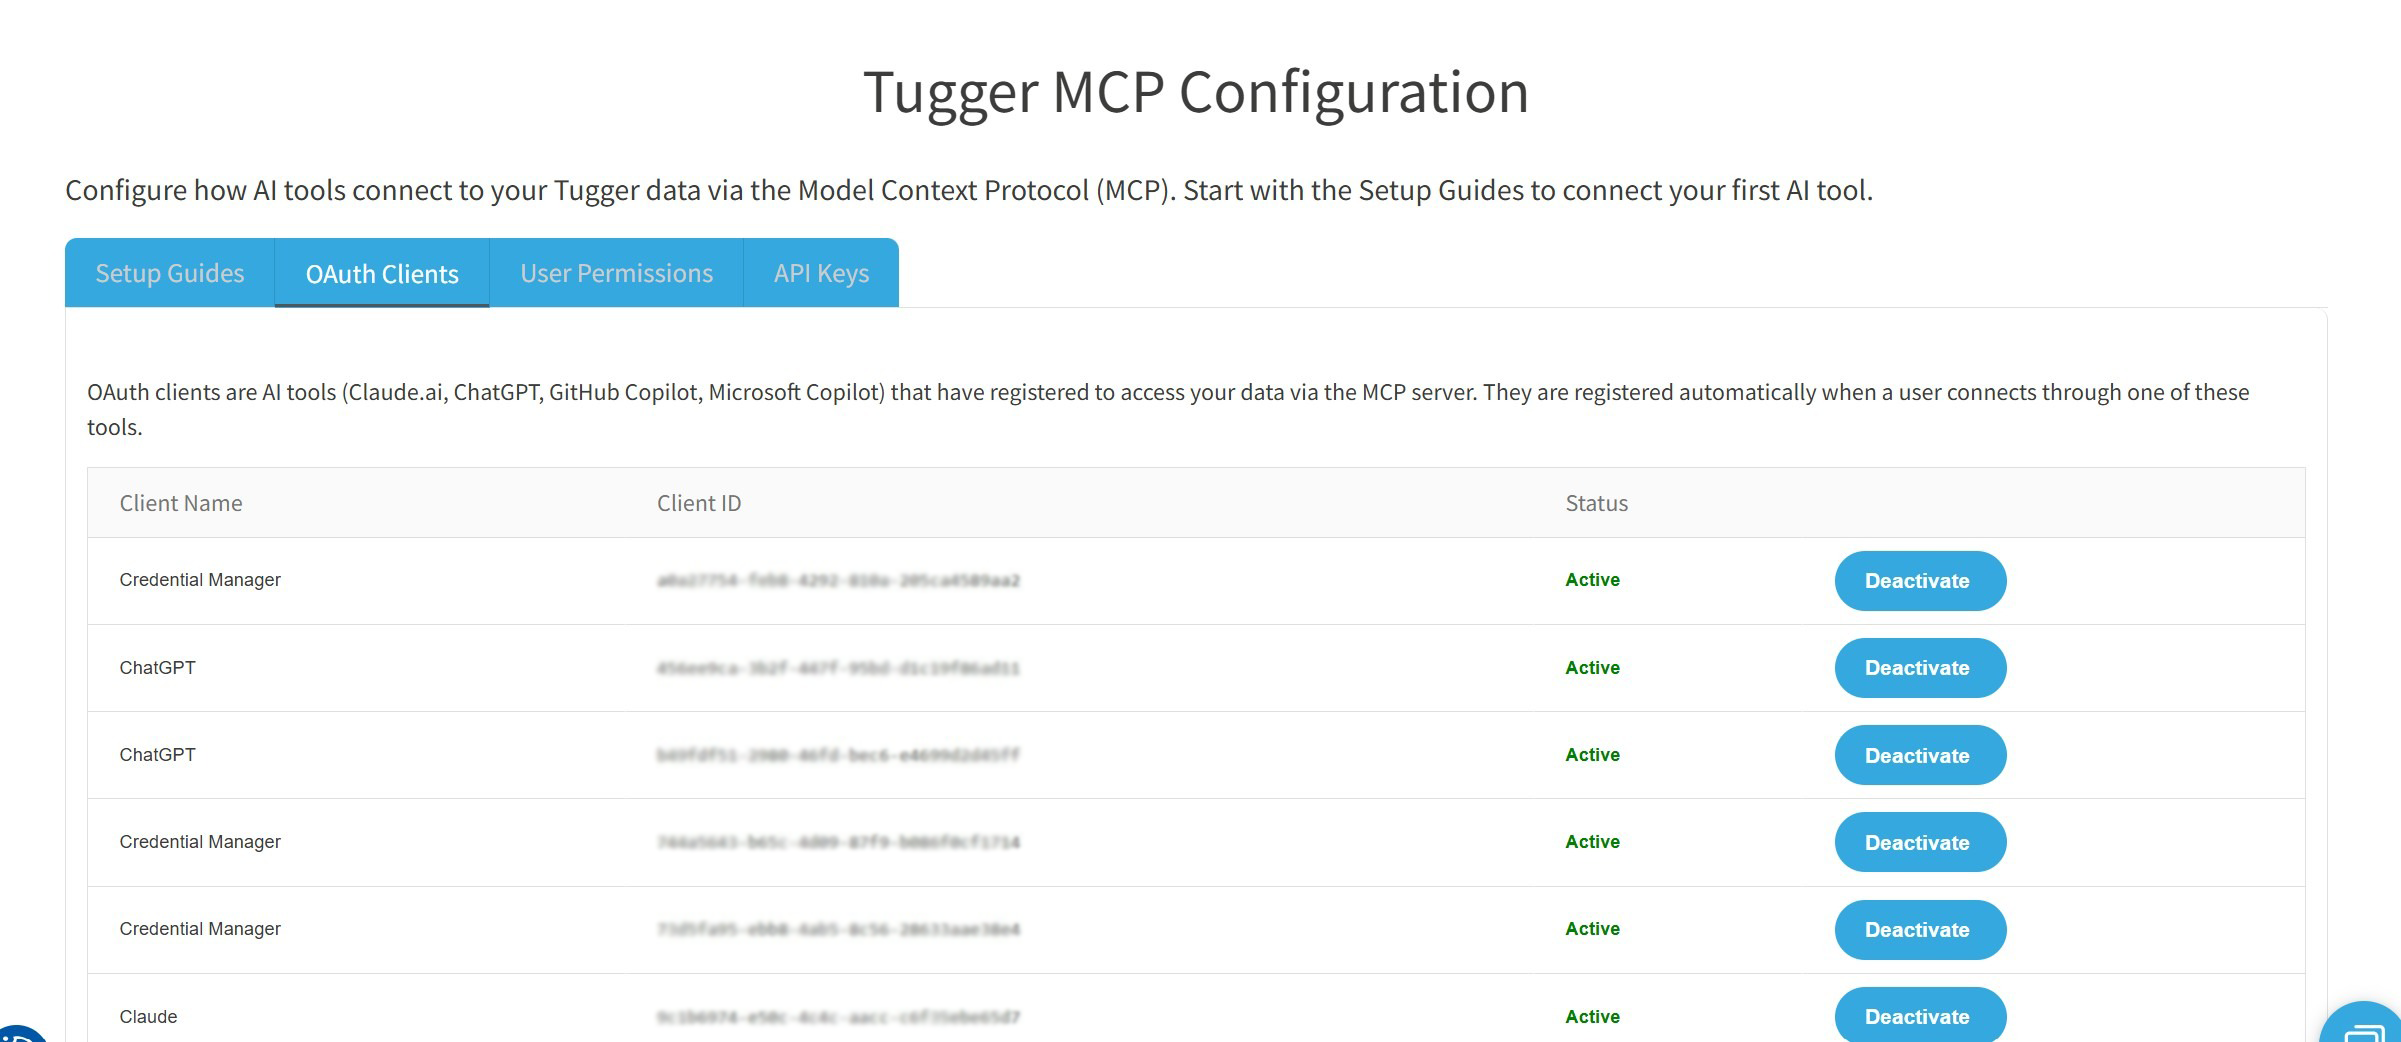
OAuth clients are registered automatically when a user connects through one of the supported AI tools (Claude.ai, ChatGPT, GitHub). You don't need to create them manually.
Each entry shows the client name, client ID, and its current status. You can deactivate a client to temporarily block access from that AI platform, and reactivate it later if needed.
User Permissions
This tab controls which connectors each user on your Tugger account can access through AI Insights.
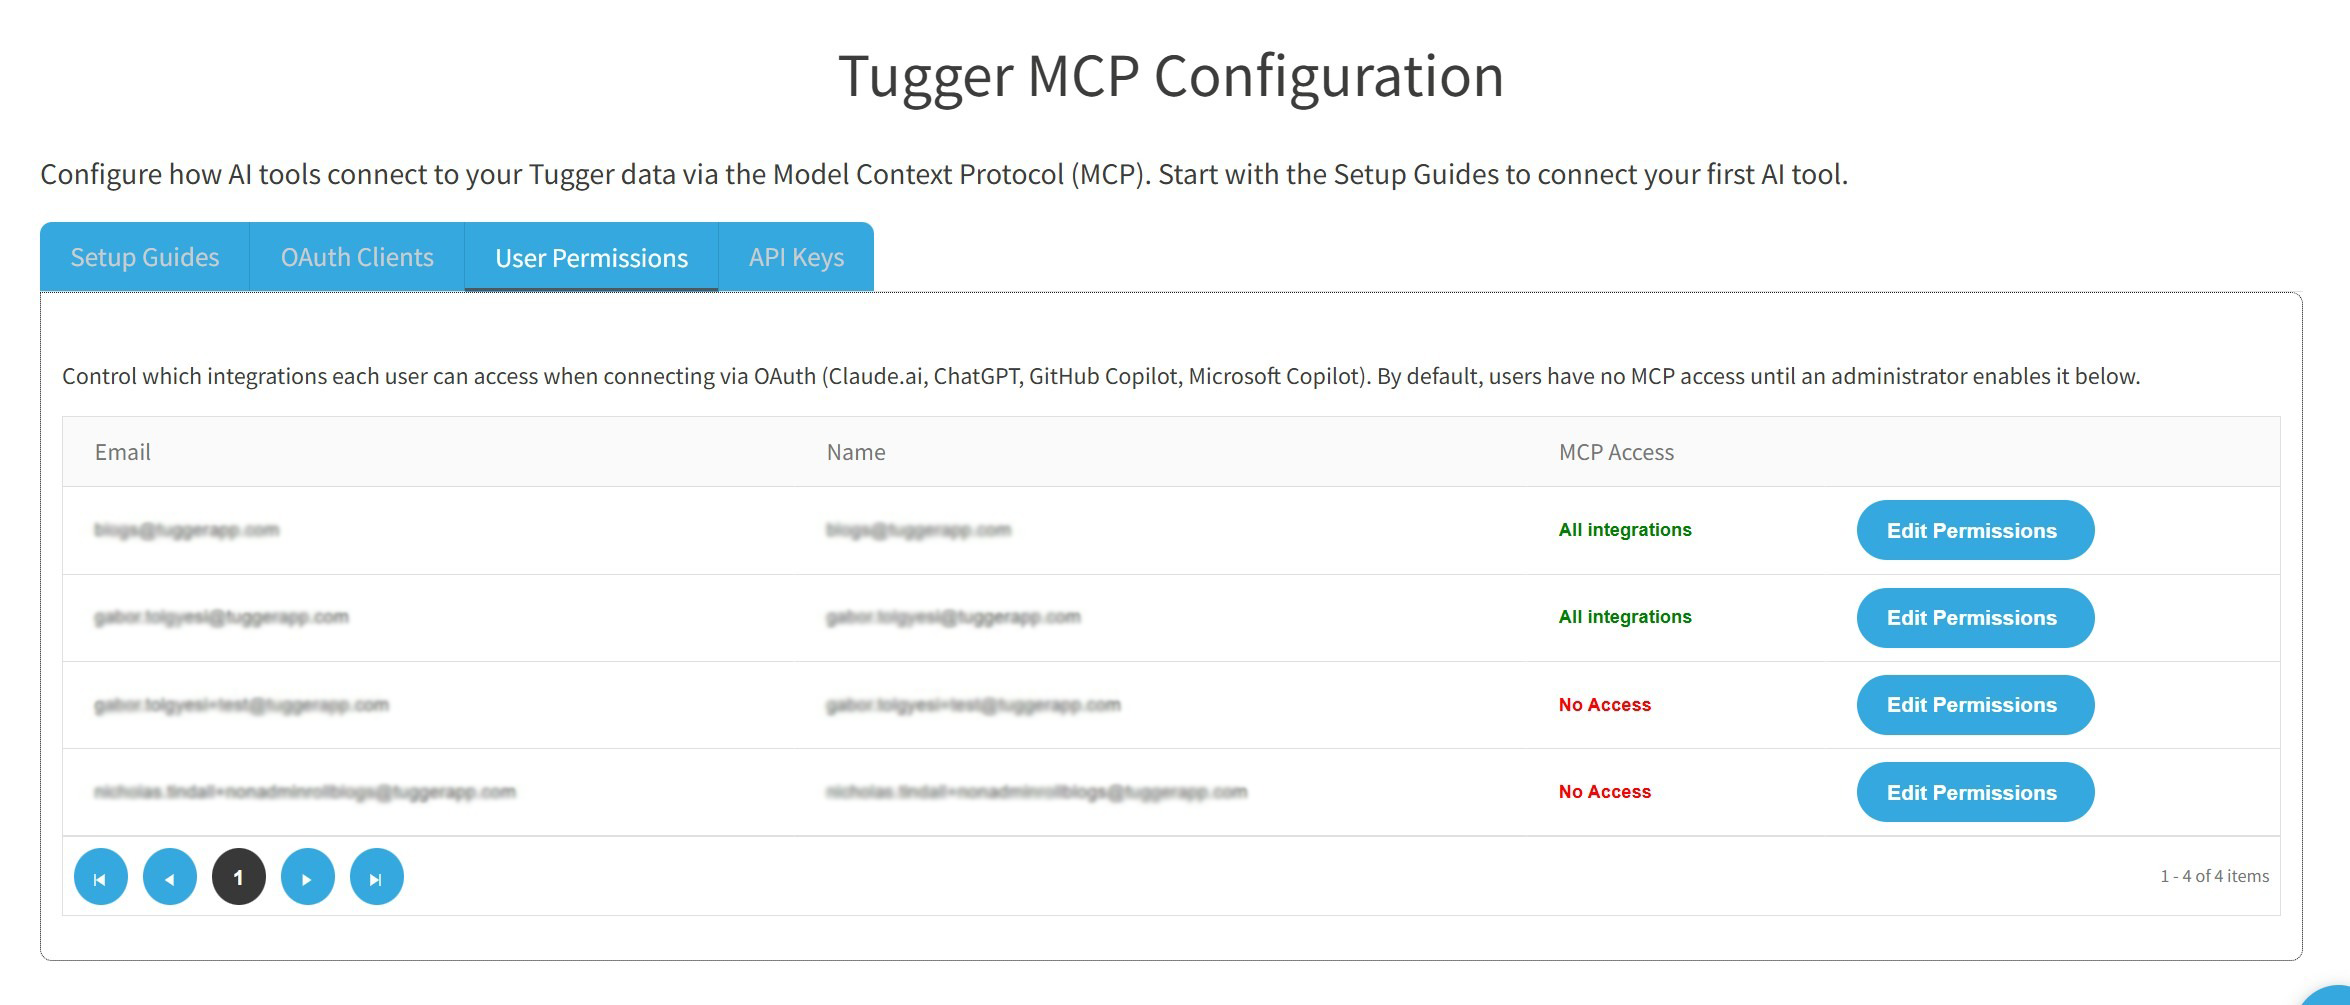
By default, users have no MCP access until an administrator enables it. The table shows each user's email, name, and their current access level.
Setting a user's access level
- Find the user in the list and click Edit Permissions
- In the dialogue that appears, choose one of three access levels:
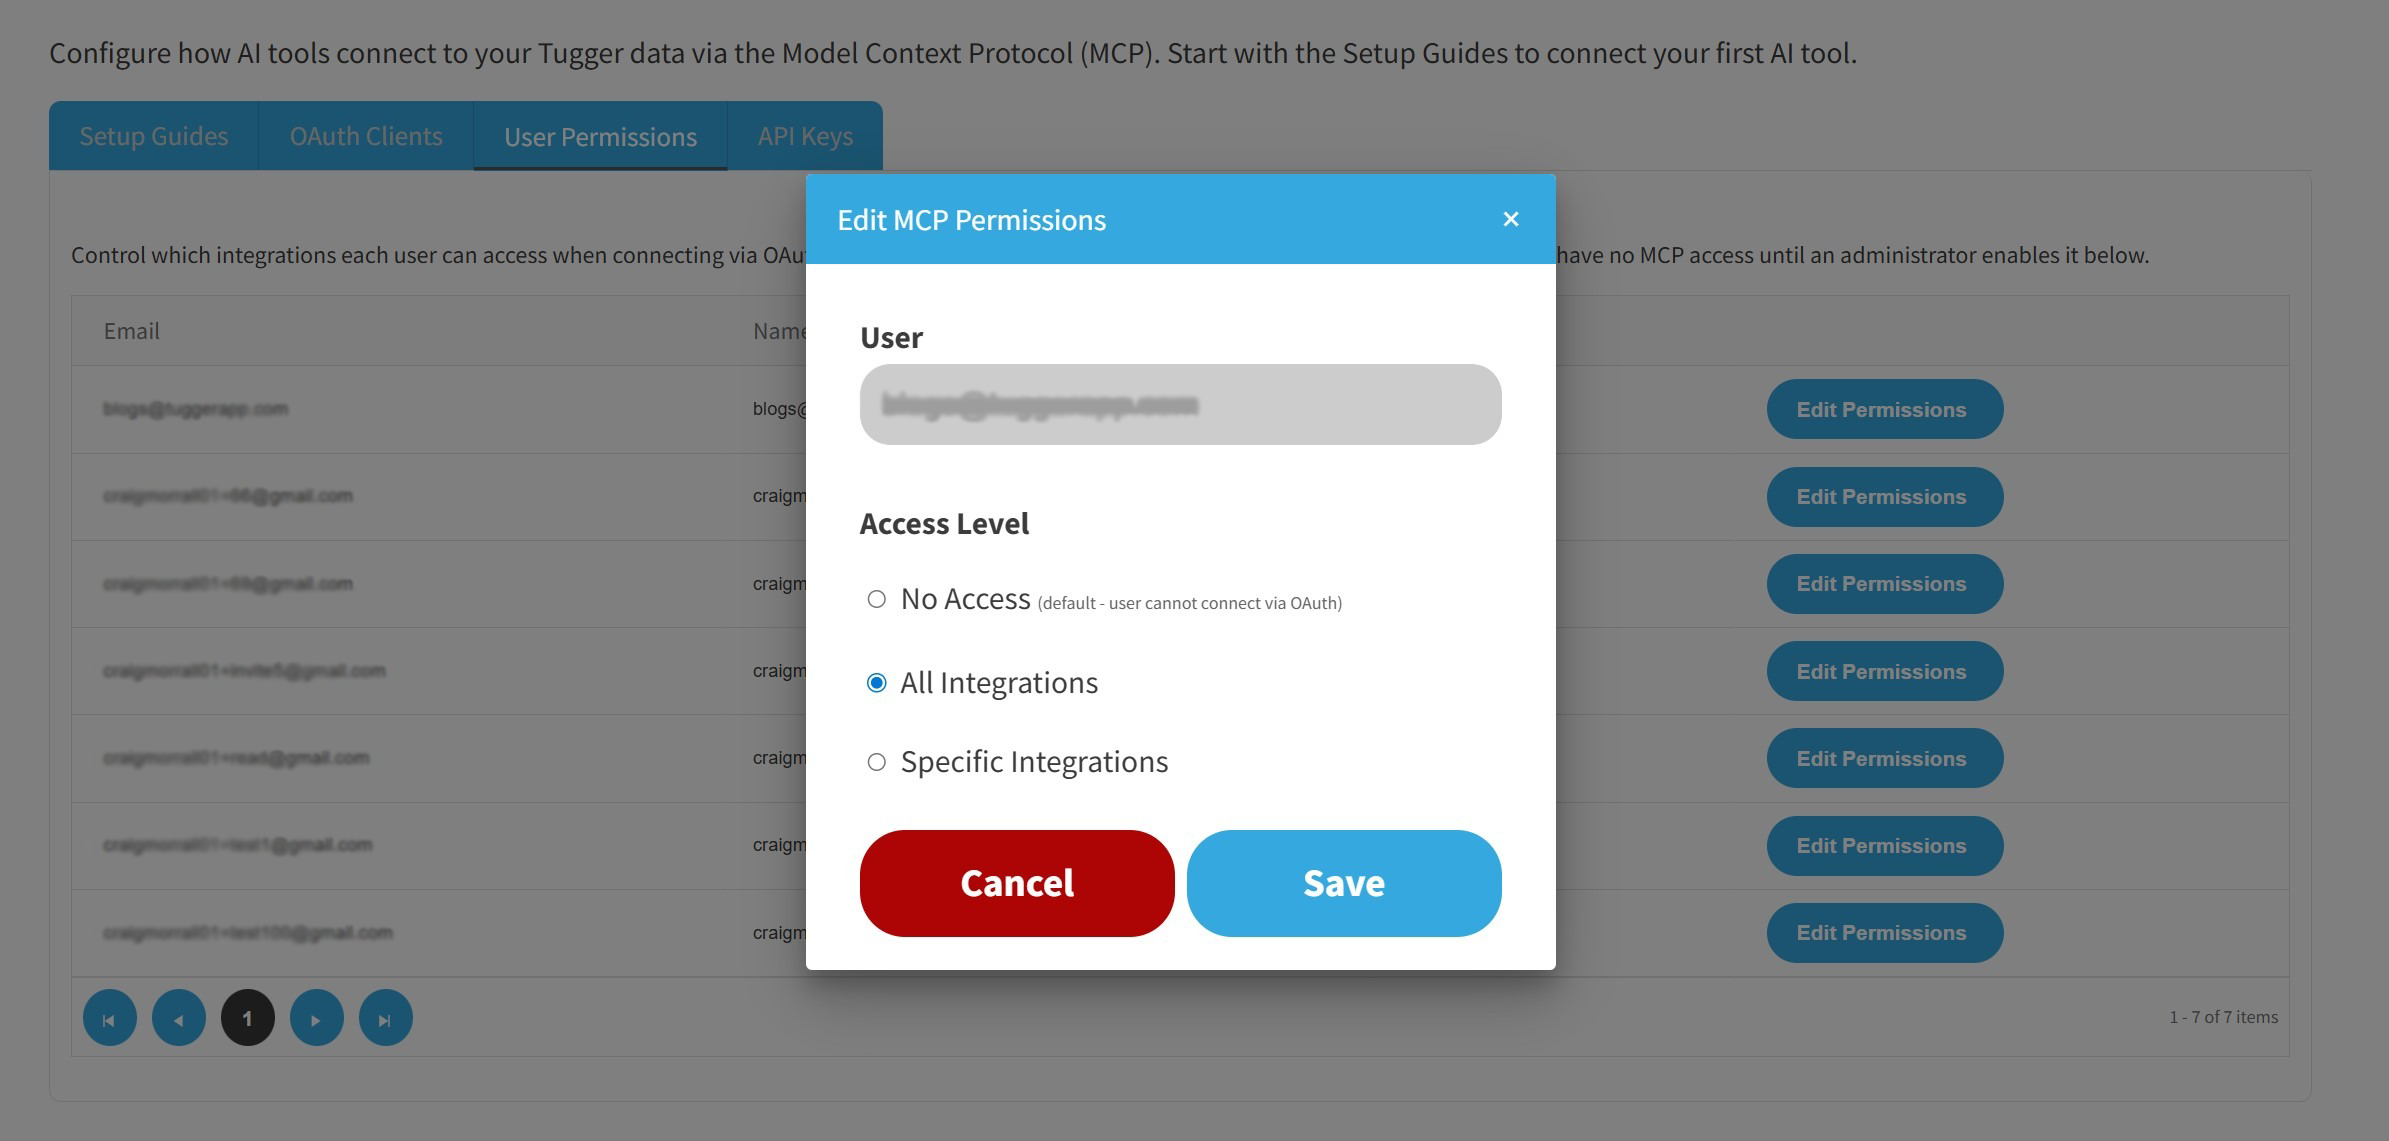
- No Access (default) - the user cannot connect to Tugger via any AI platform
- All Integrations - the user can access data from all connectors on your Tugger account
- Specific Integrations - the user can only access data from the connectors you select. A multi-select dropdown will appear where you can choose one or more connectors.
- Click Save
The change takes effect immediately. If the user is already connected via an AI platform, their access will be updated on their next query.
Tip: Use Specific Integrations when you want to limit a user to certain connectors. For example, you might give a sales manager access to your HubSpot connector but not your Xero accounting data.
API Keys
API keys are used by local tools that cannot use OAuth, such as Claude Desktop and VS Code.
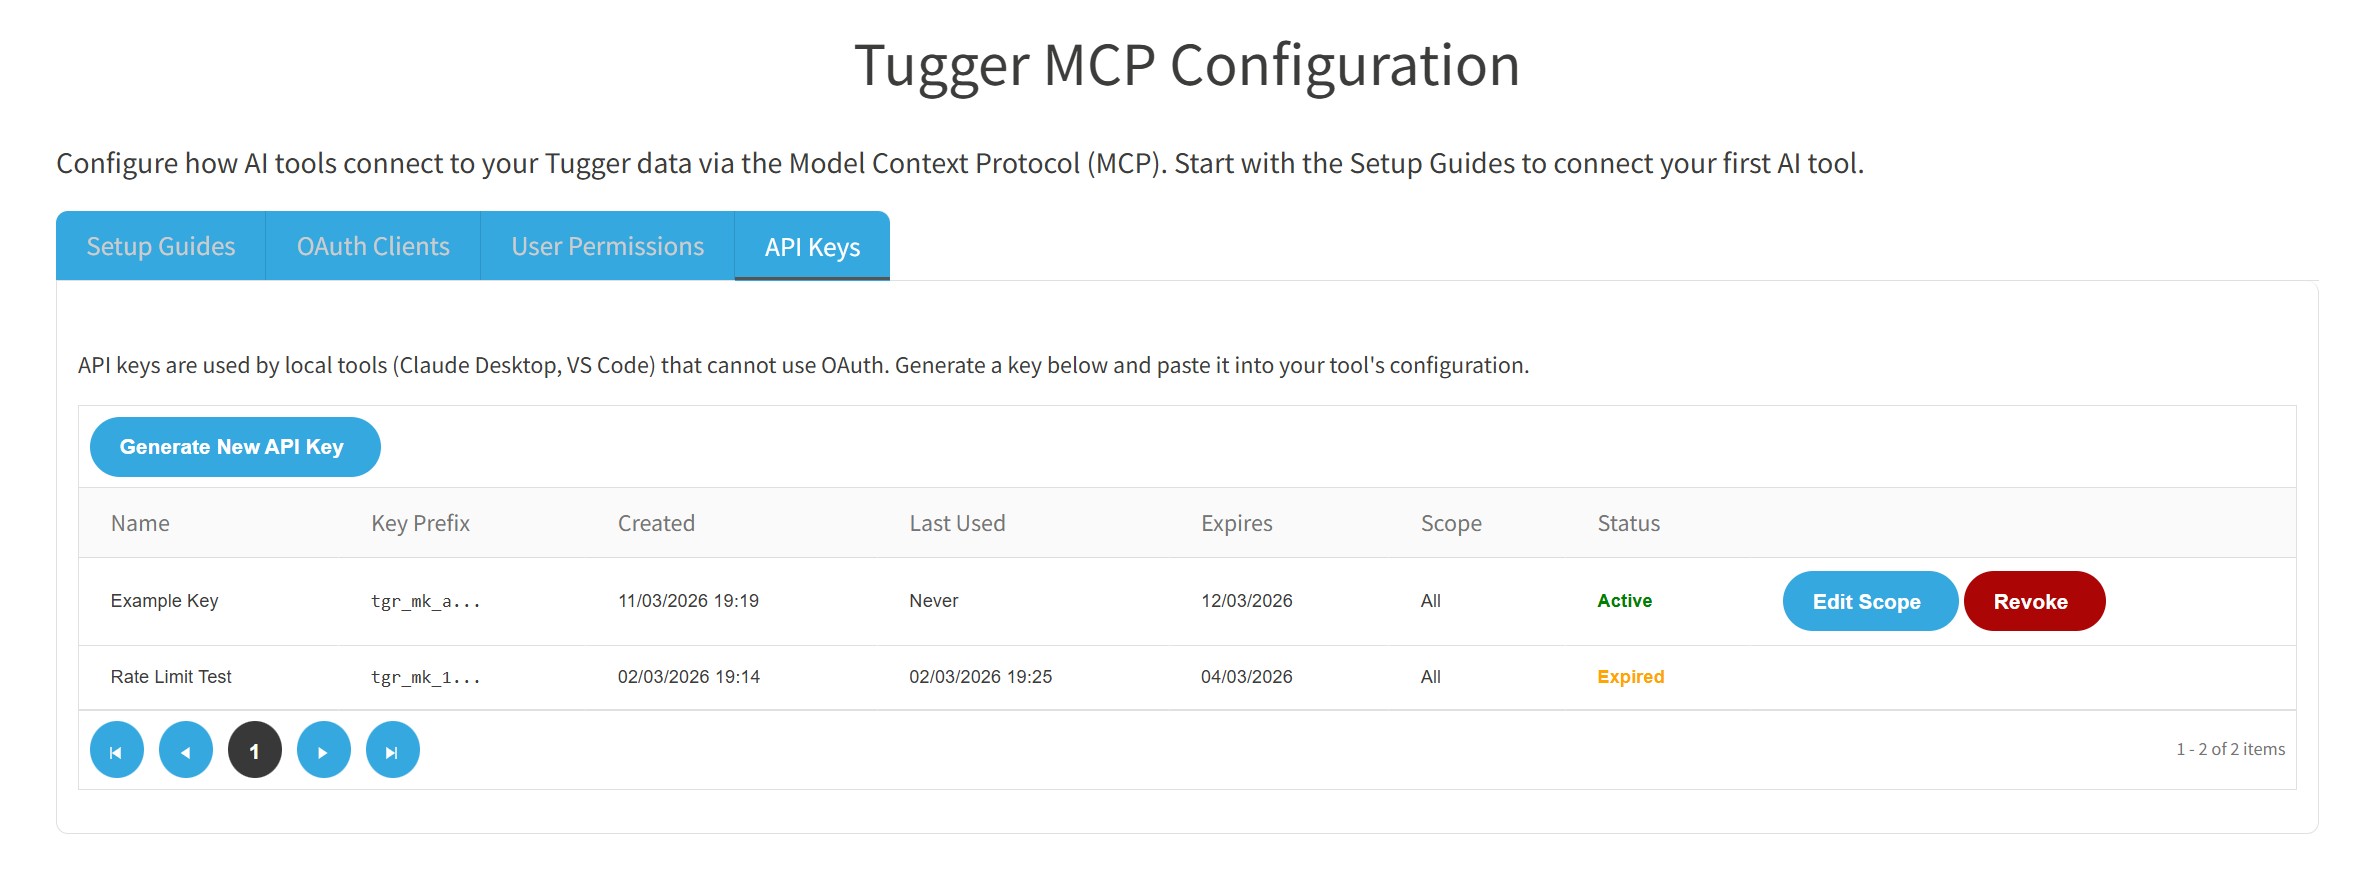
Each key shows its name, a prefix (starting with tgr_mk_), when it was created, when it was last used, its expiry date, which connectors it can access (scope), and whether it is active or revoked.
Generating a new API key
- Click Generate New API Key
- Fill in the details:
.jpg)
- Key Name - give it a descriptive name so you know what it's for (e.g. "Claude Desktop - Production")
- Integration Scope - choose which connectors this key can access. Leave empty to allow access to all integrations, or select specific ones.
- Expiry Date - optionally set an expiry date. Leave empty for no expiry.
- Click Generate Key
Your new key will be displayed. Copy it immediately, as you won't be able to see the full key again. Paste it into your local tool's MCP configuration.
Managing existing keys
- Edit Scope - click to change which connectors a key can access
- Revoke - click to permanently deactivate a key. Revoked keys cannot be reactivated. Any tools using a revoked key will lose access immediately.
Troubleshooting
User says they can't see any data in their AI platform
- Check the User Permissions tab and make sure their access level is set to All Integrations or Specific Integrations (not No Access).
- If set to Specific Integrations, check that the relevant connector is included.
OAuth client not appearing
- OAuth clients are registered automatically when a user completes the connection flow in their AI platform. If nothing is showing, the user may not have completed the authorisation step. Ask them to follow the setup guide for their platform.
API key not working
- Check the key's status in the API Keys tab. If it shows as Revoked, you'll need to generate a new key.
- Check the key hasn't expired.
- Make sure the key's scope includes the connector the user is trying to access.
Related articles: